Olympic B3 Science Summer Camp 2016
Biotechnology, Biodiversity and Bioinformatics
June 15th - June 30th
This page will be updated daily once the camp starts.
Our Facebook page has even more pictures but fewer captions and can be found at this link Requires Login
June 15 th
Orientation and Introduction day - getting the lay of the land and the problem with guest experts to point the way
The goal of todays activities is to learn what the scientific problem is, how it originated and what we will be doing to contribute to a solution.
Also, get to know each other, the lab, the equipment and the instructors, and plan for the field trip tomorrow.
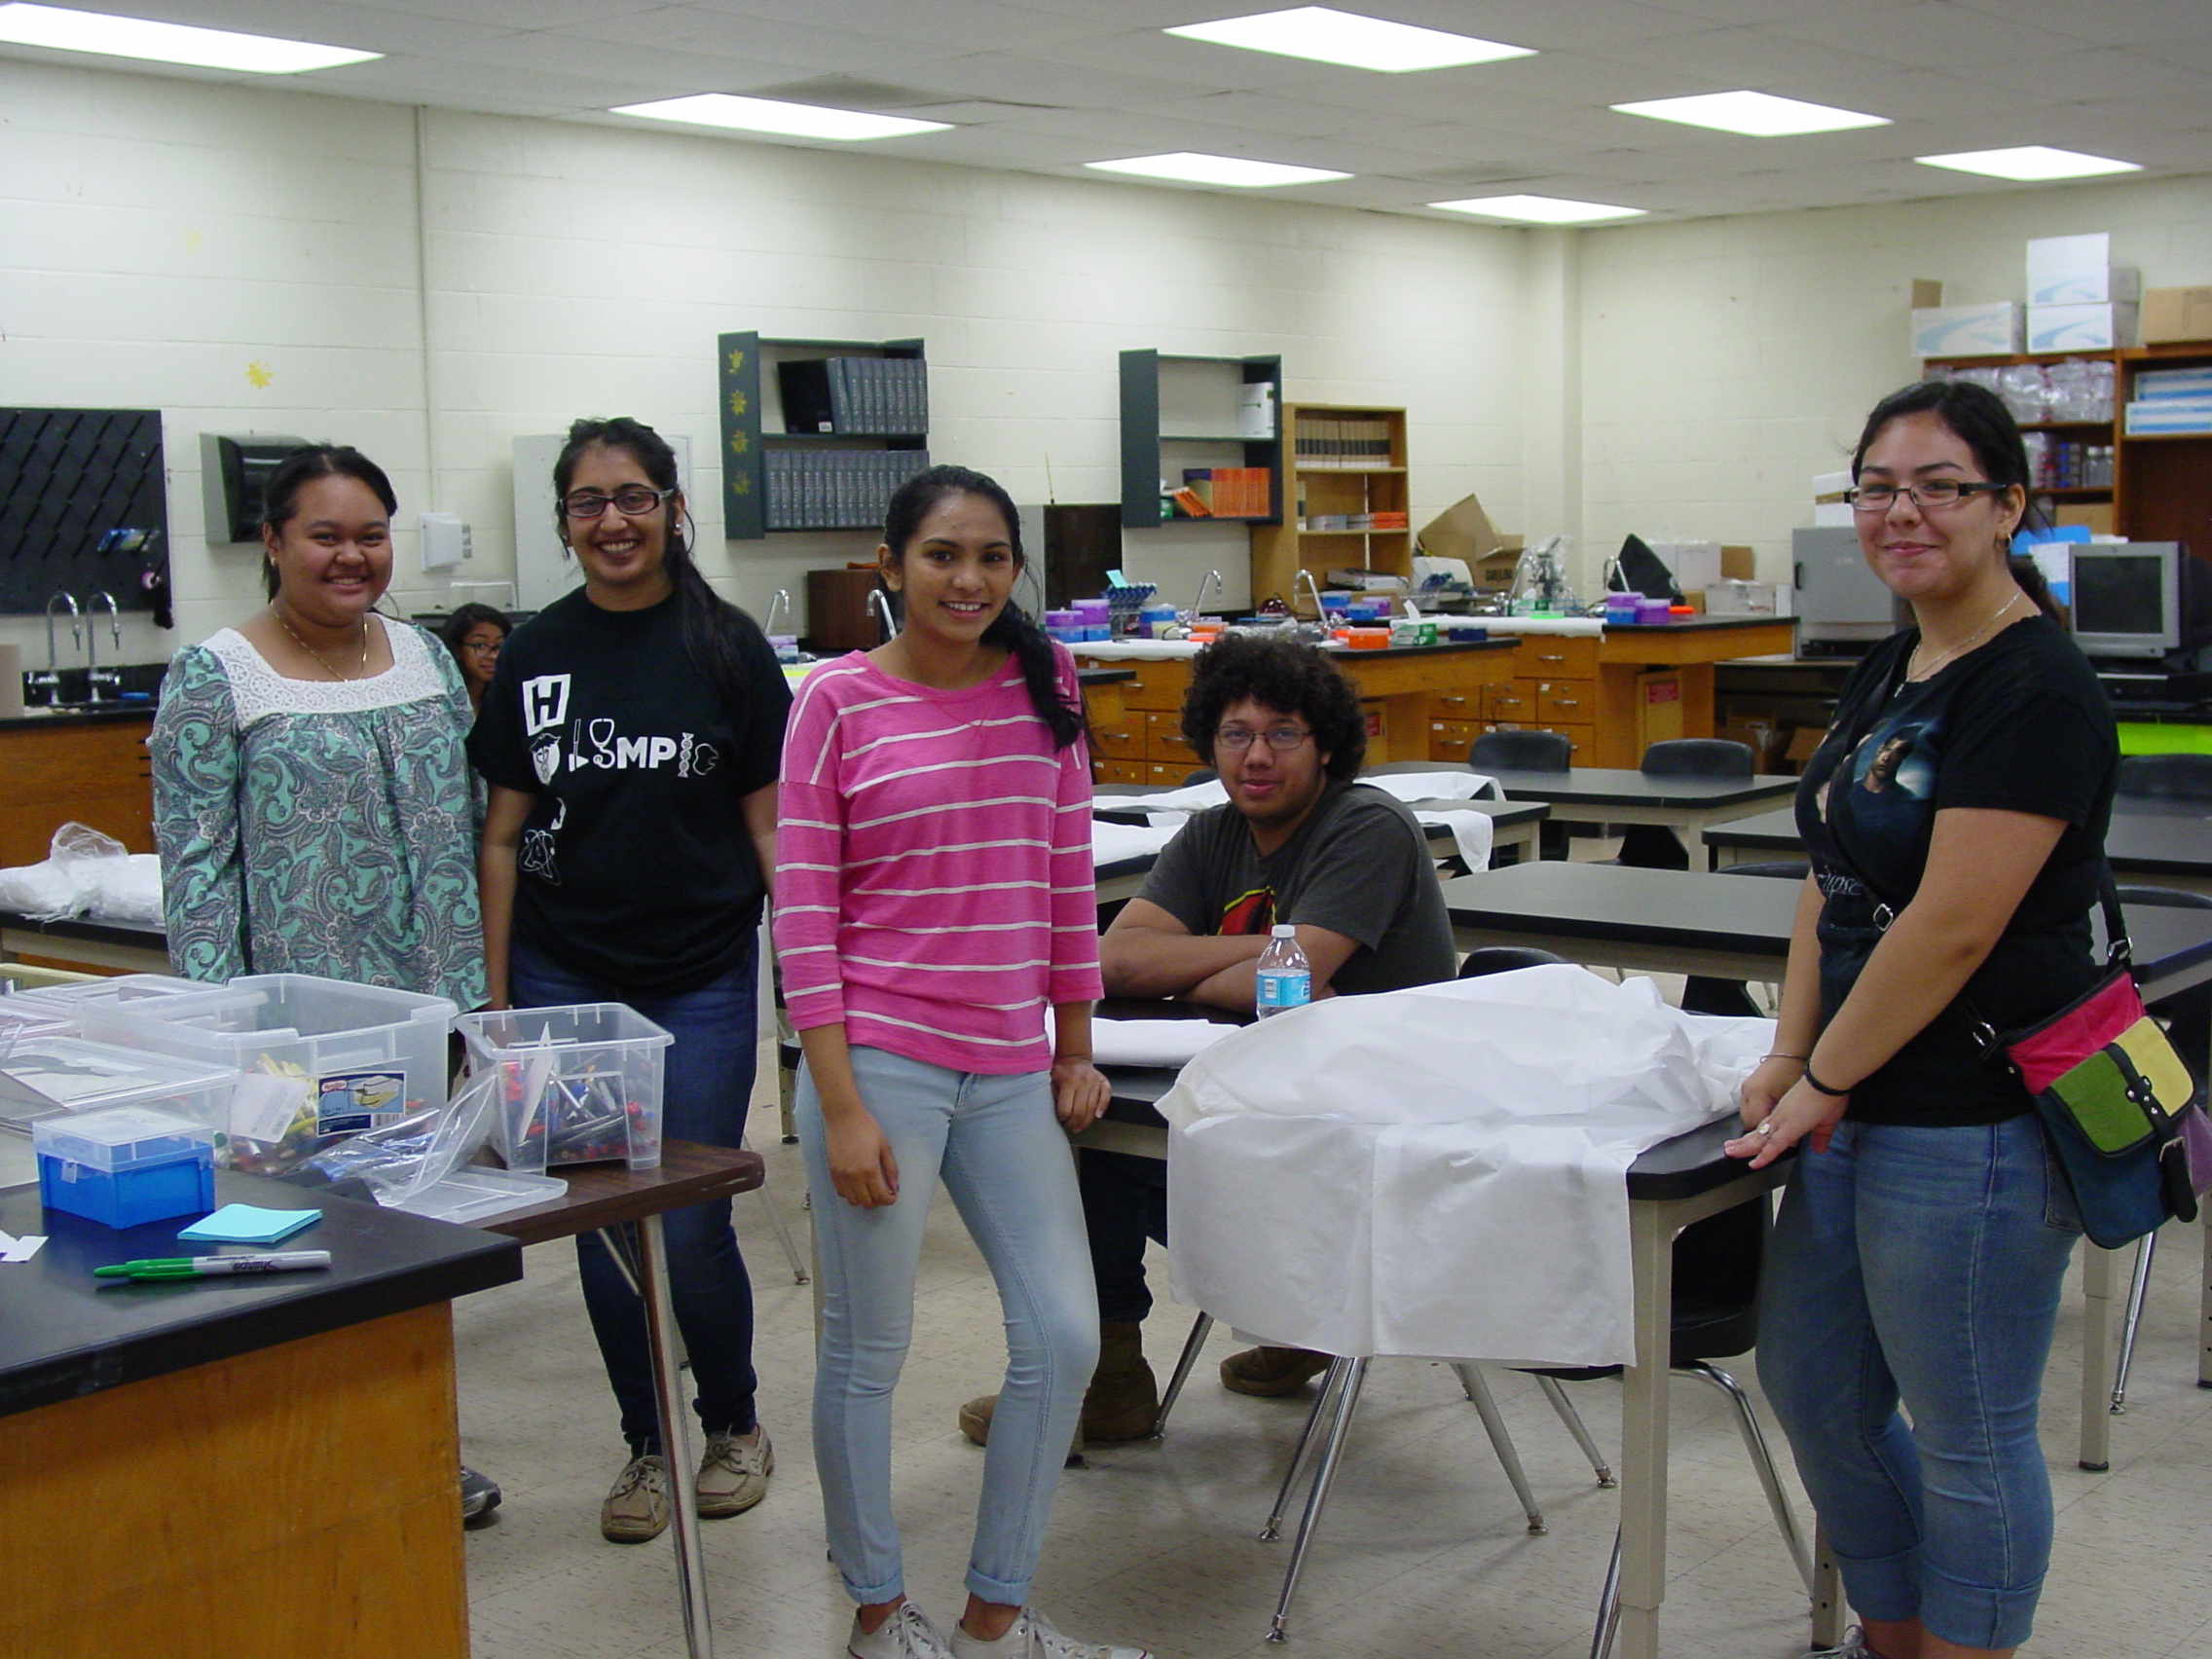
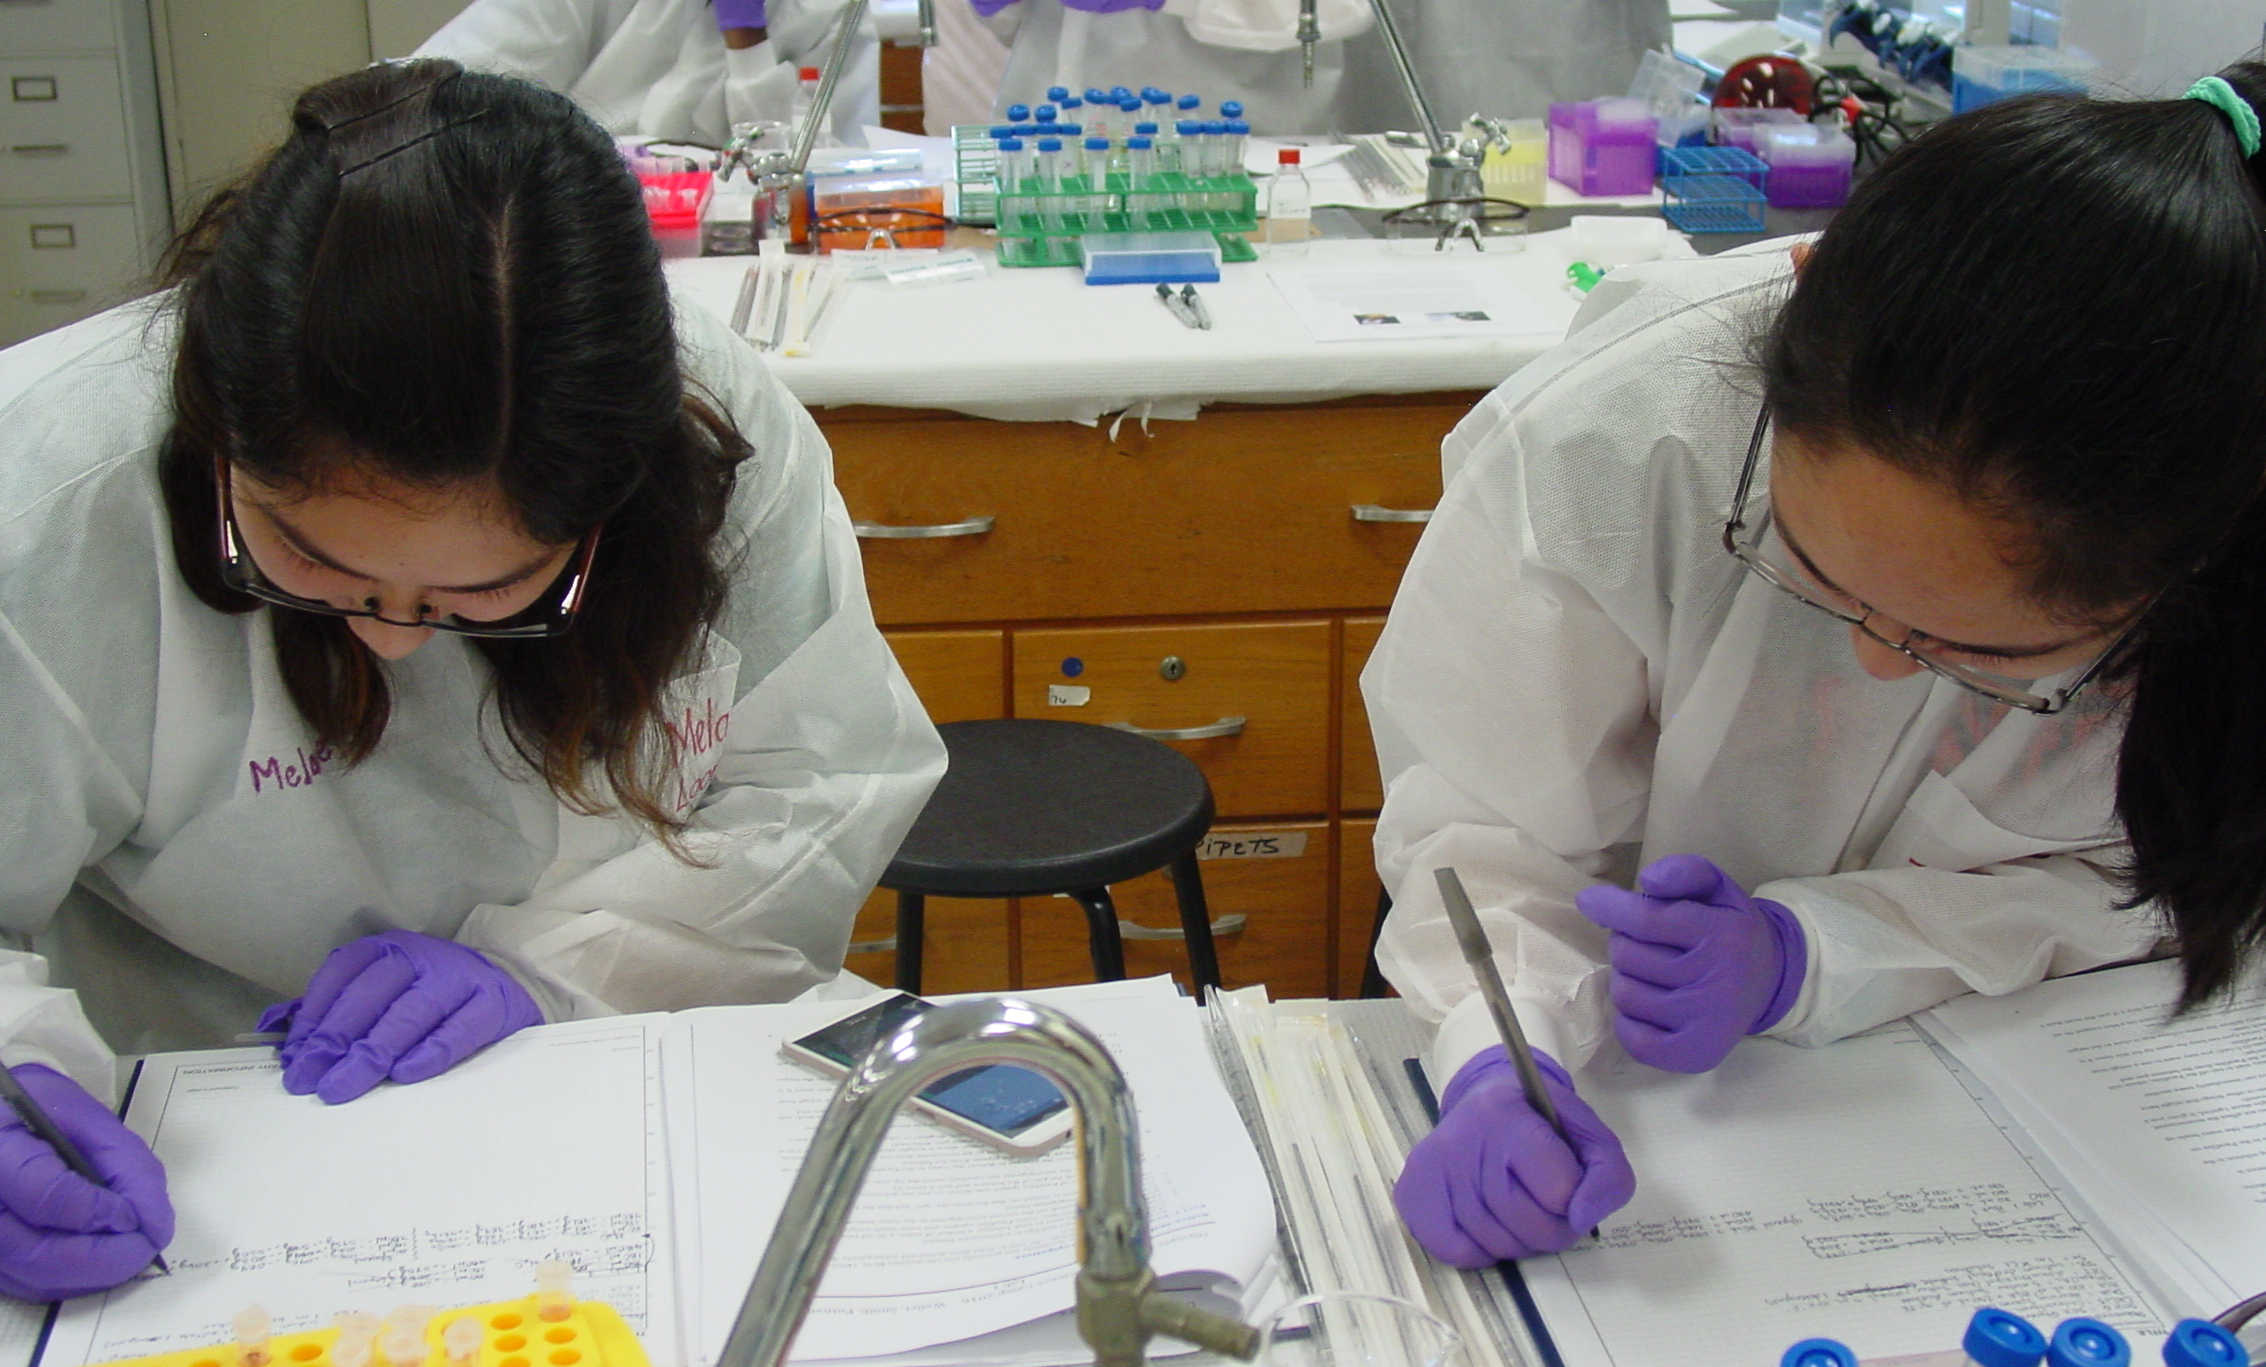
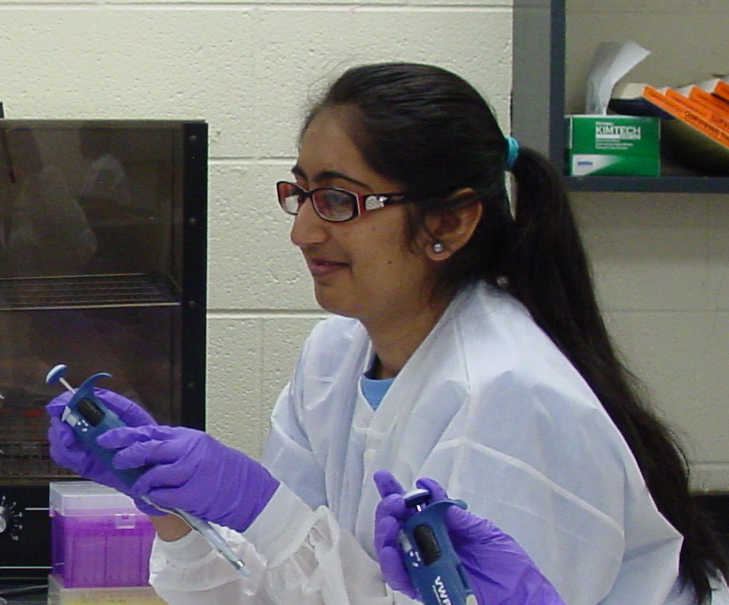
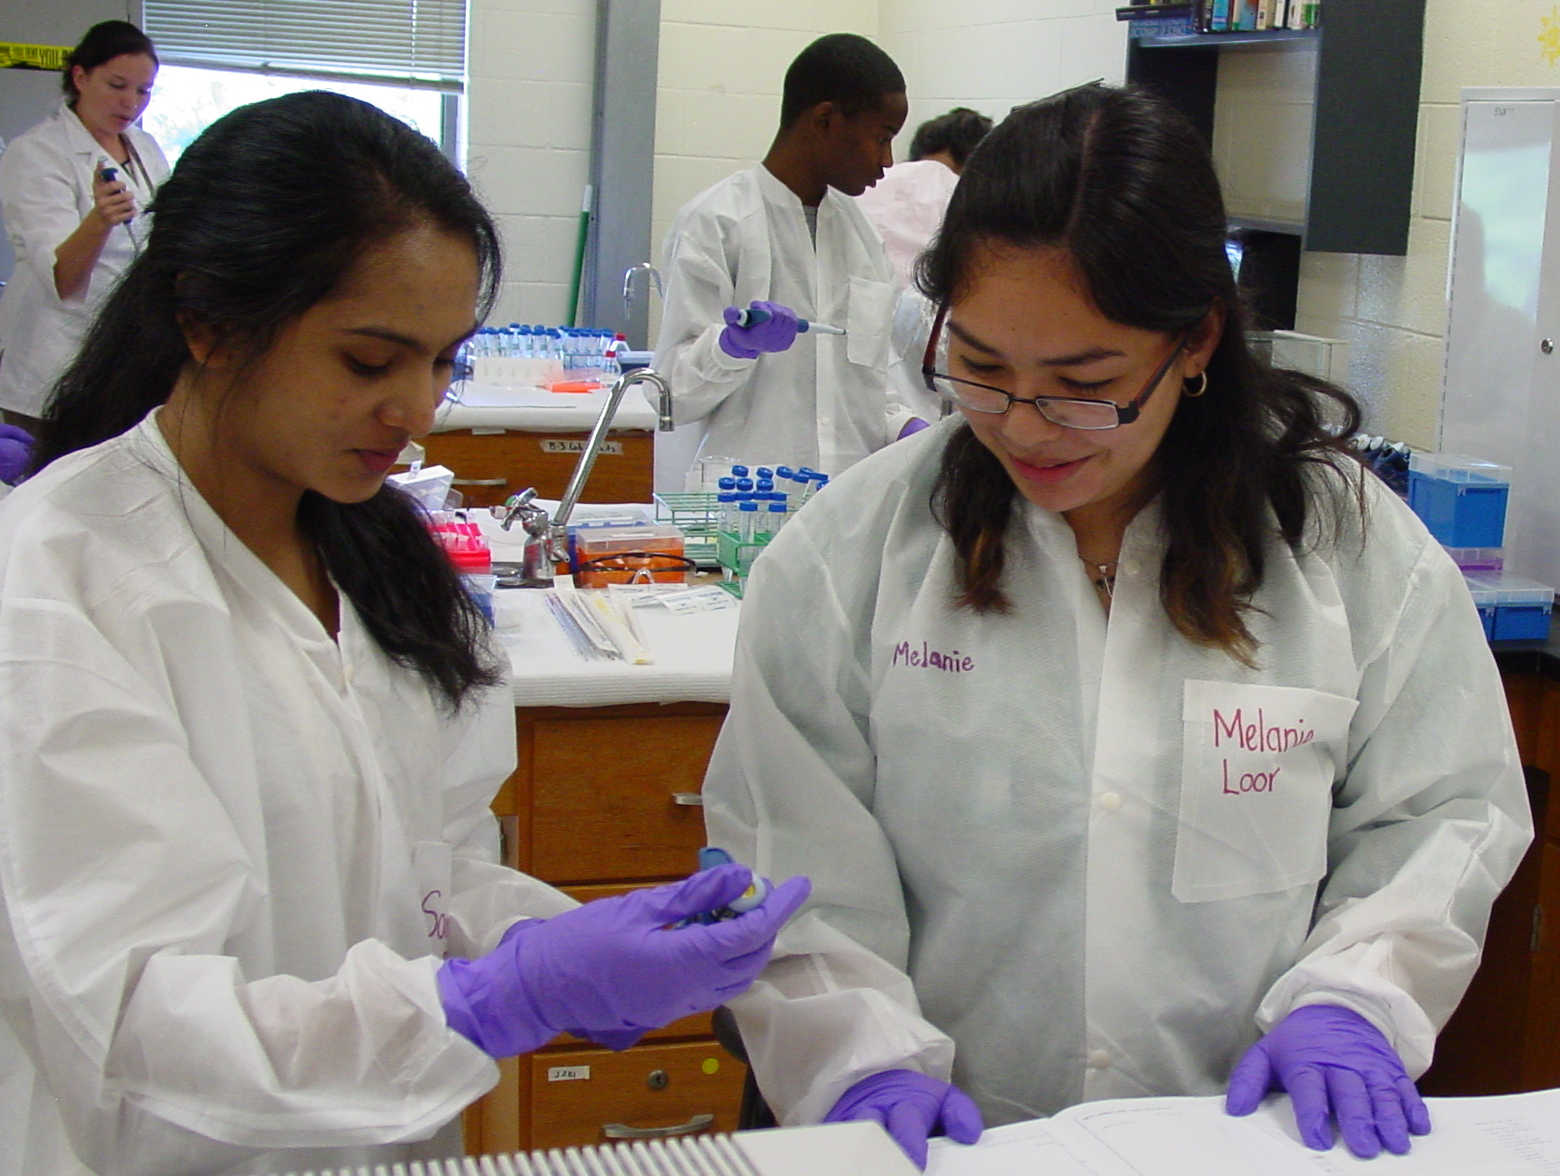
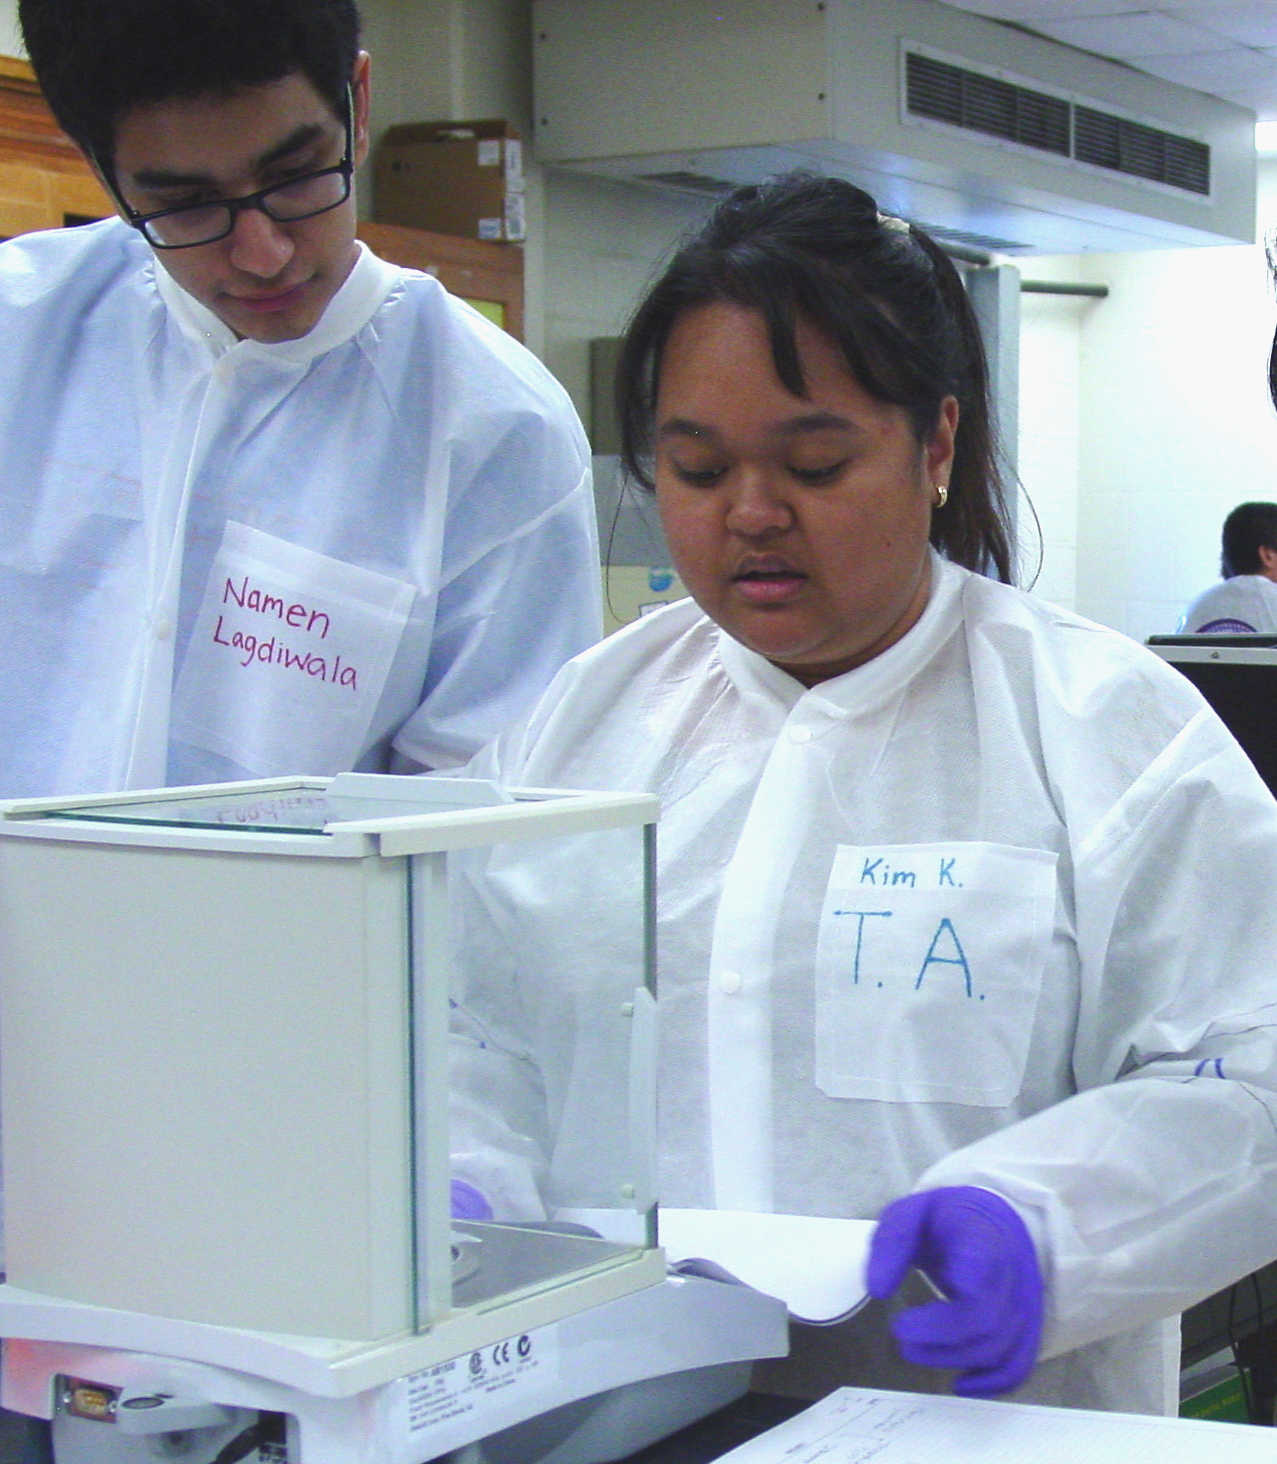
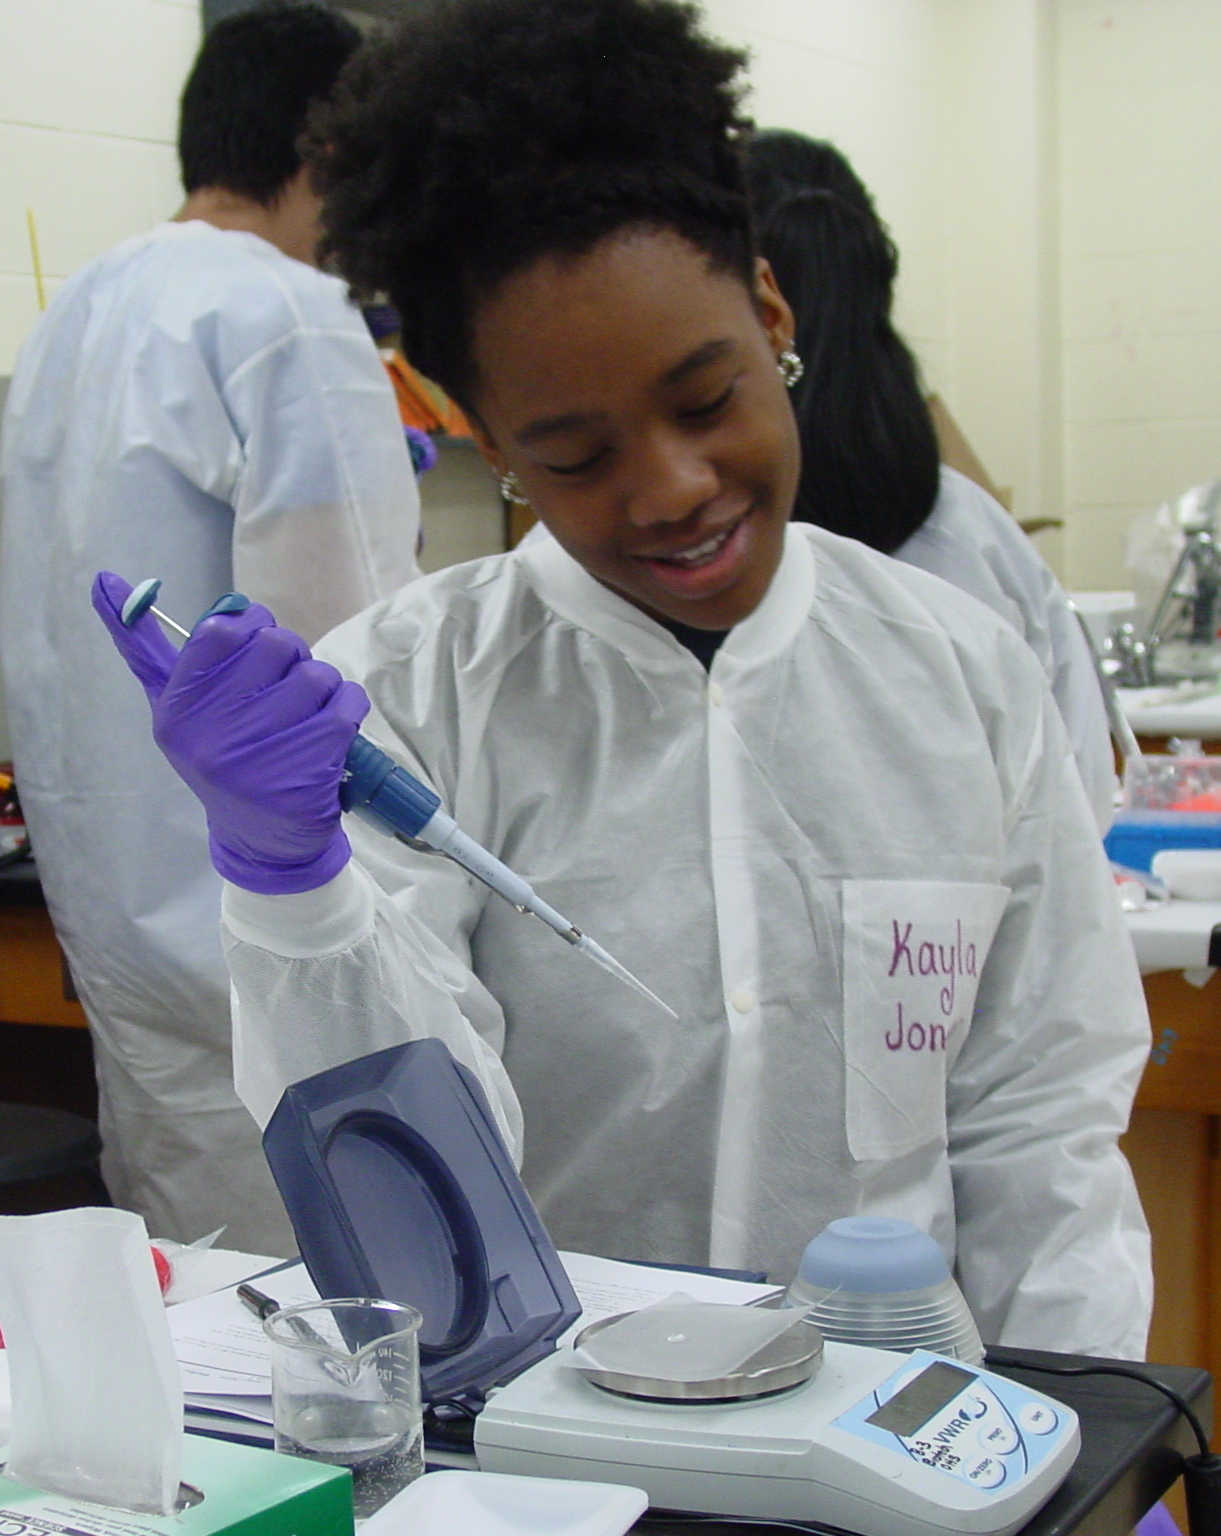
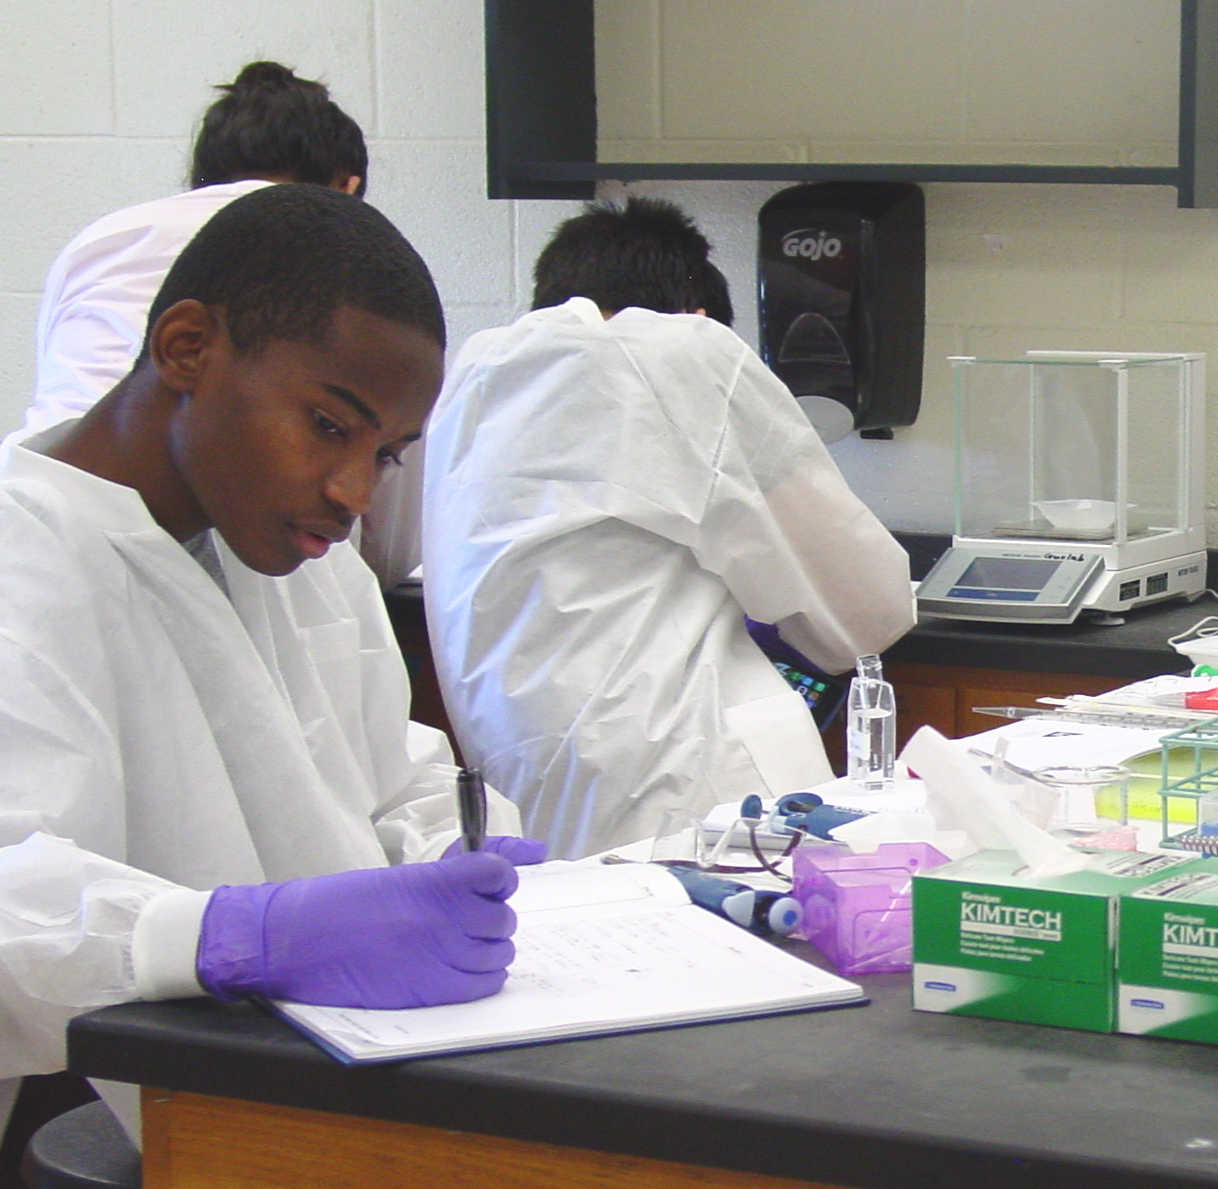
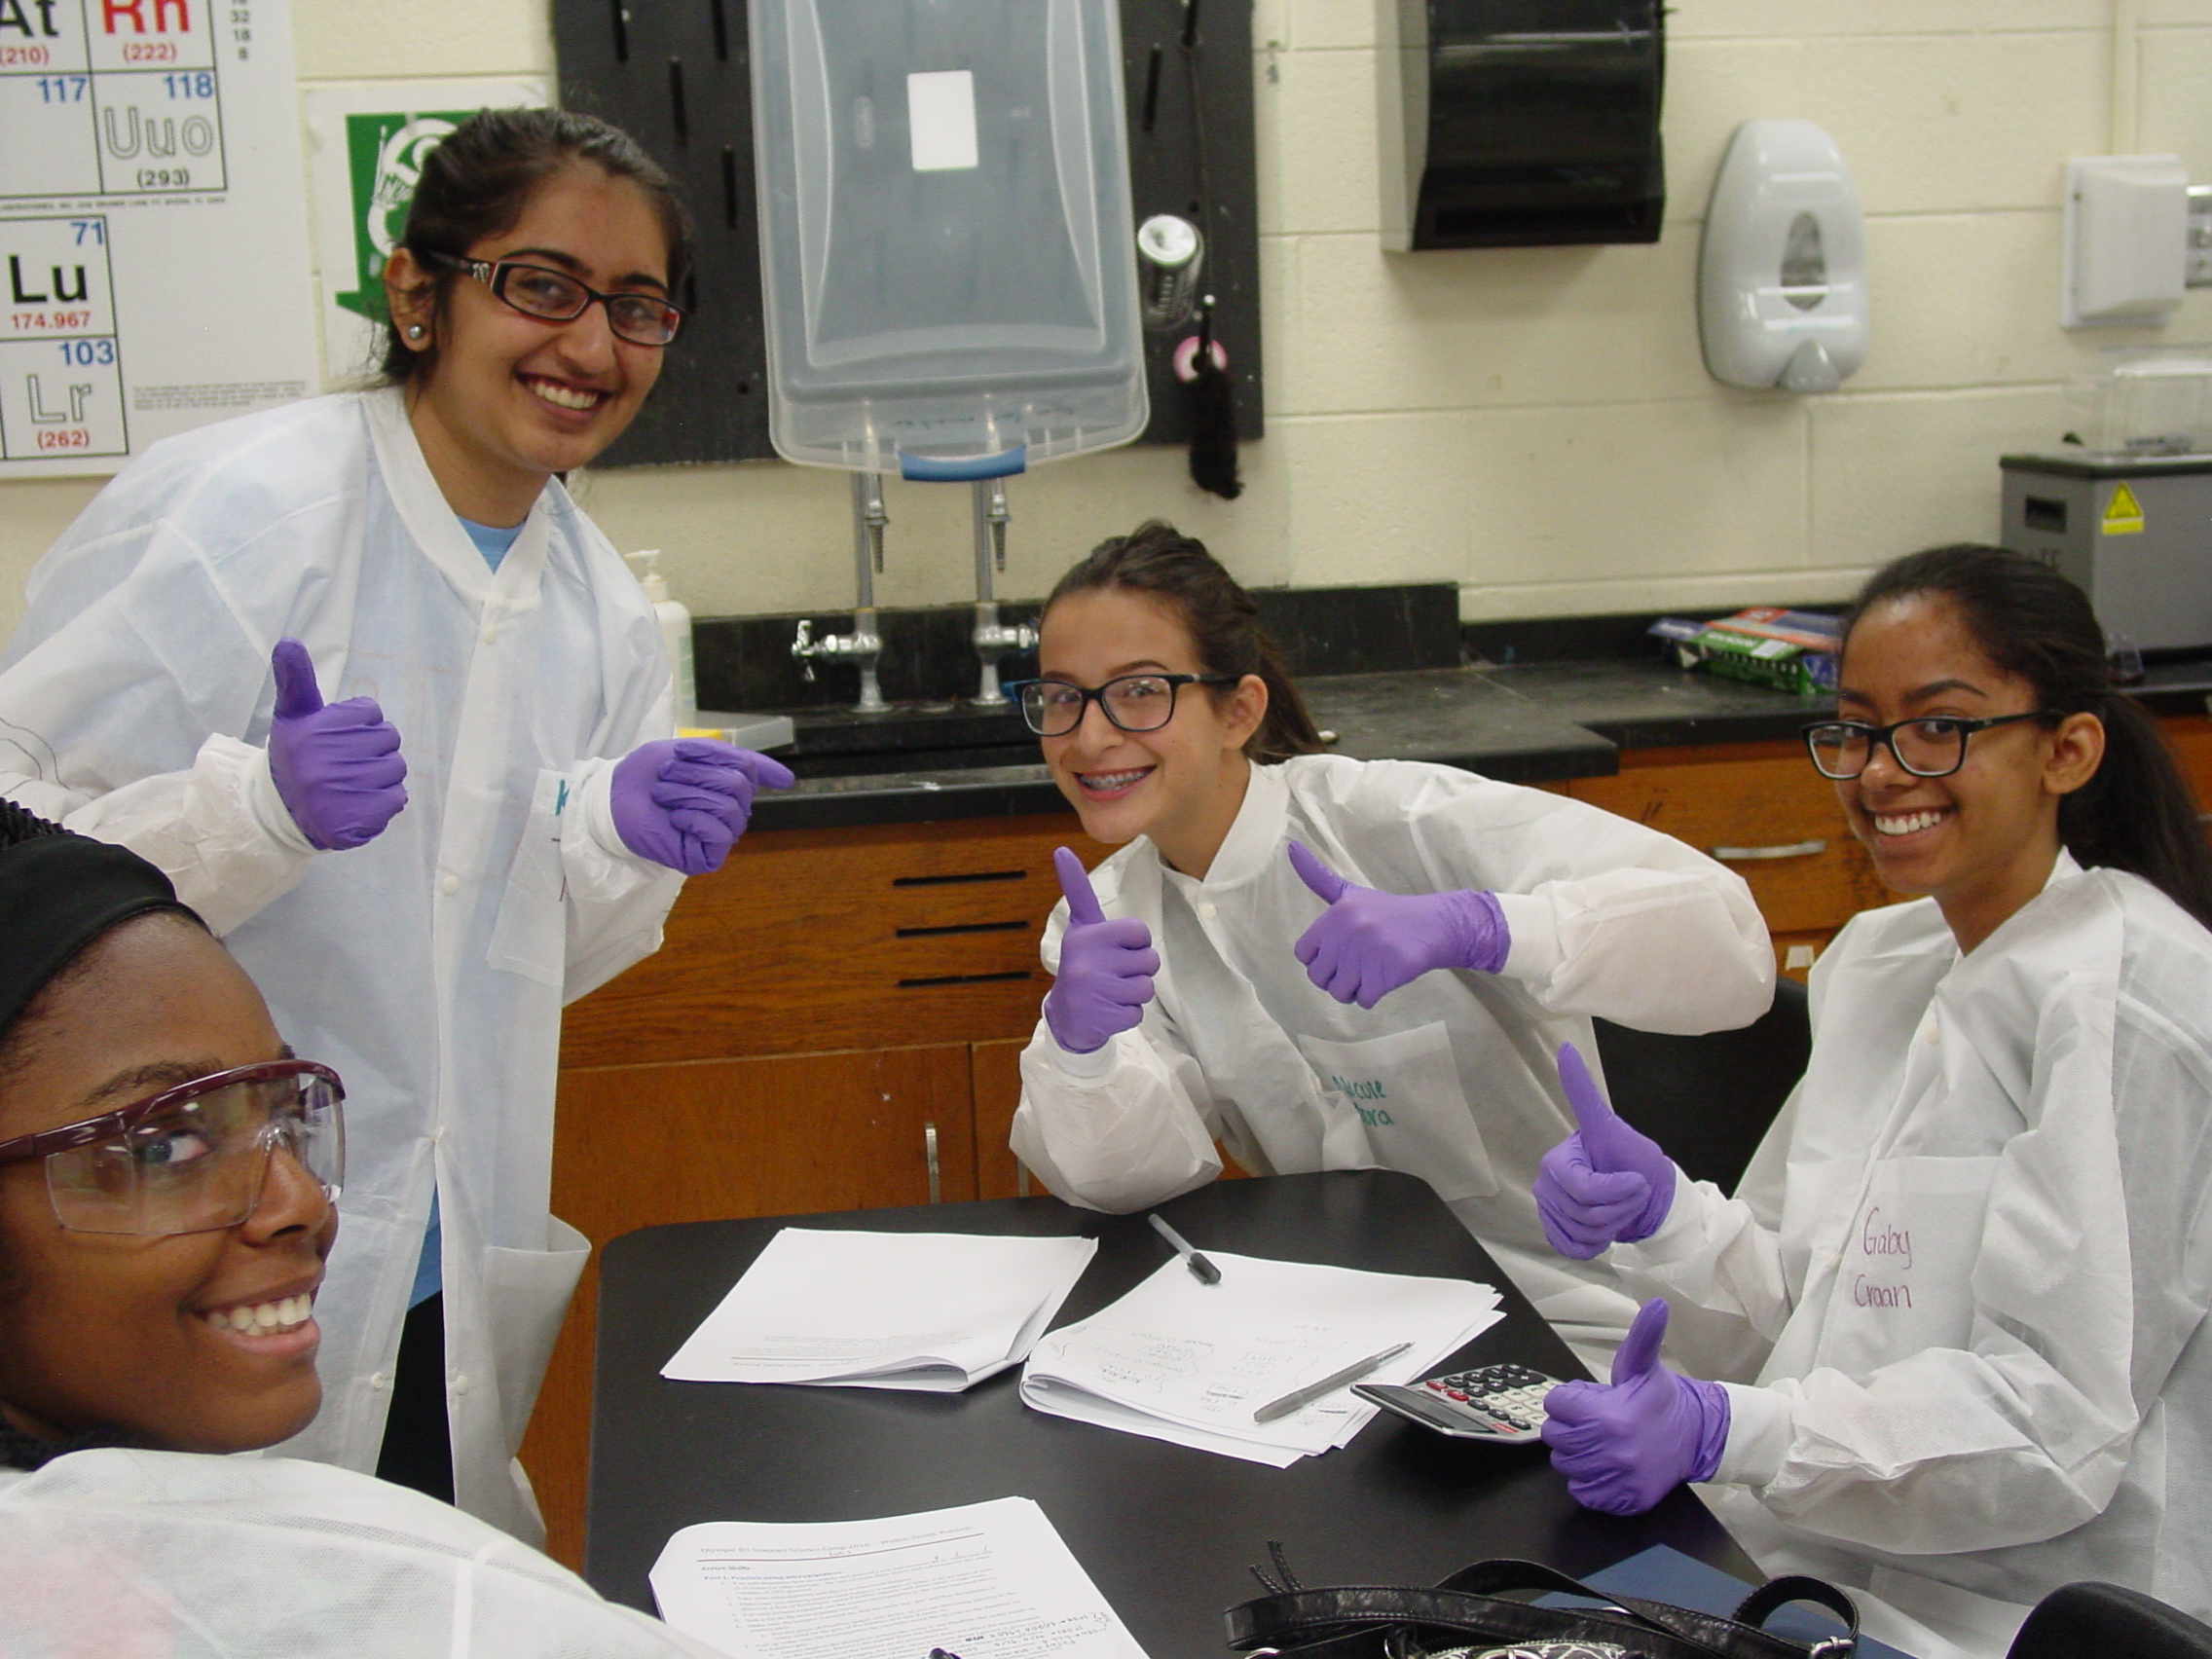
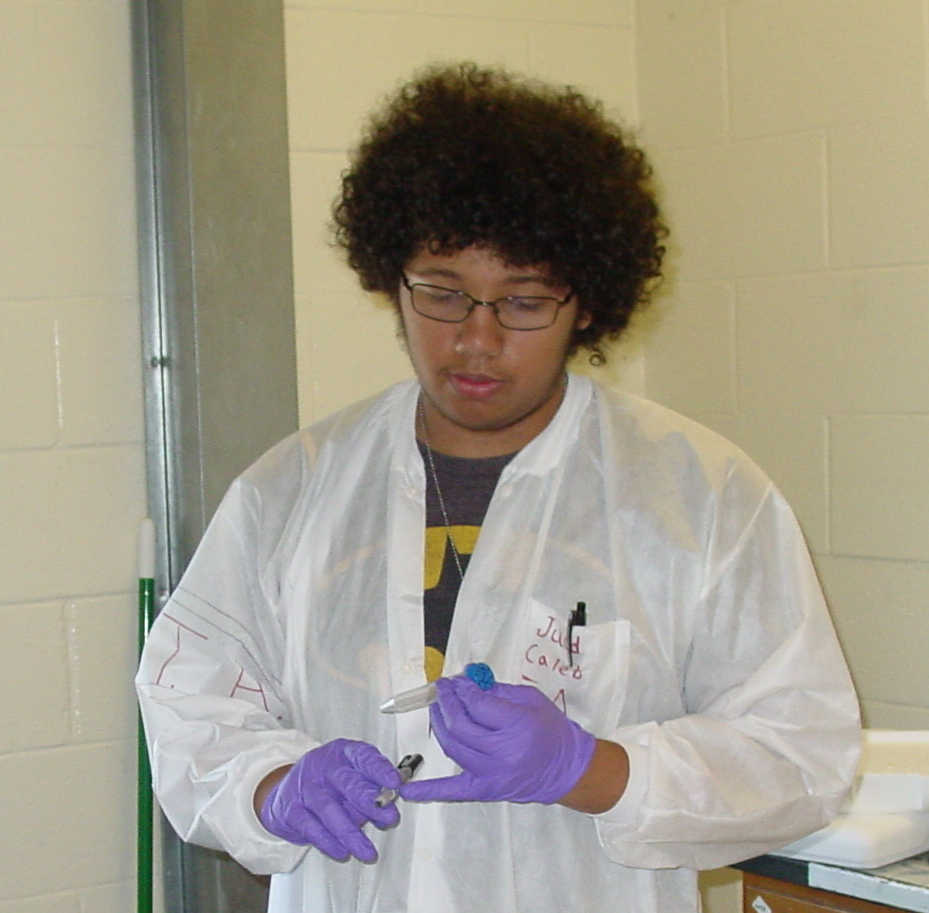
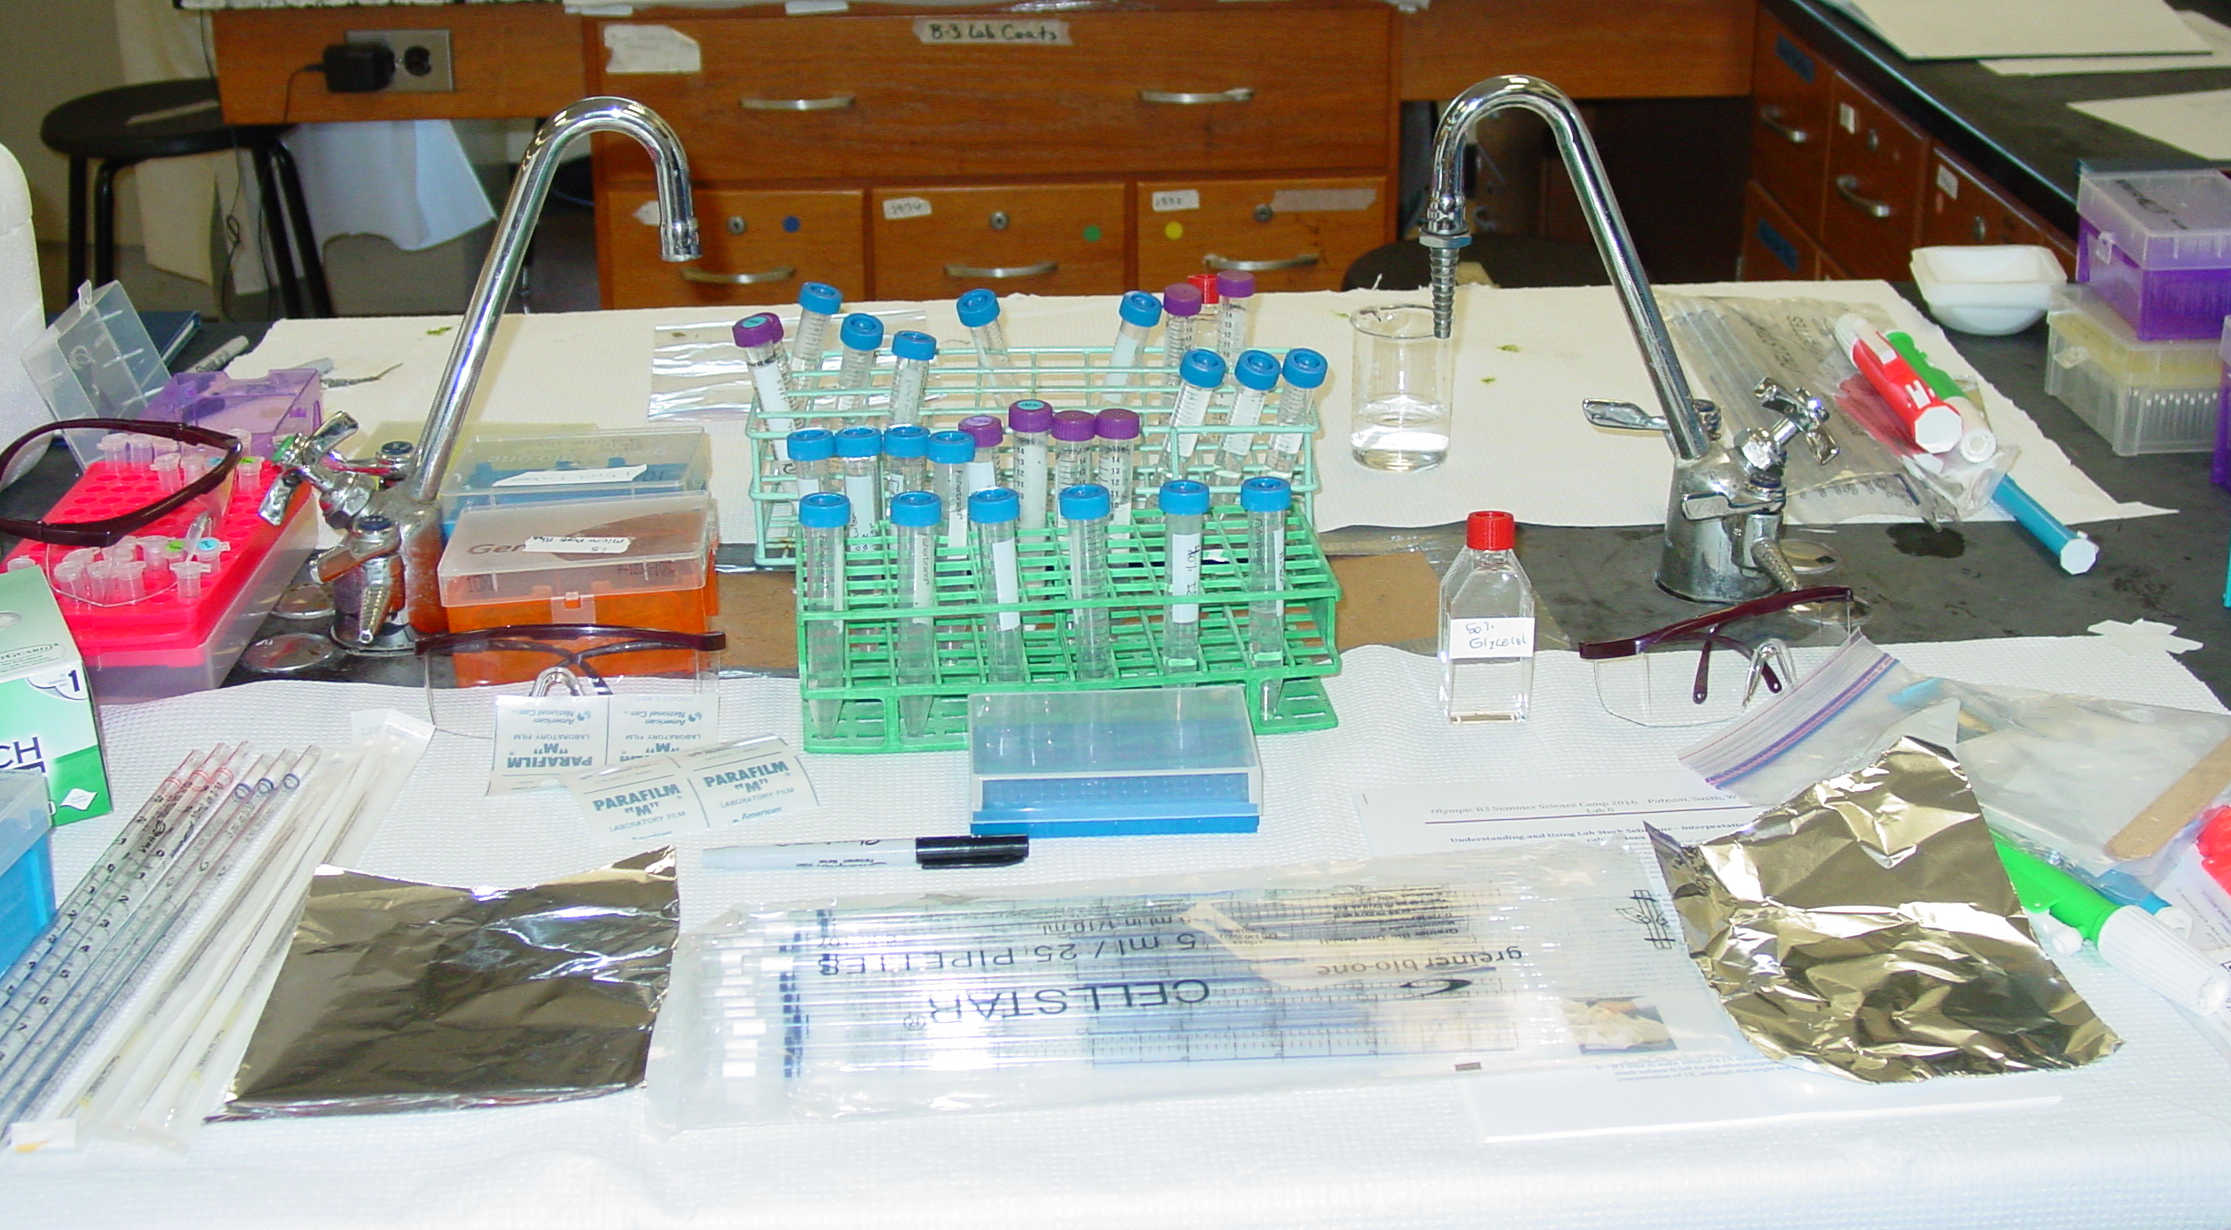
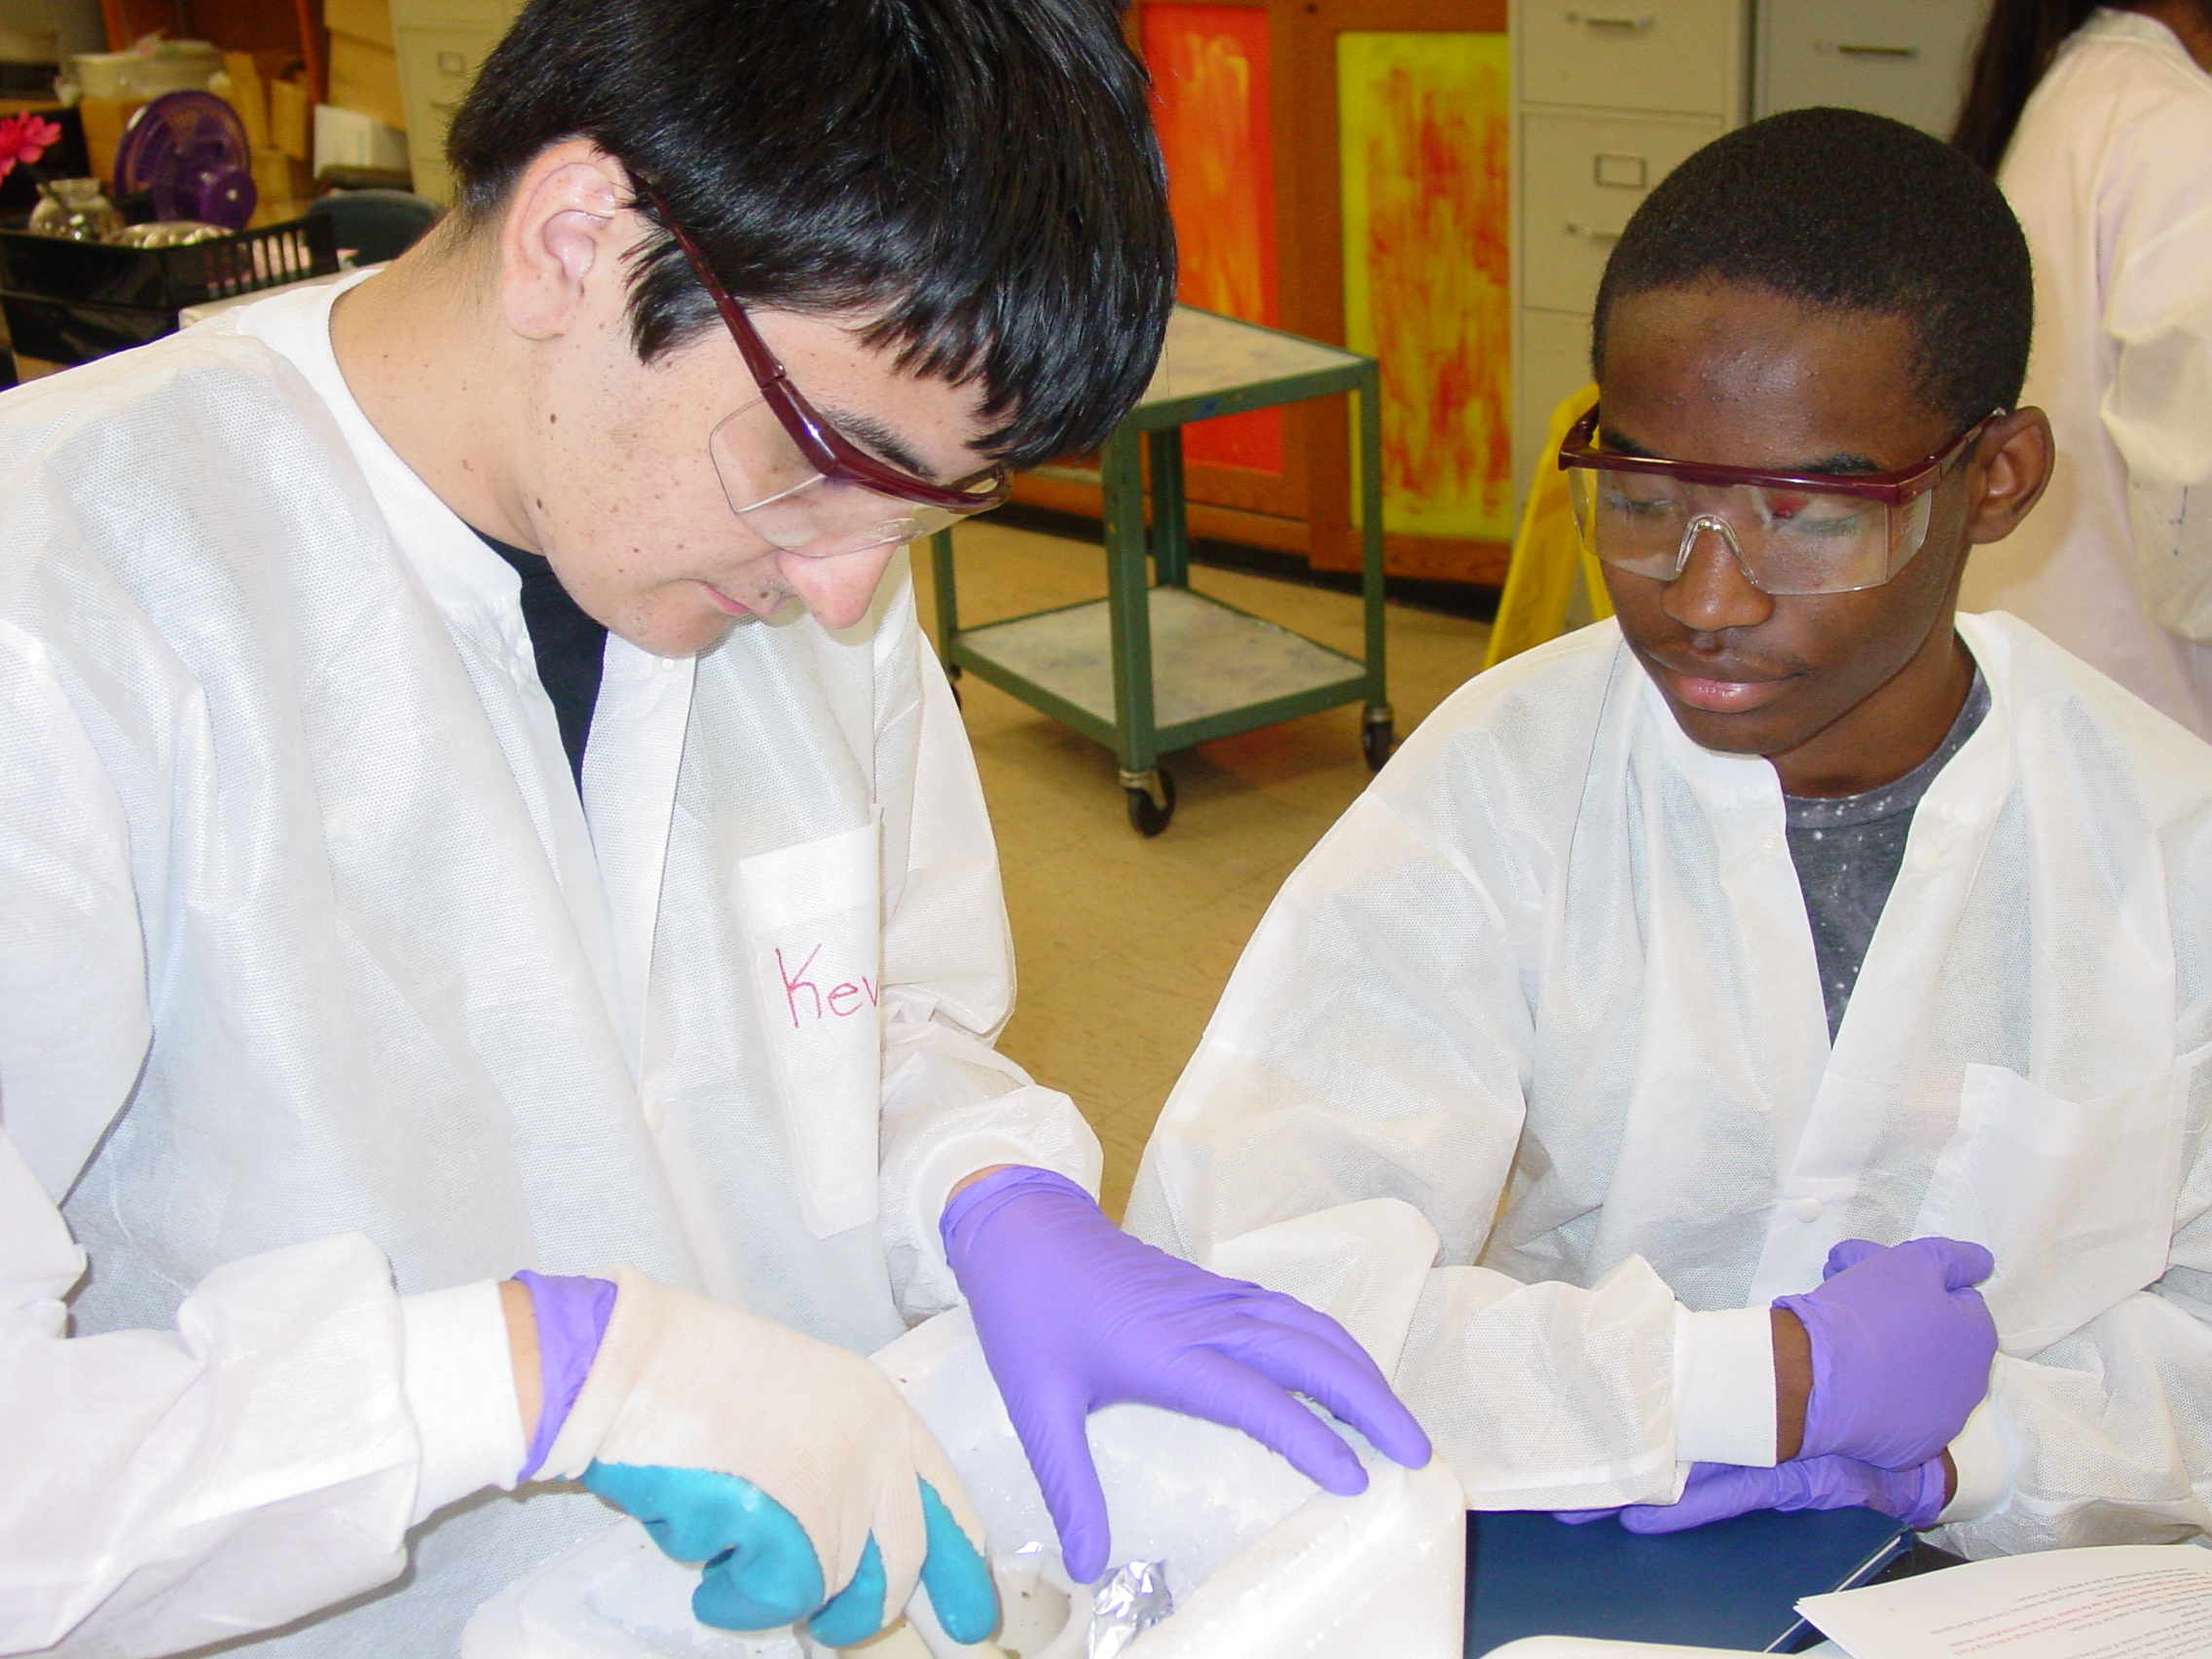
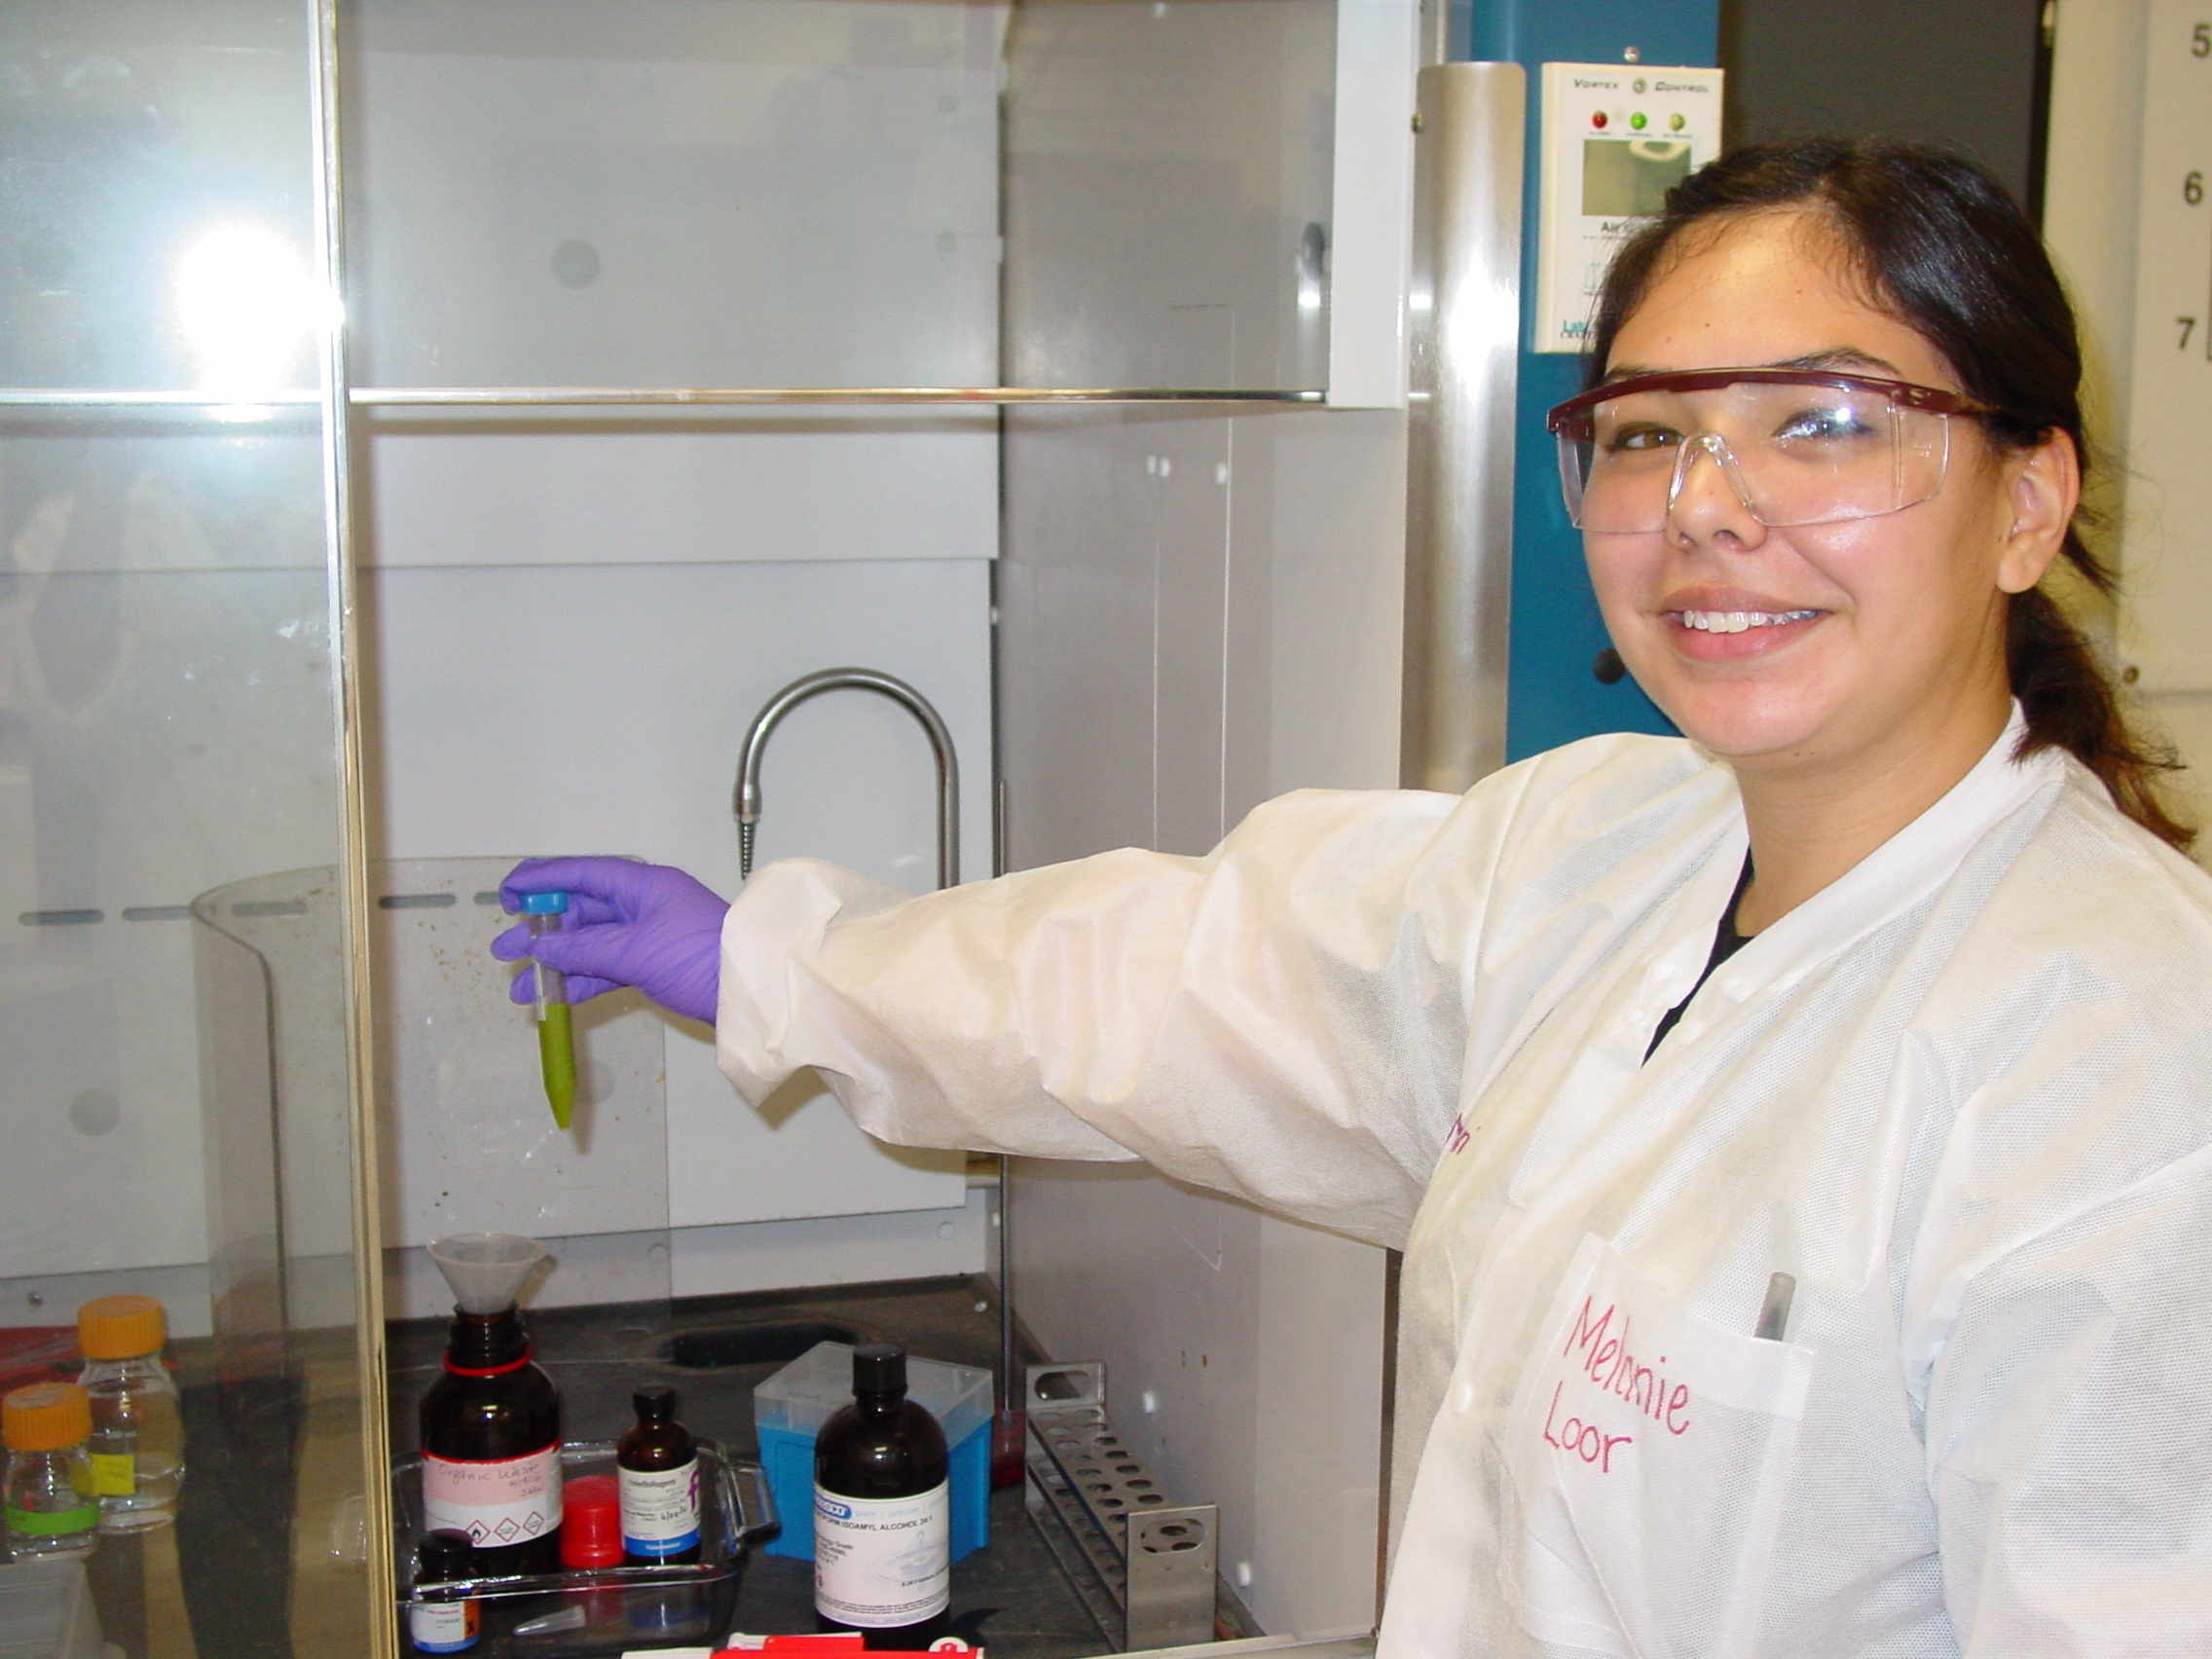
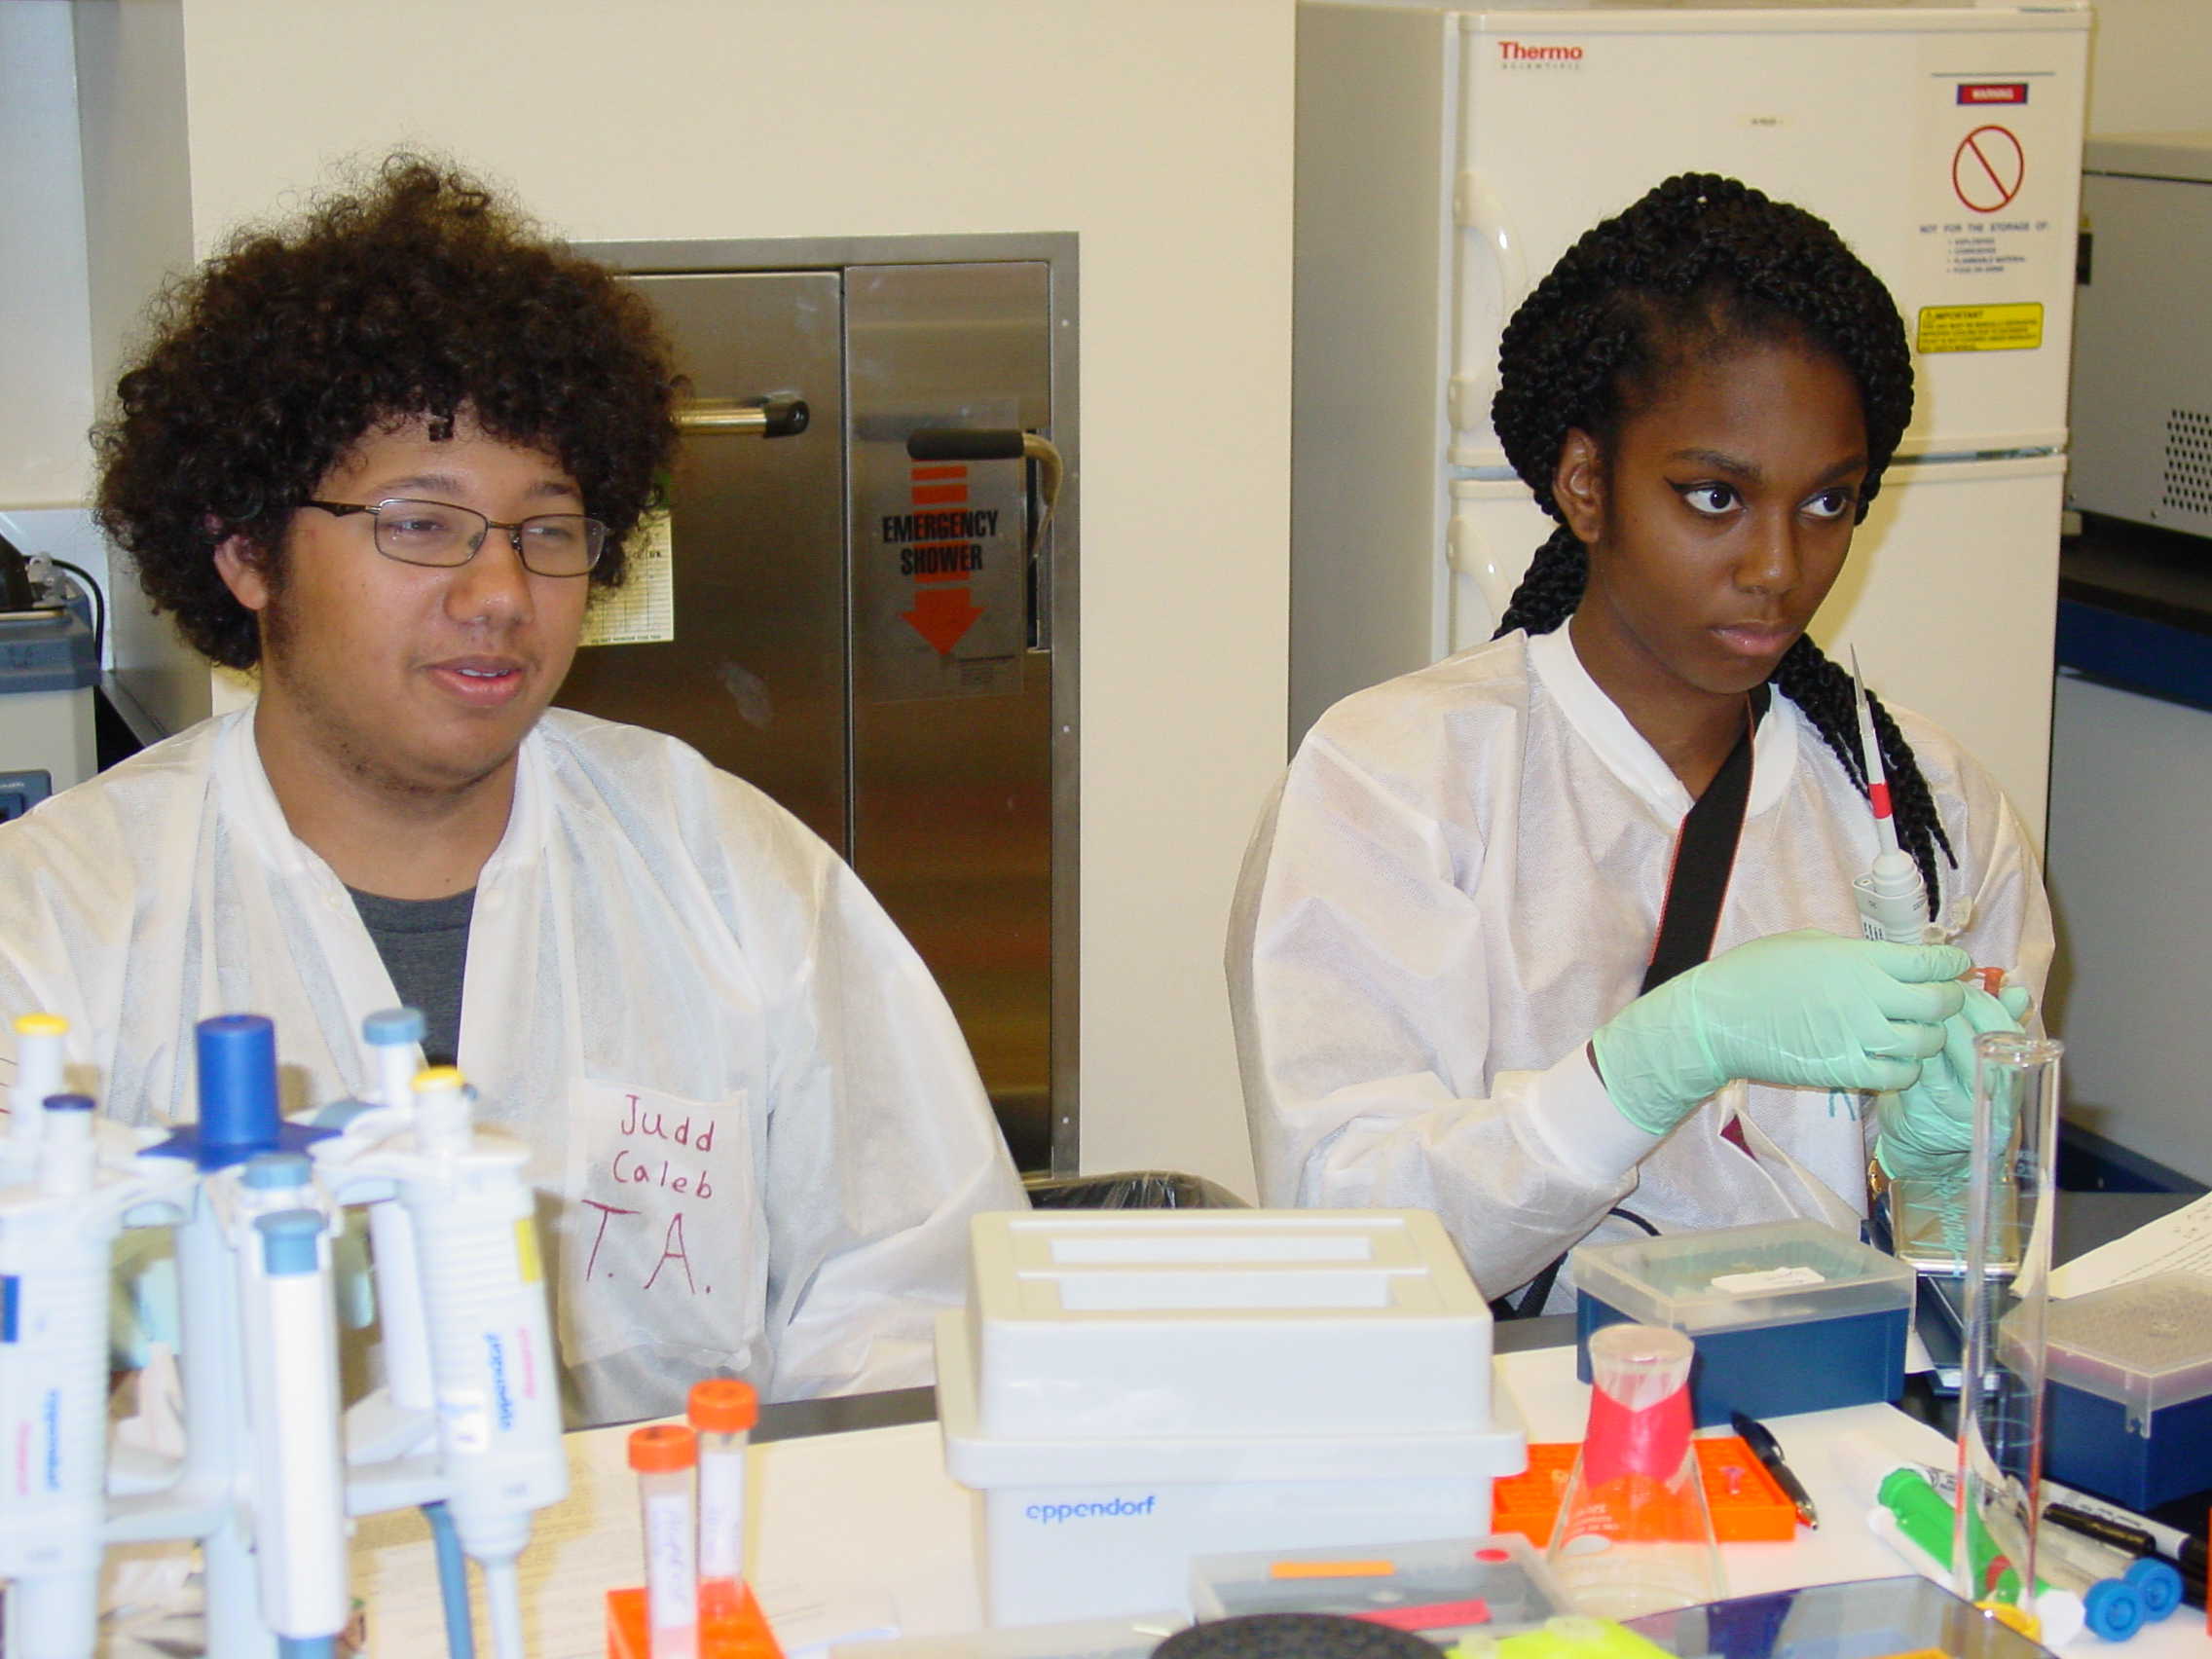
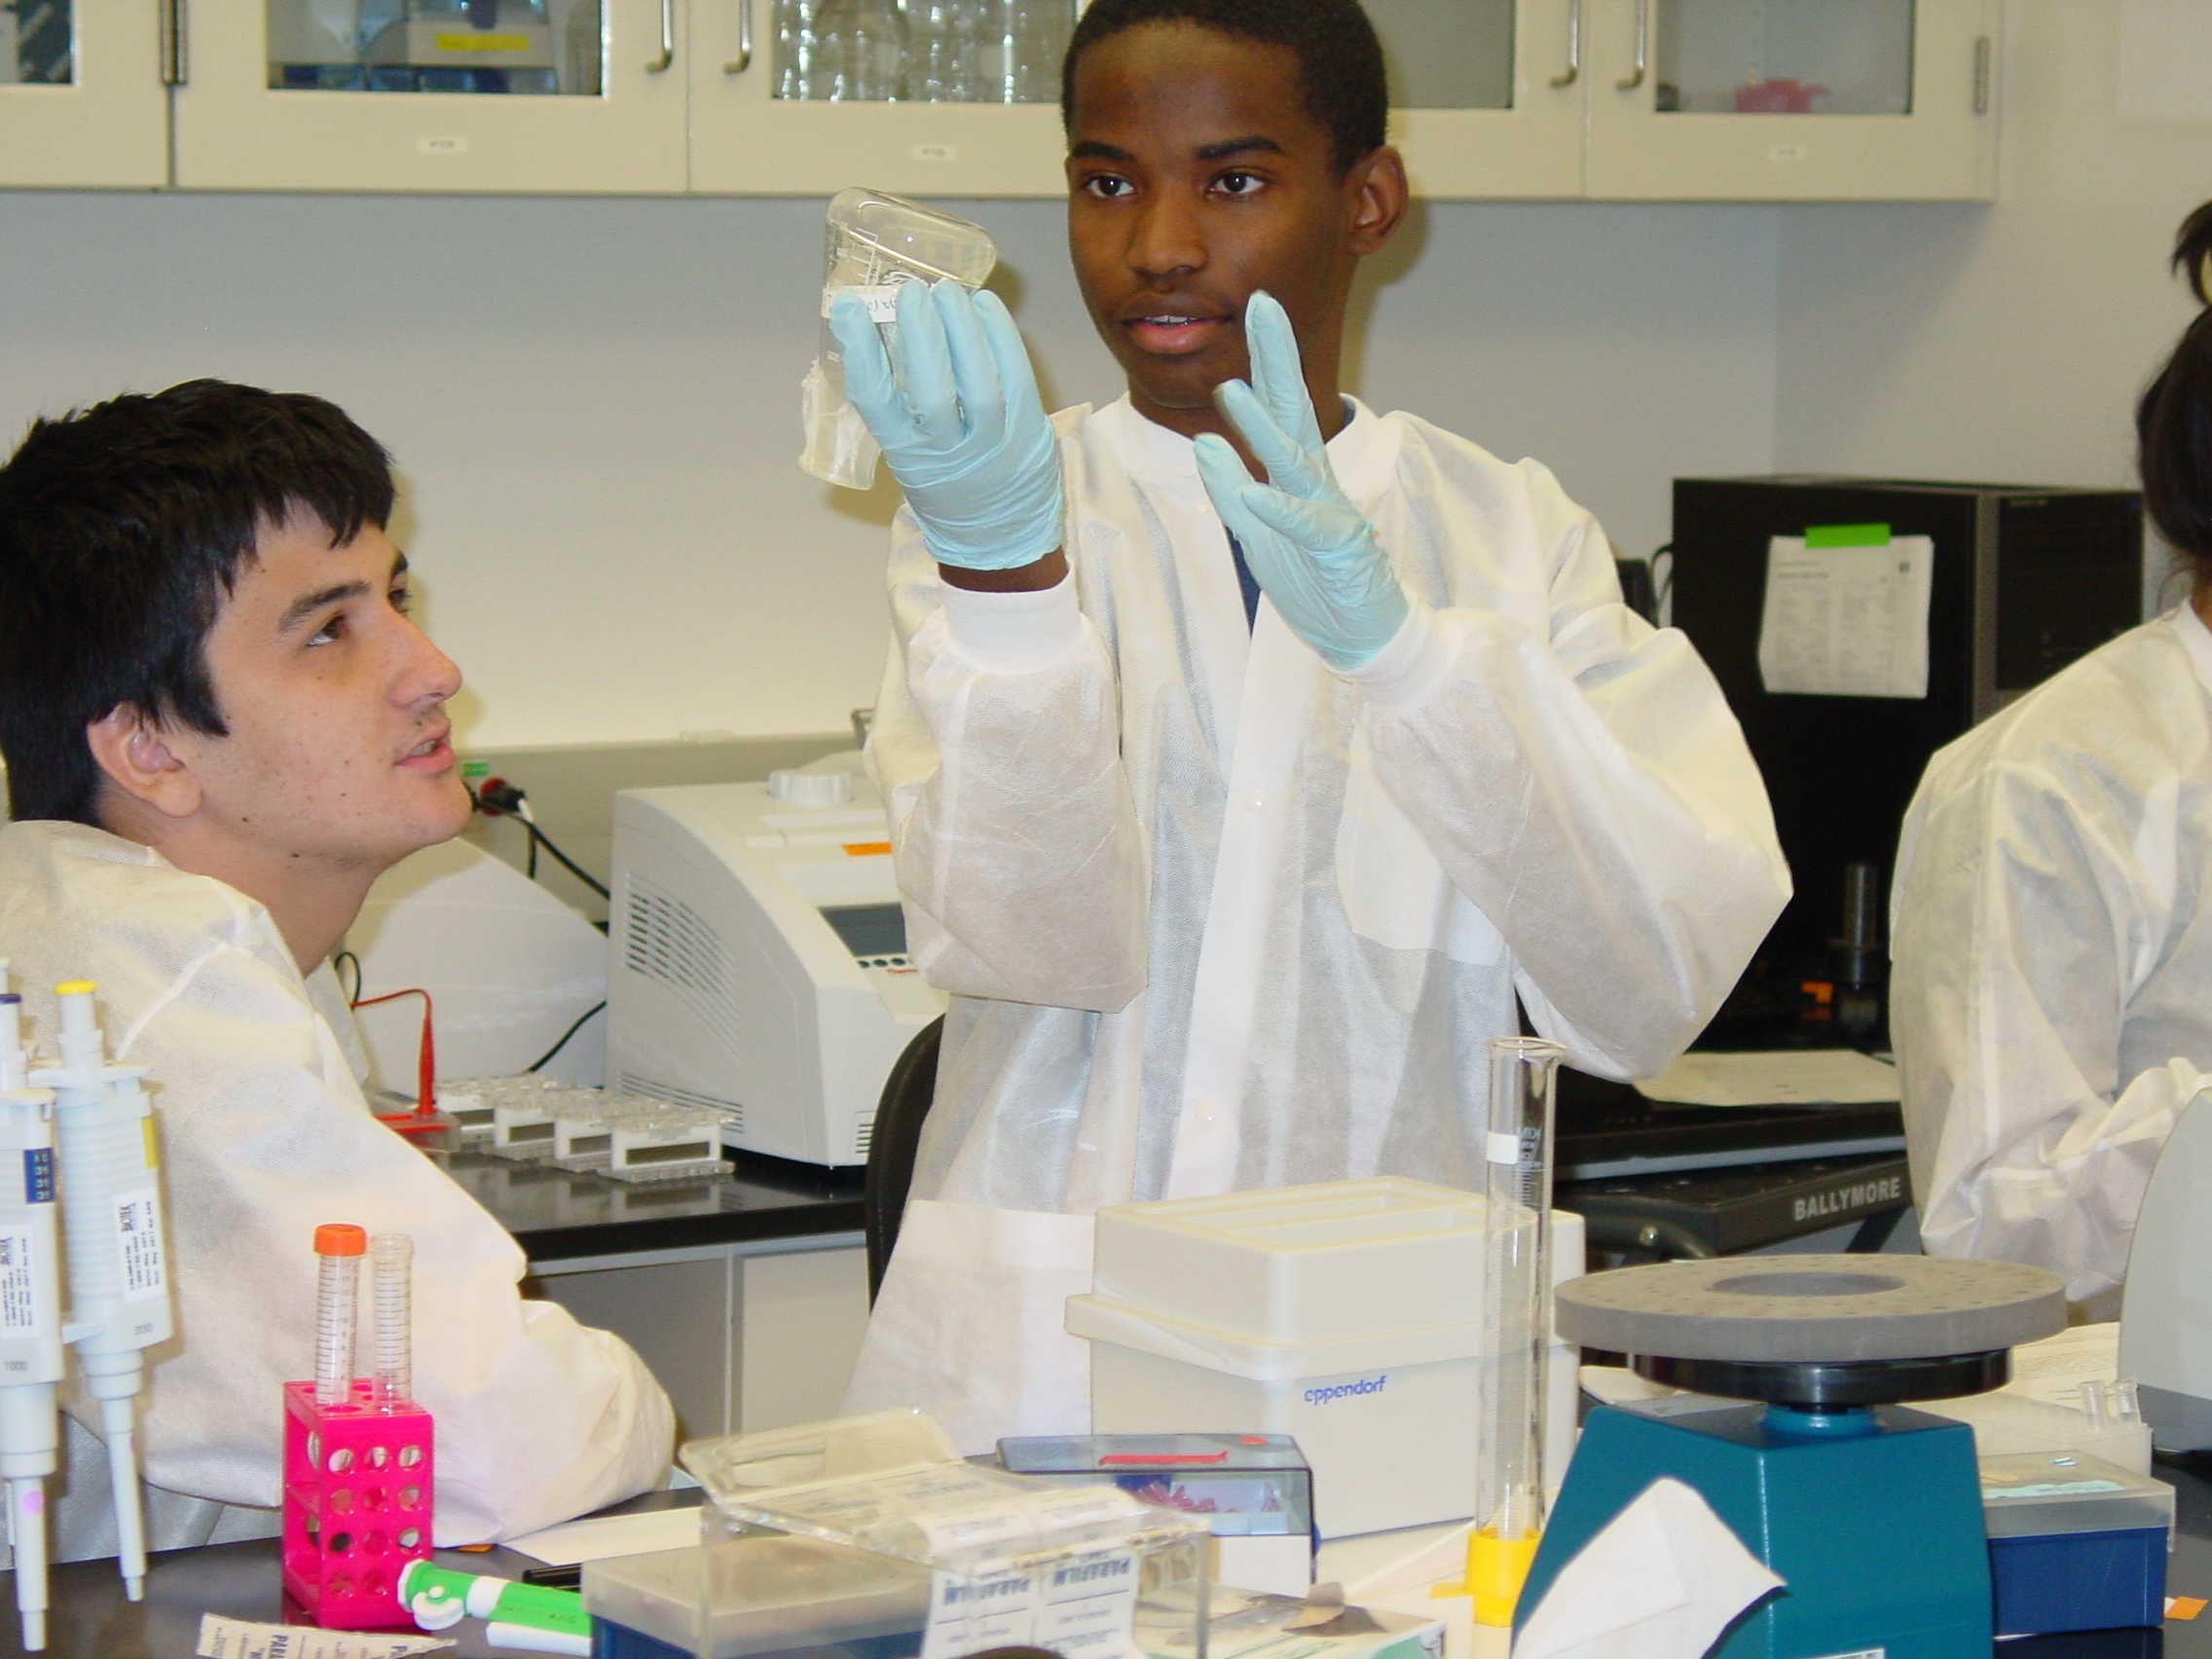
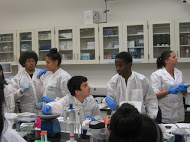
Our TAs are Kim, Kajal, Sanjana, Caleb, and Melanie - they did a great job of getting the lab set up ahead of time.
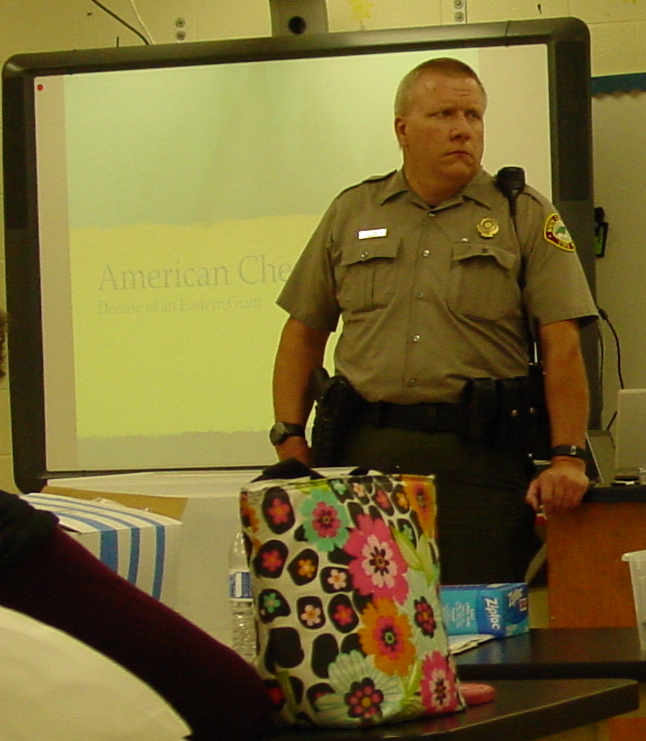
Ranger Kelly Cook and Mr. Steve Barilovits shared their knowledge of the natural history of the American Chestnut and efforts to bring it back to the Eastern American forest.
Students tested their memory for the names and functions of equipment we will be using (Caleb and Kayla), and got notebooks ready for observations (Gabriella)
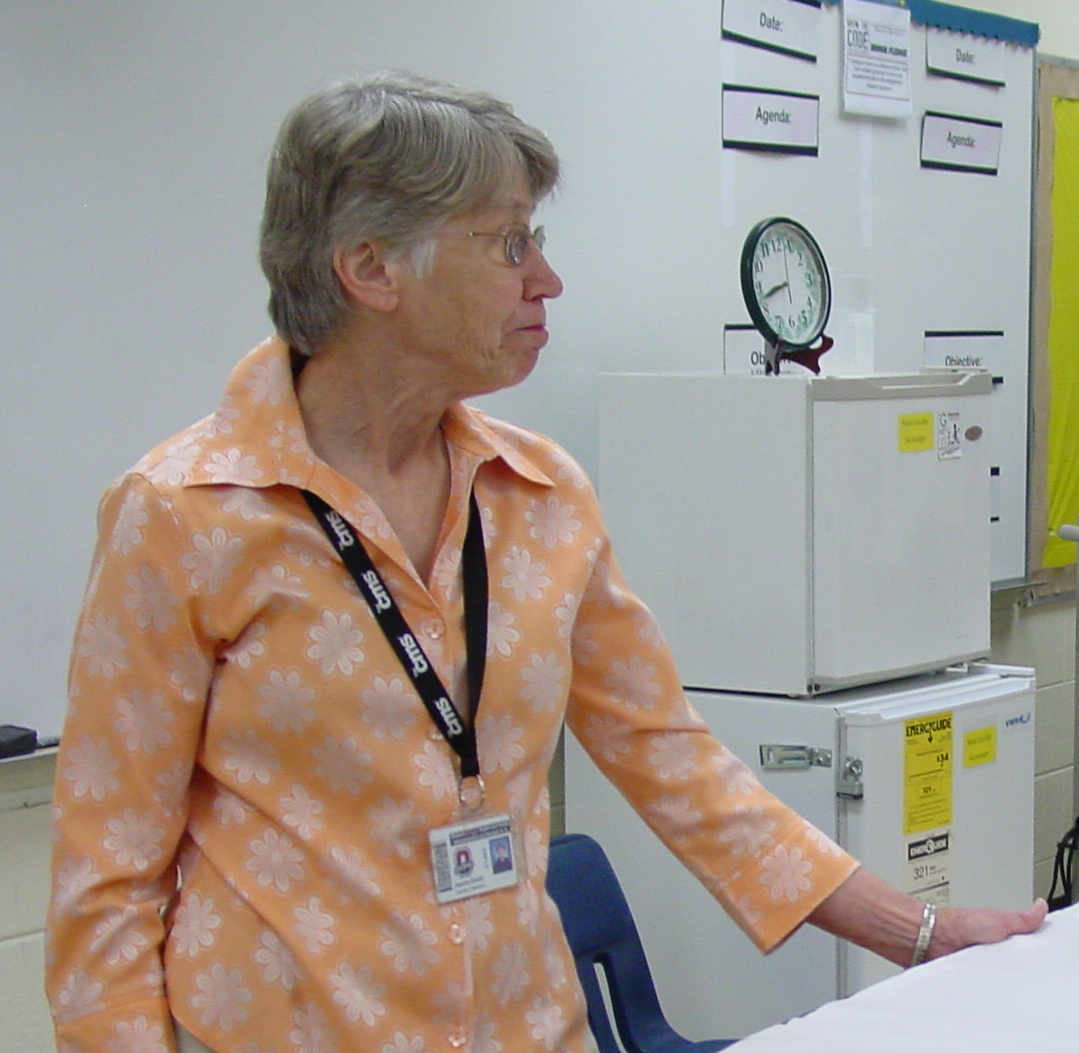
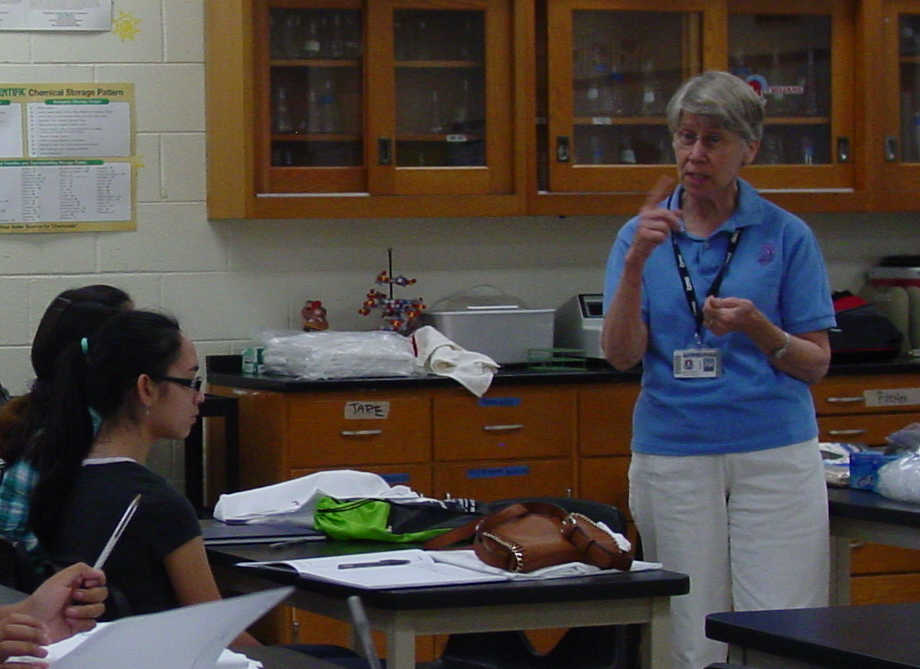
Ms Smith gave the initial orientation lecture while Ms Putnam drove the slideshow.
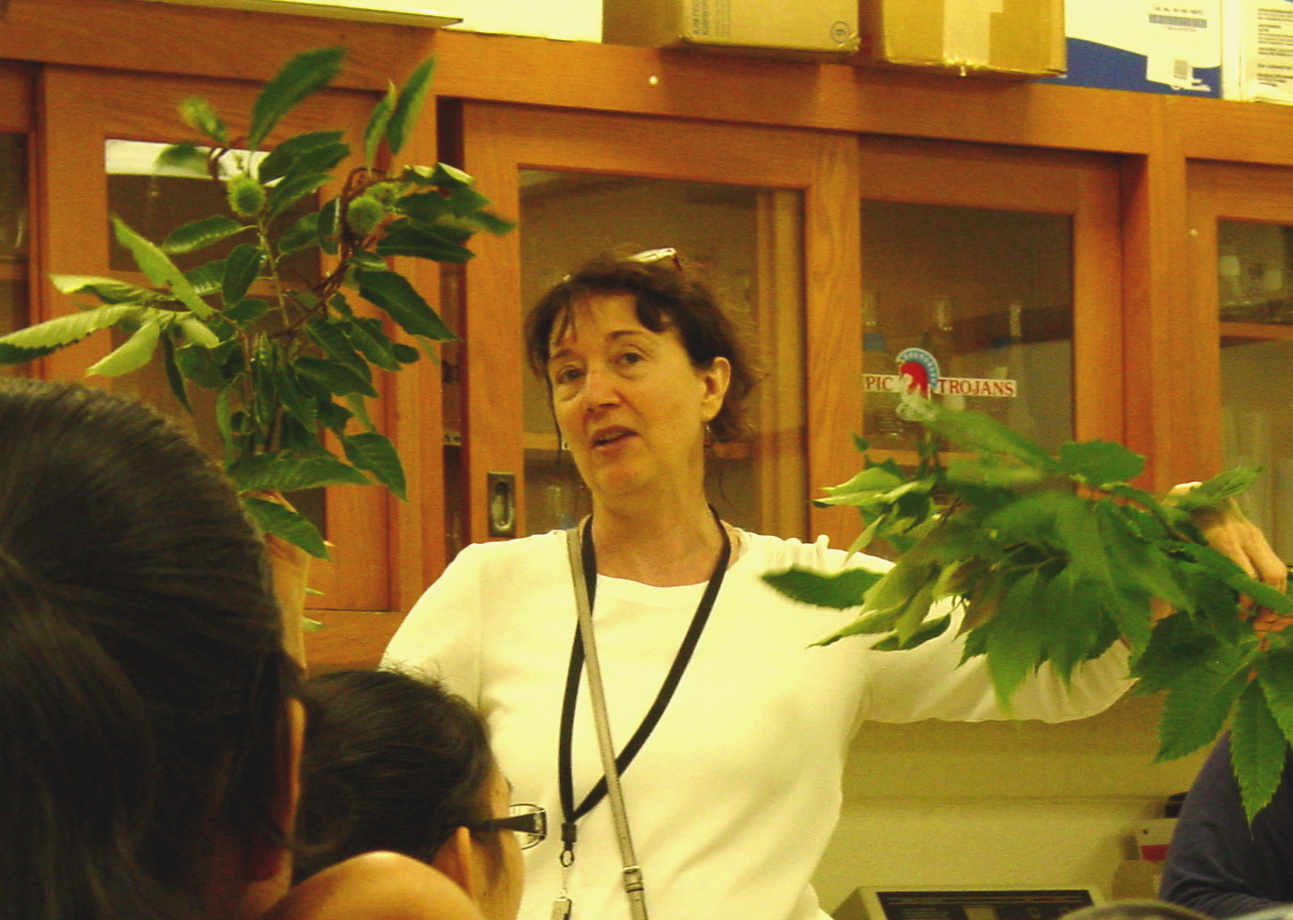
Dr. Weller spent some time waving around Chinese and American (15/16) Chestnut branches brought by Steve Barilovits, until she finally released them for student inspection.
June 16 th, 2016. The B3 Summer Science Camp Blog
Our journalist this year is Keilani - please check here for her interpretation of the activities.
June 16 th
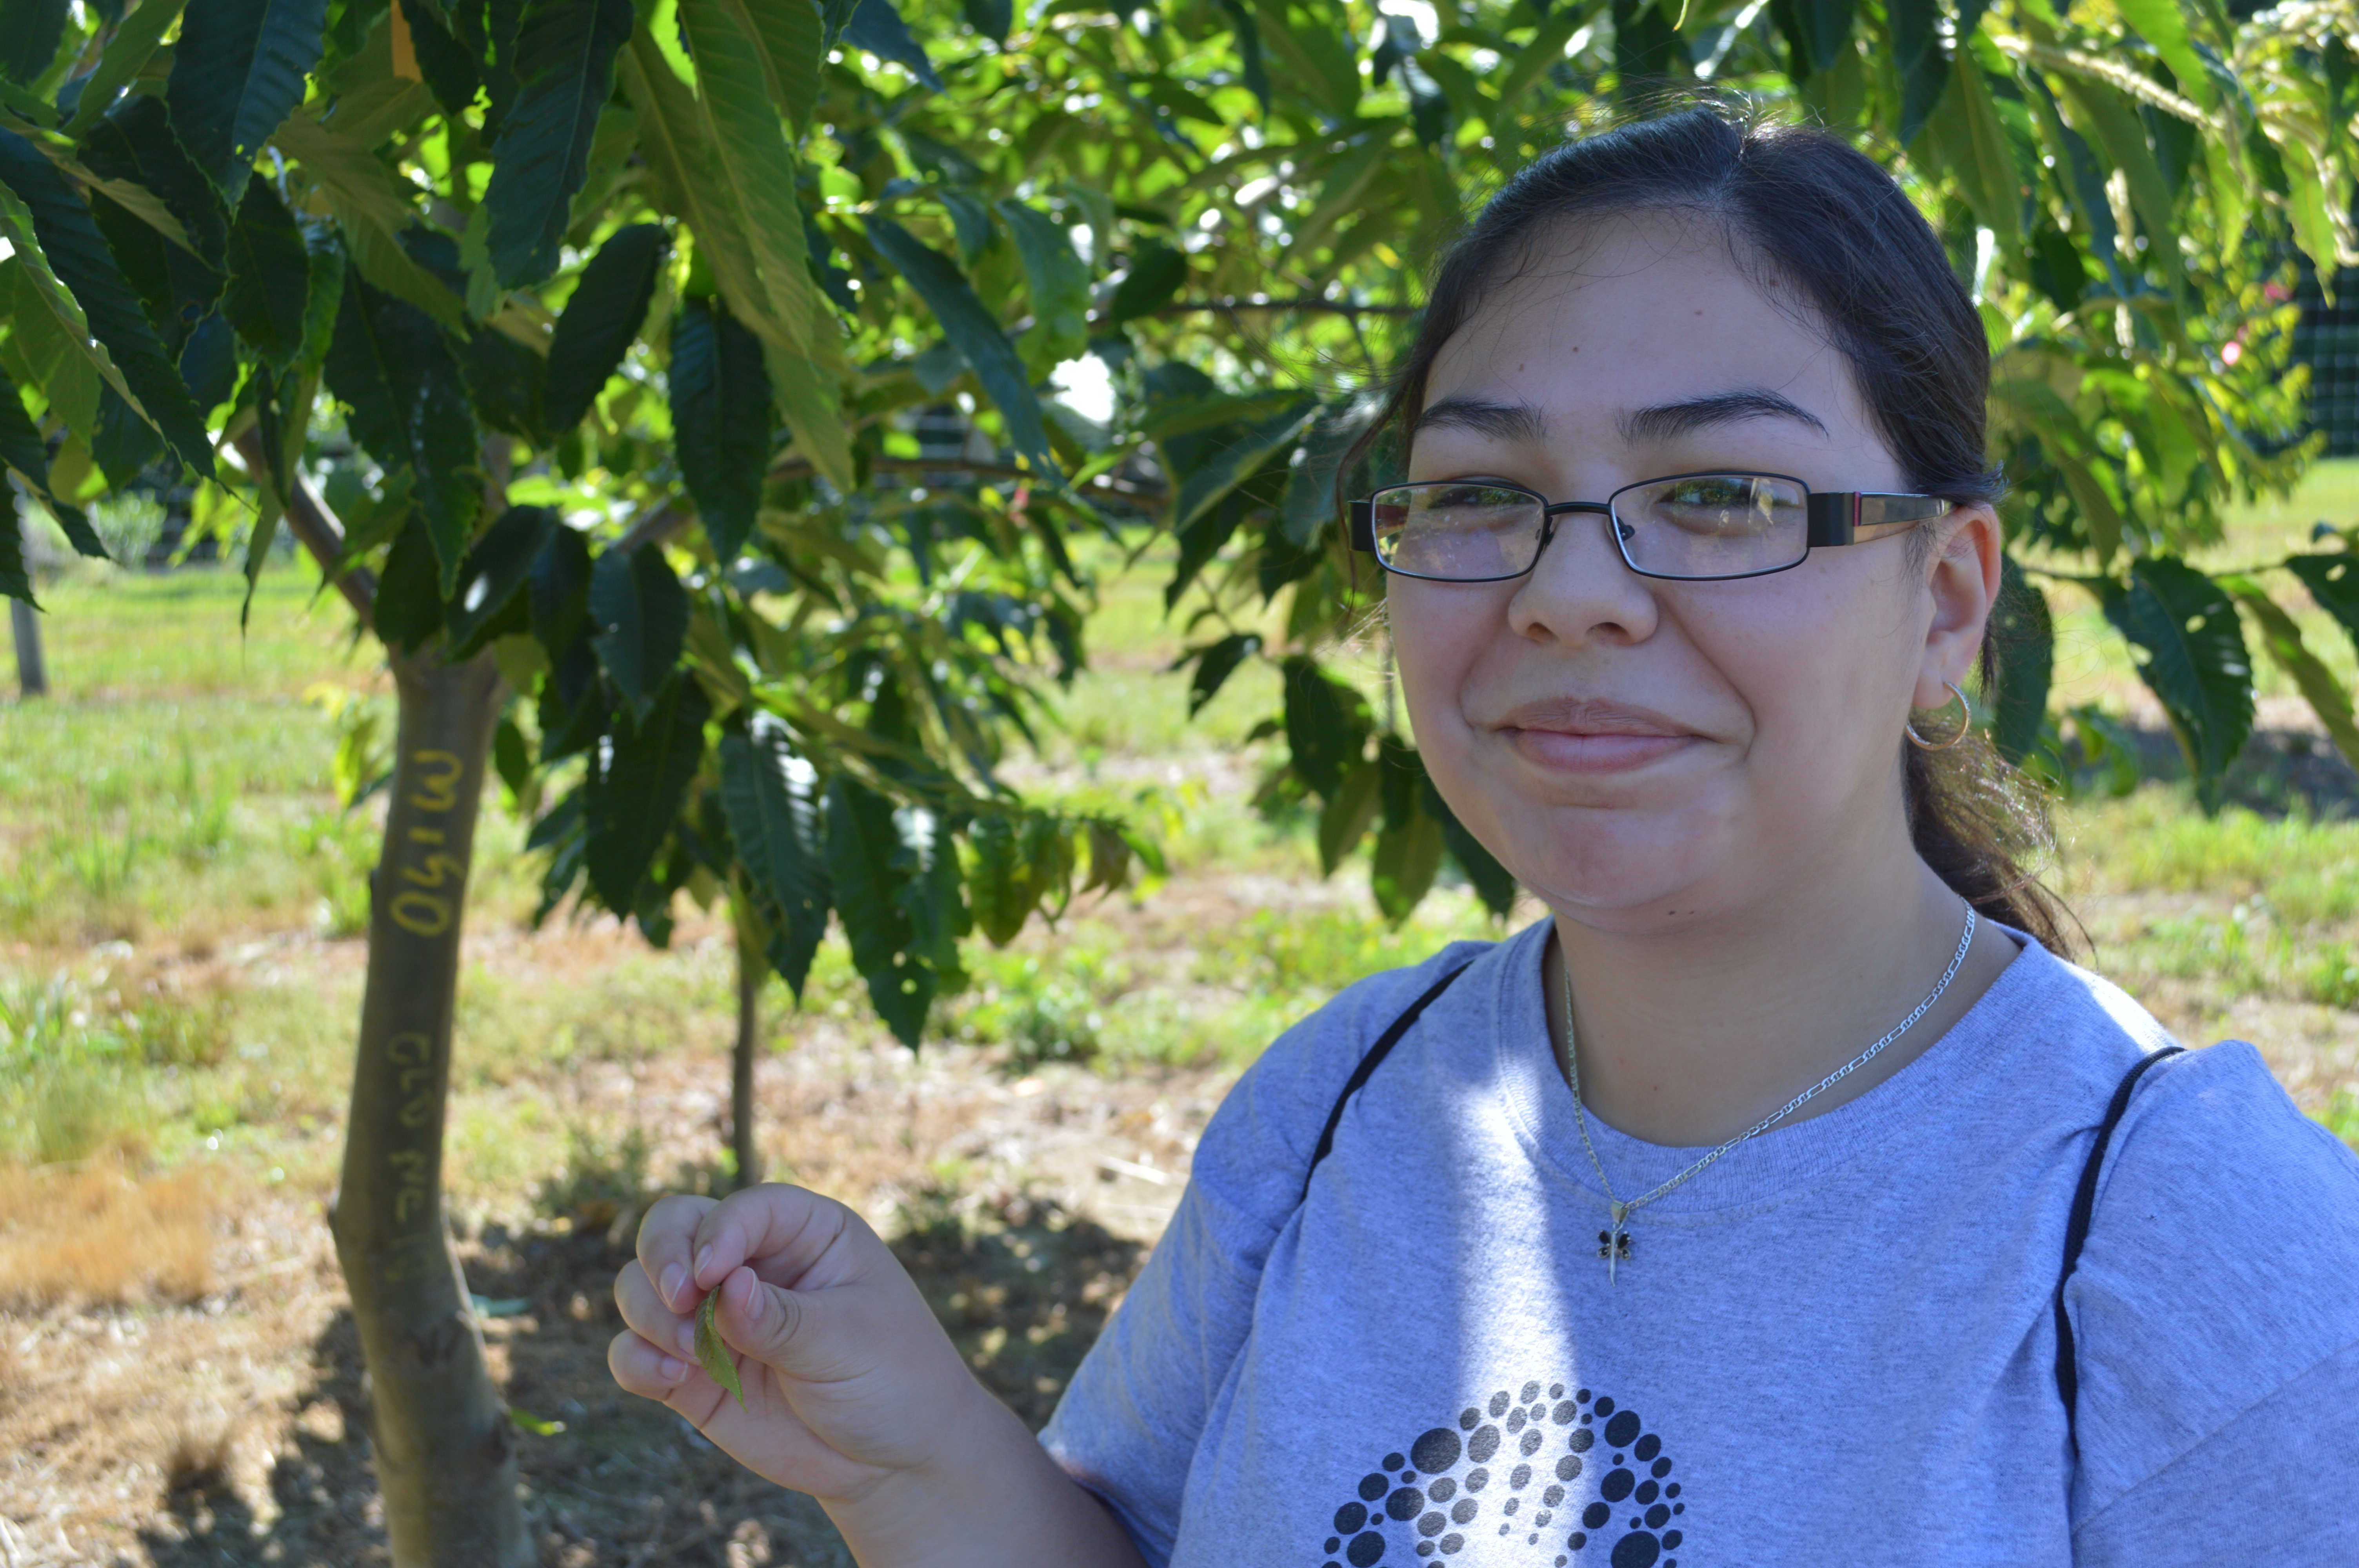
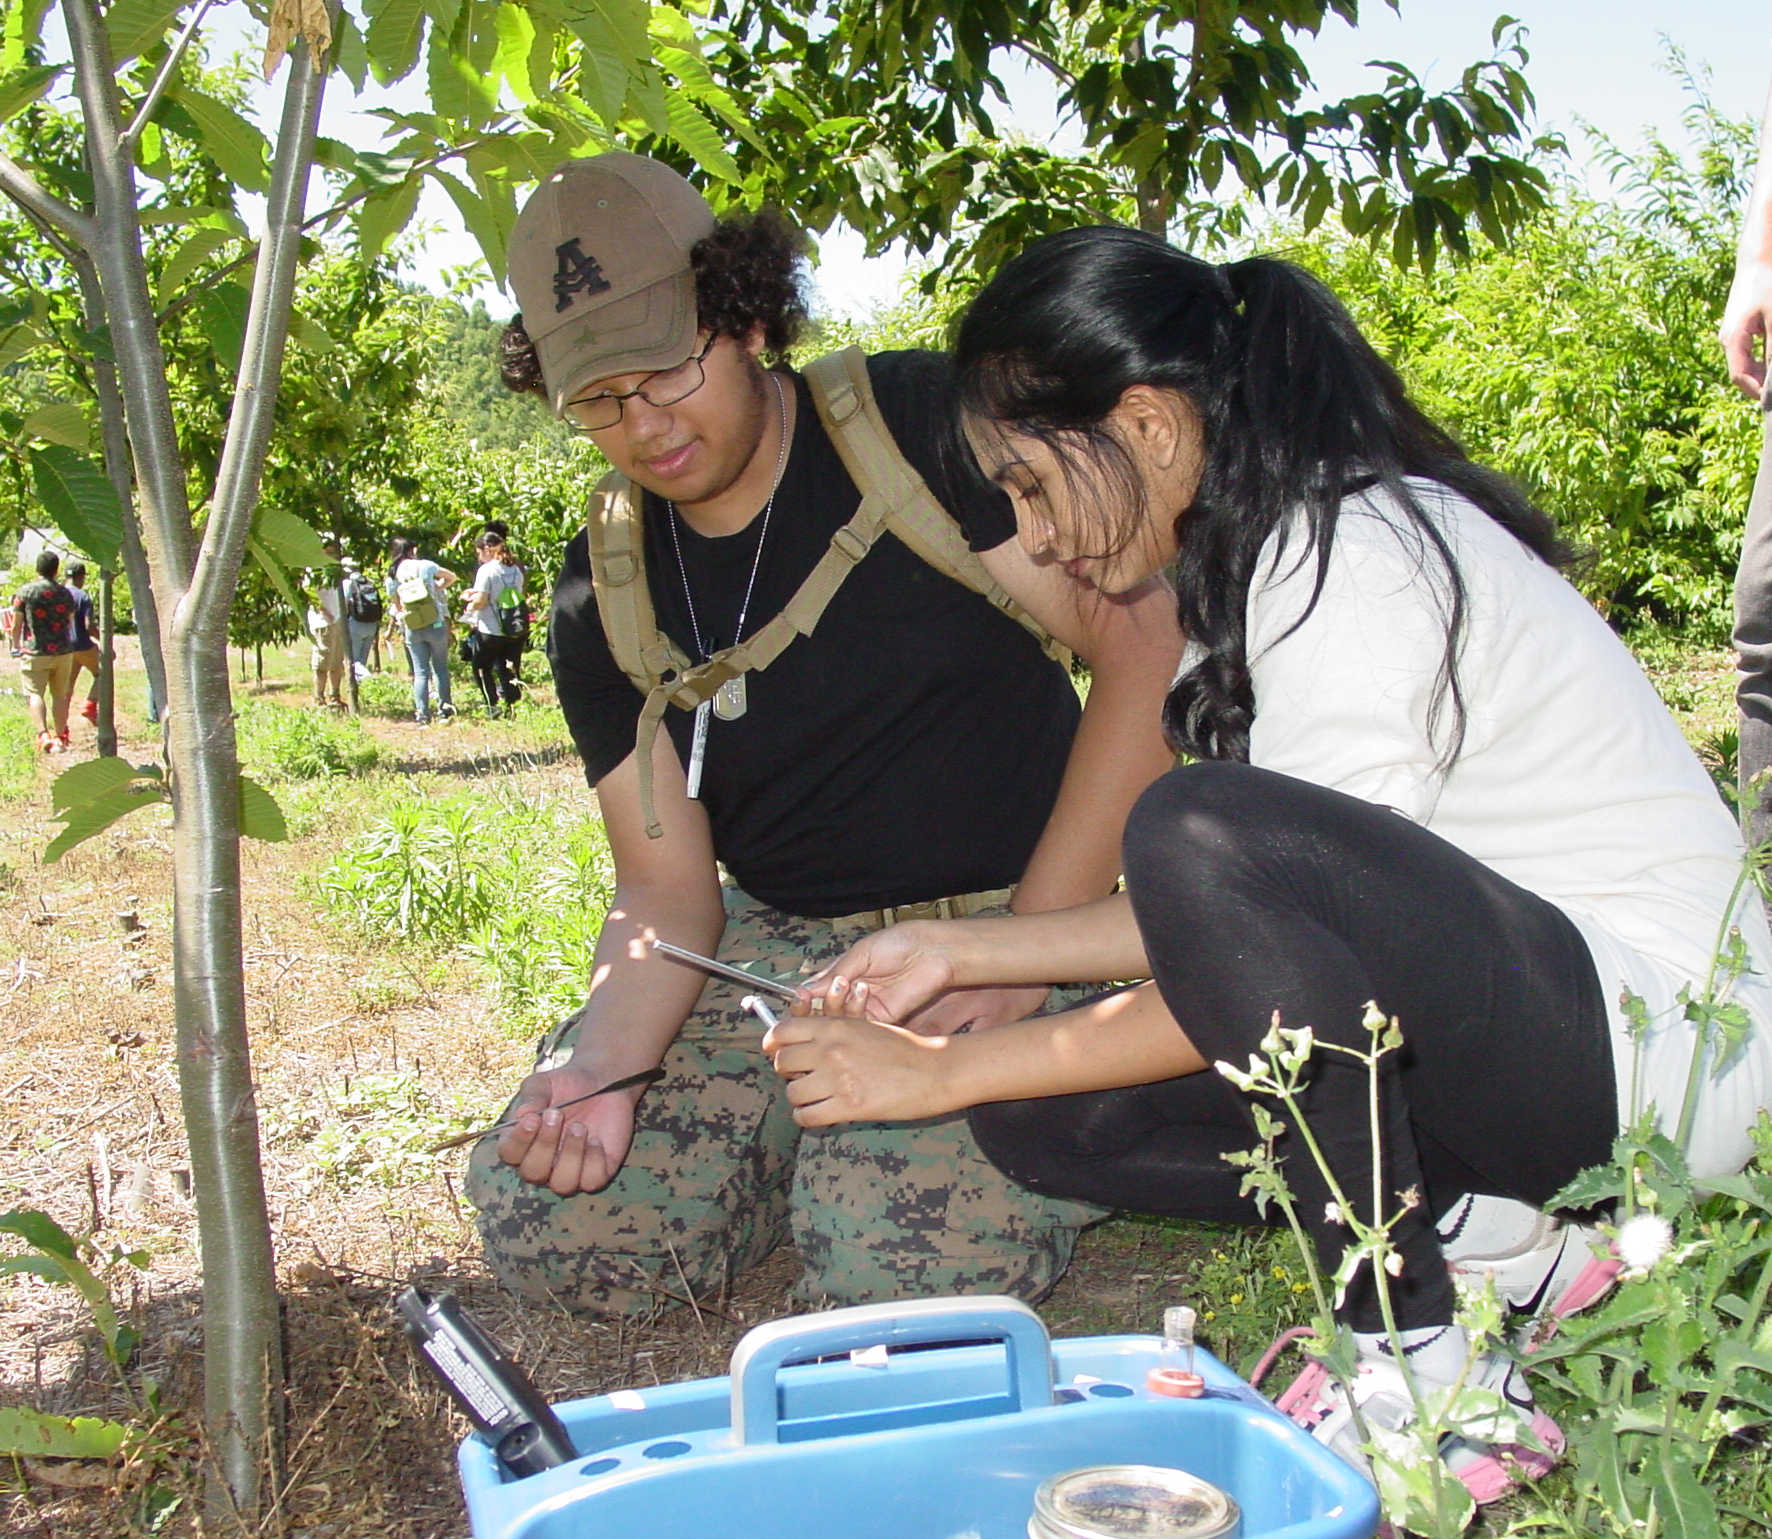
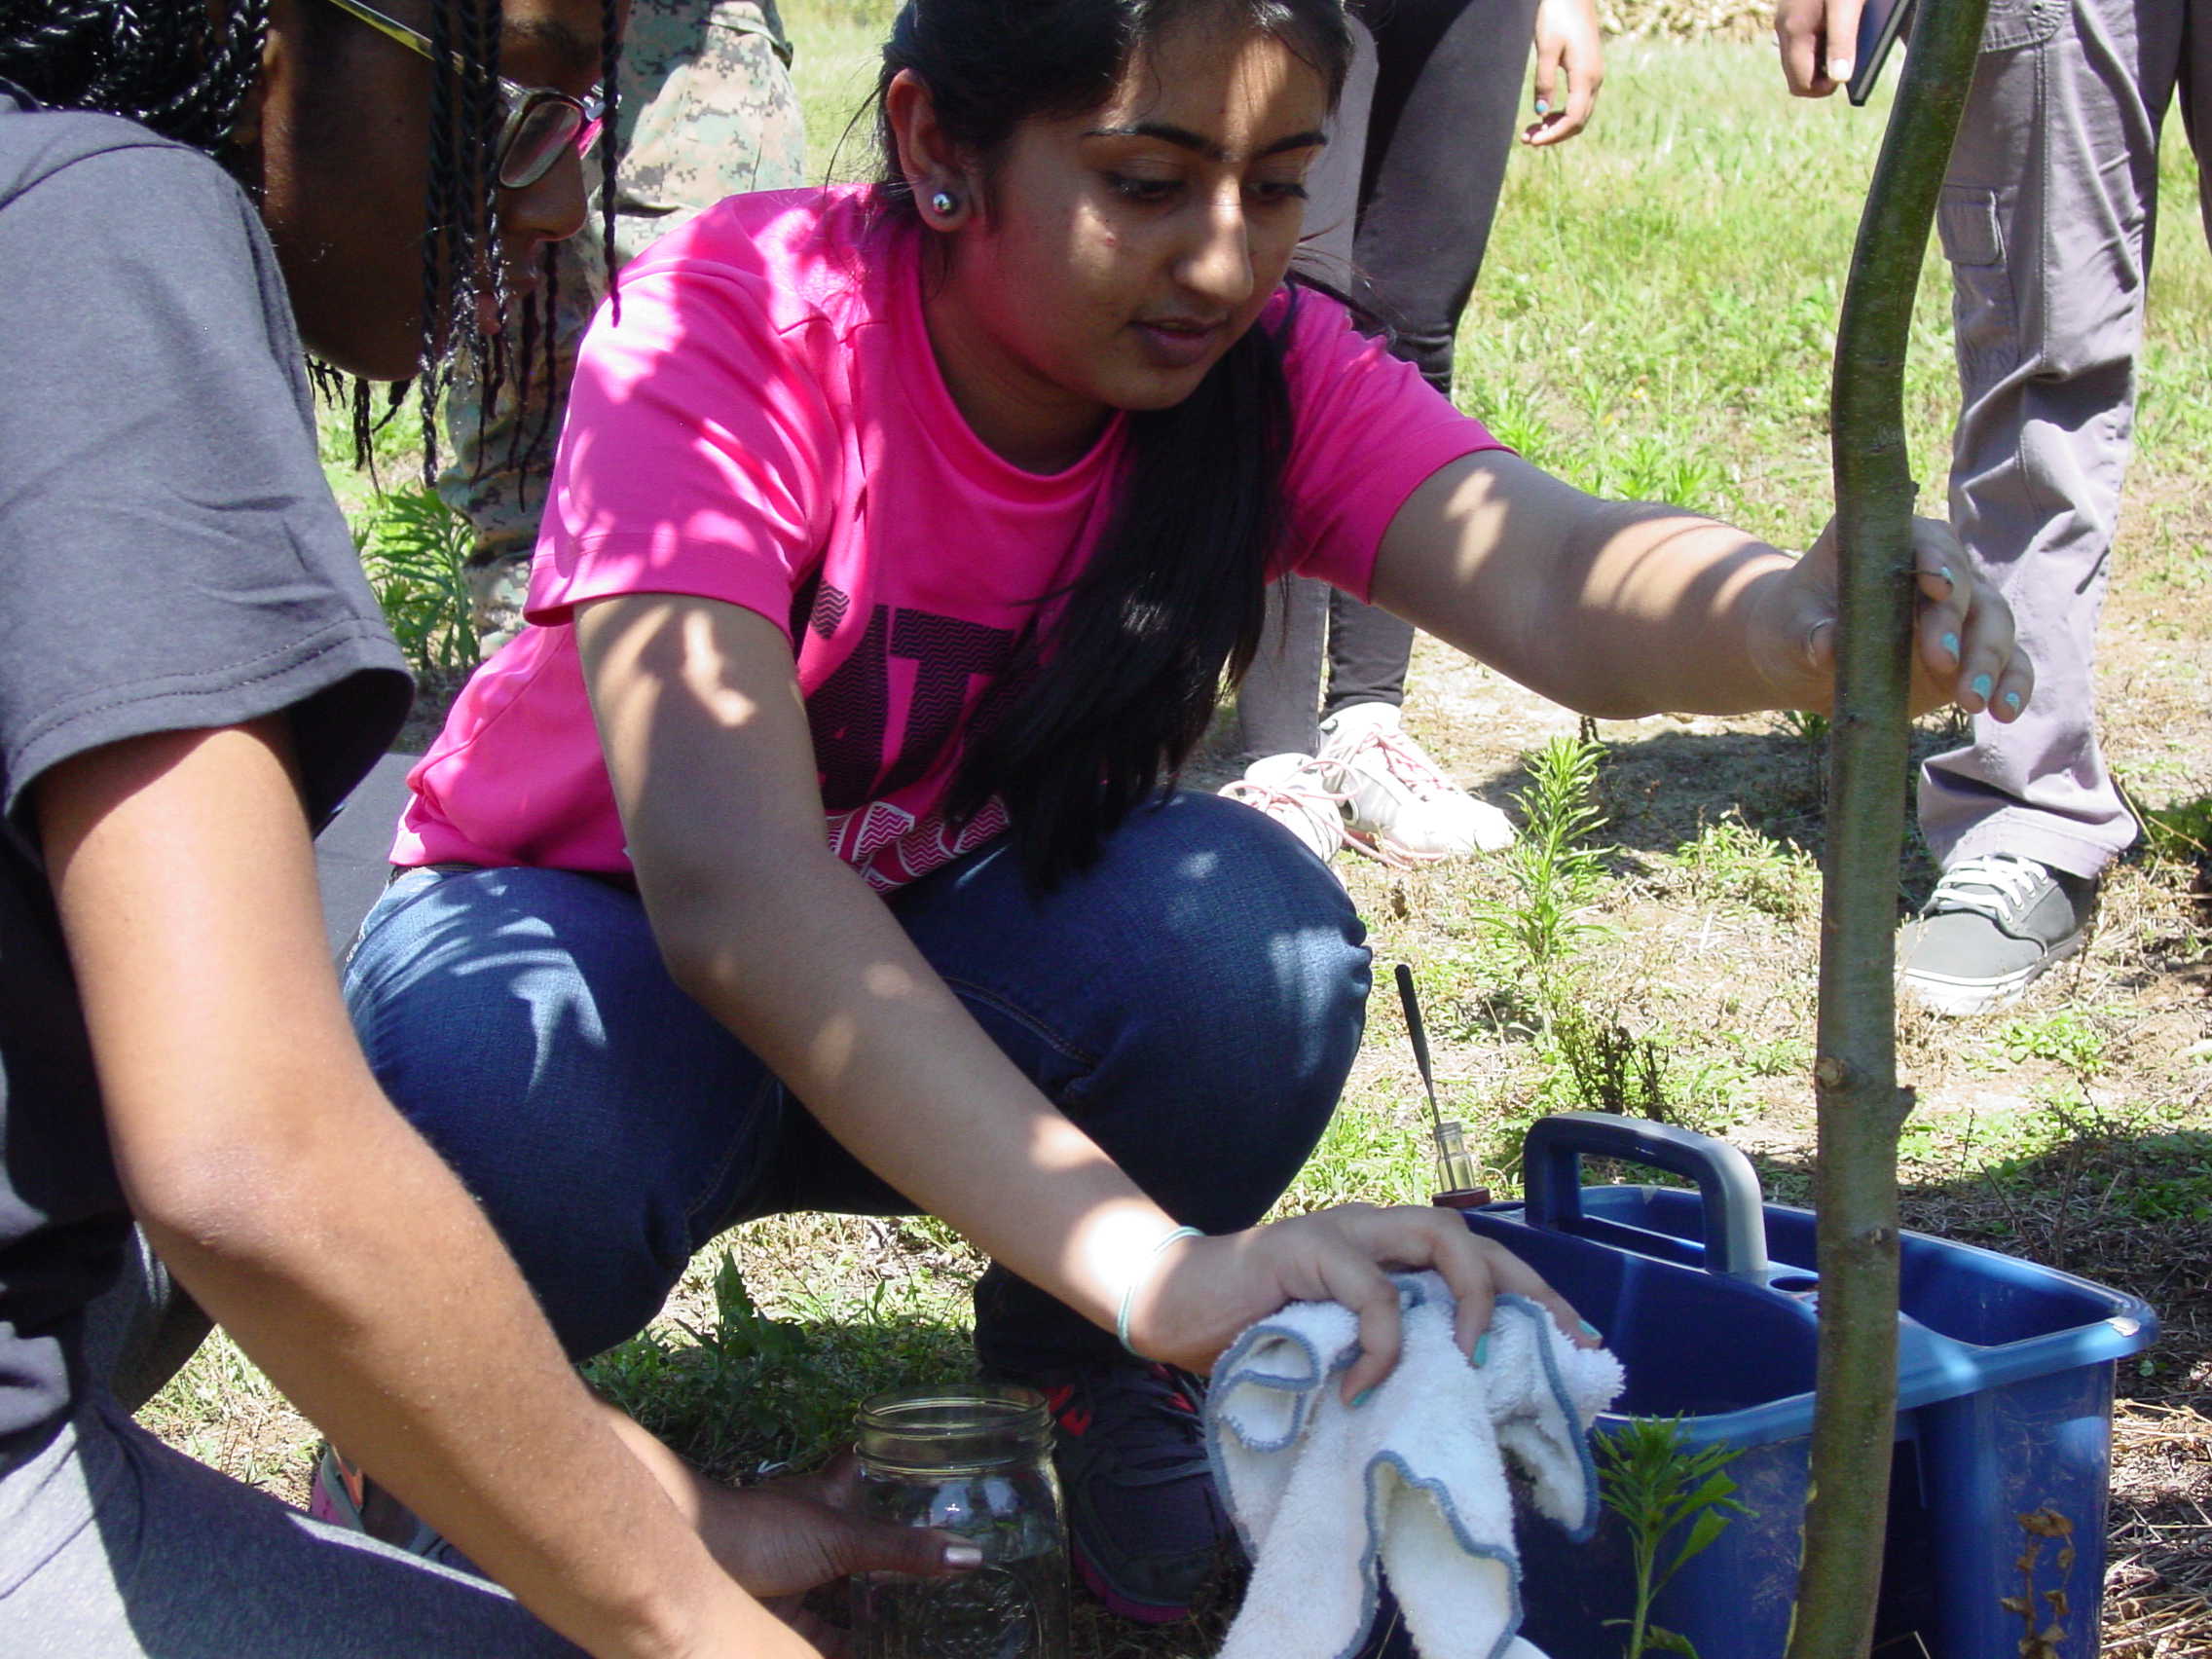
Field Trip to Hendersonville- a test orchard at Pryor Farm, with expert instruction from Dr. Paul Sisco
The goal of todays activities is to collect leaves from trees likely to have different types of chloroplasts, to learn how the infection
challenge is administered and understand more about the genetics of the back-cross breeding program.
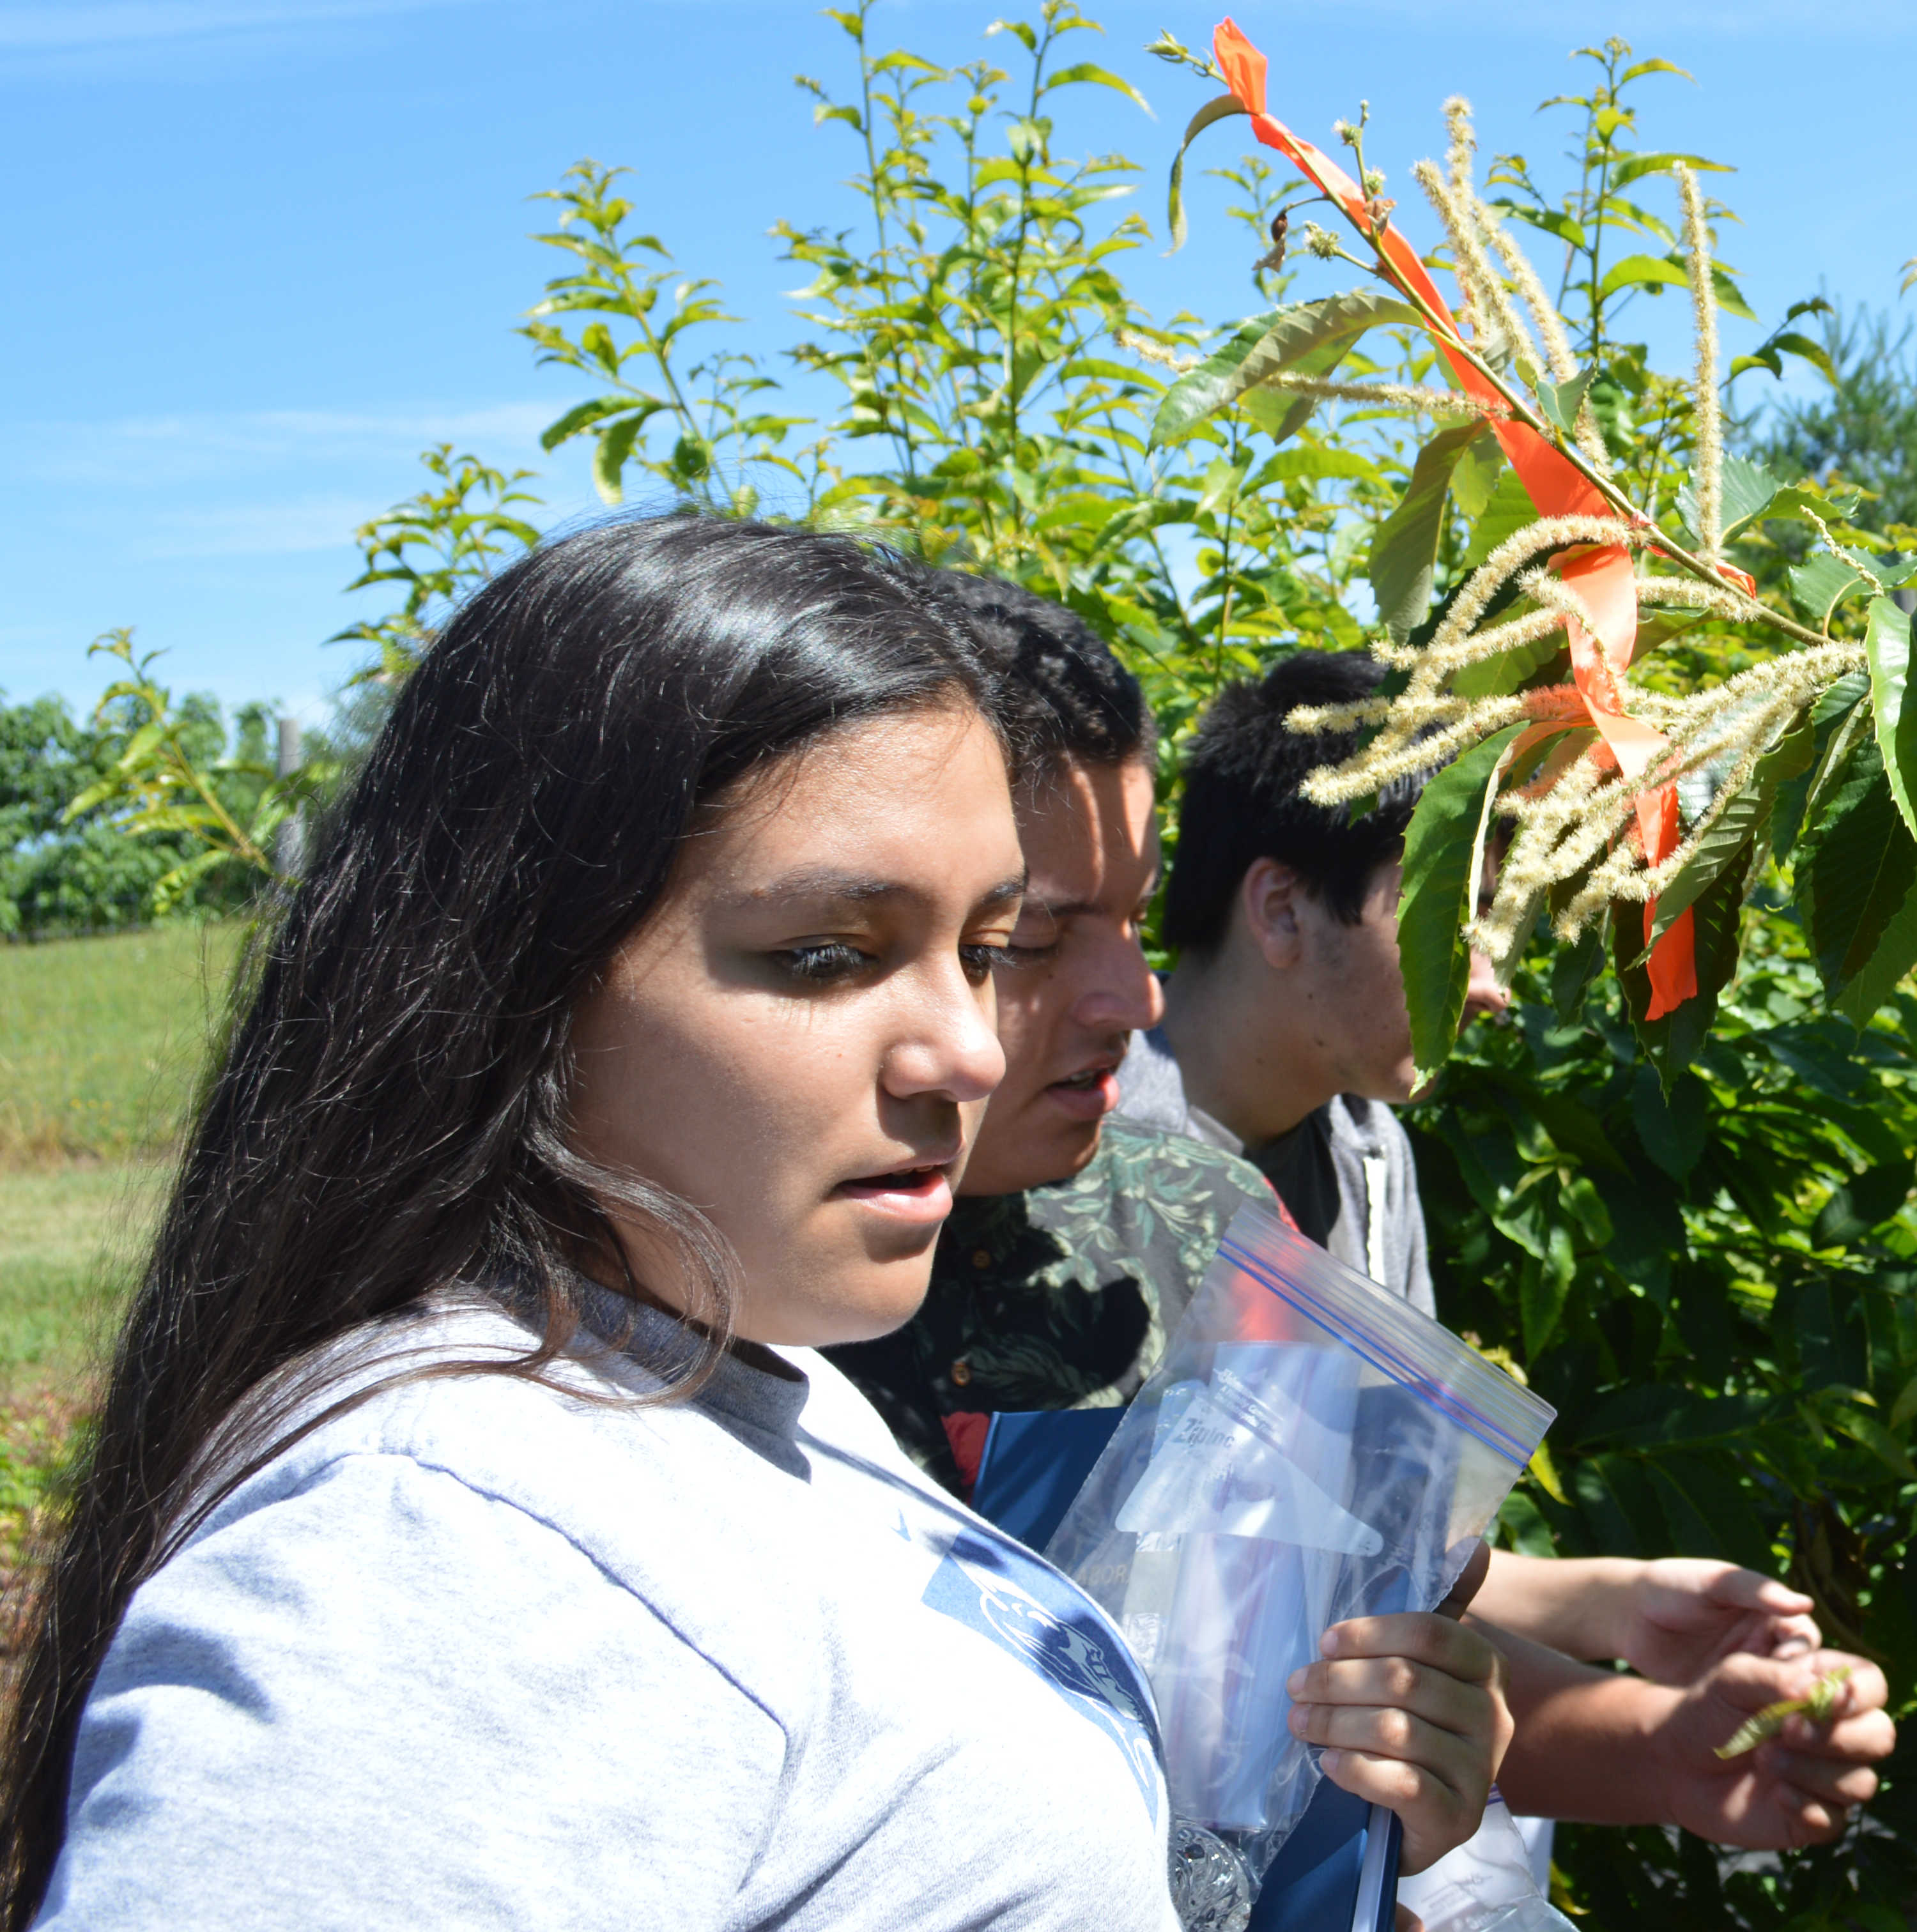
We collected some catkins, flowers and scraped some fungus from infected trees to look at under the microscope tomorrow.
Jon Shea, a Research Specialist in the Su Lab at UNC Charlotte accompanied us as well.
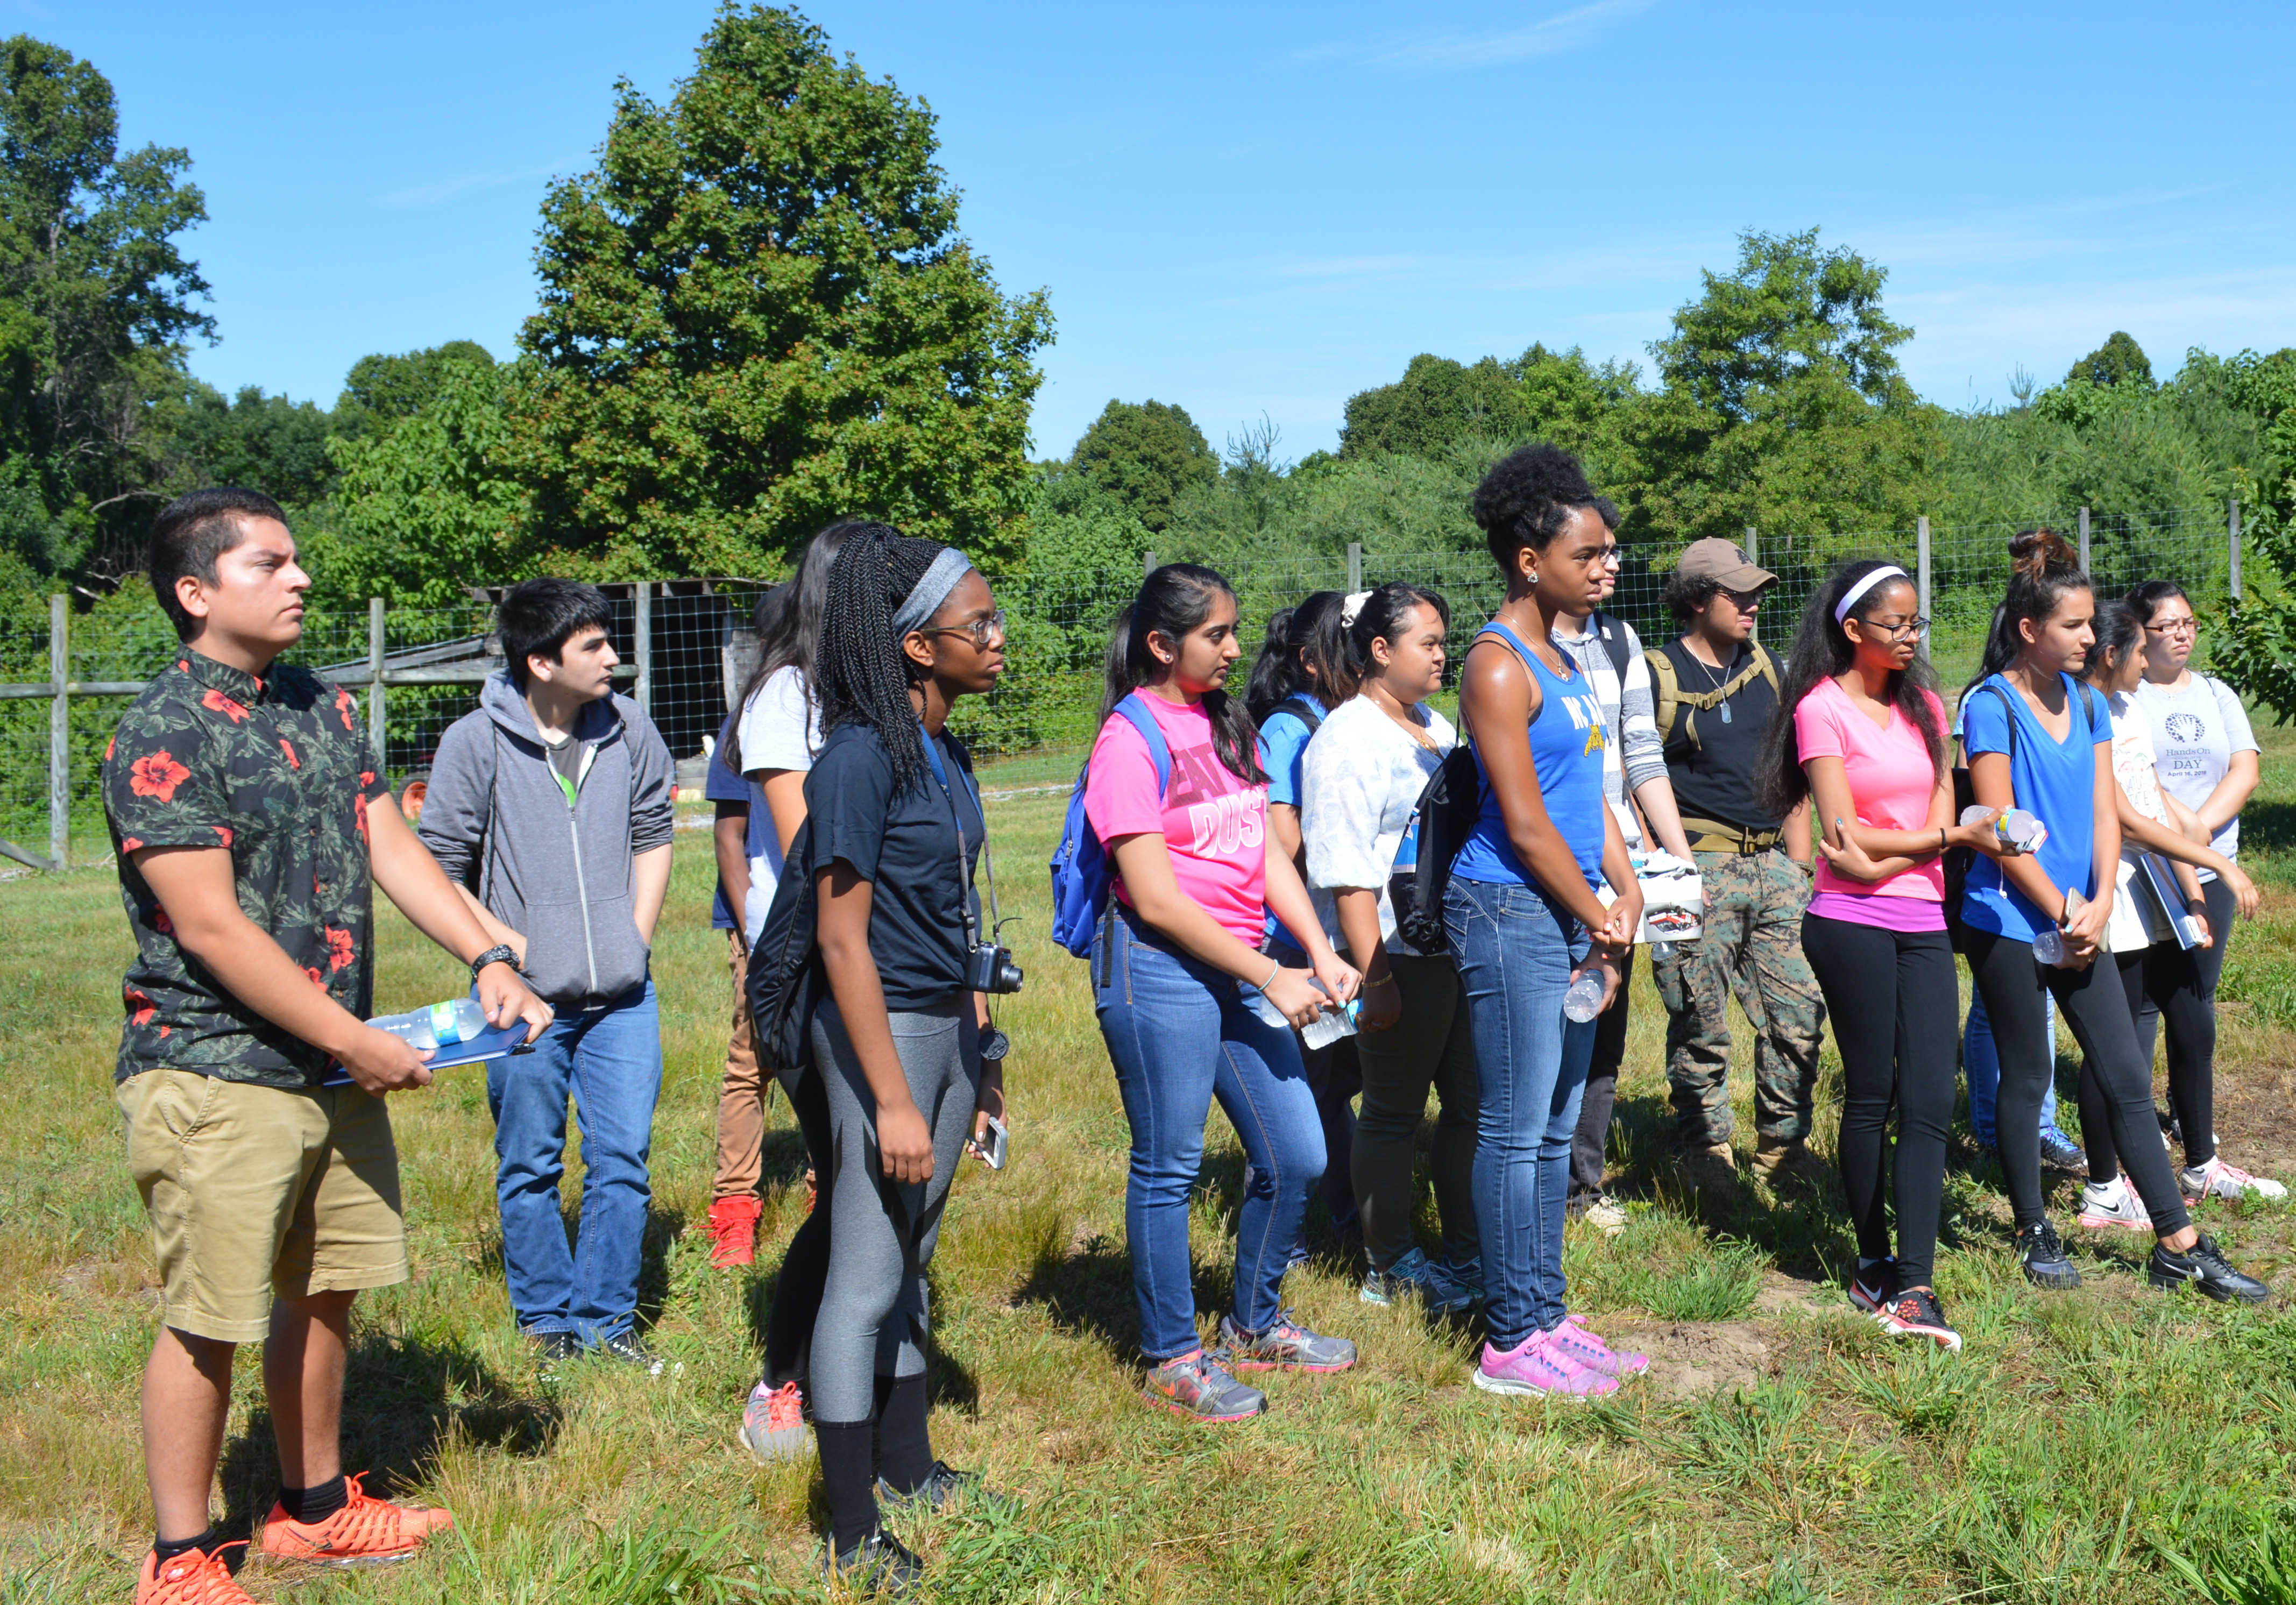
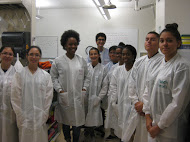
We drove up towards Hendersonville on a specatacular, multiple-ridges, day to the Pryor Farm.
We took a group picture to commemorate the day.
Dr. Sisco gave us a field introduction to the trees and test plots, and the fungus.
Students then separated in groups to collect leaf samples (very small ones). (Melanie, Elizabeth, Carlos)
More collecting teams (Kim, Kajal, Keilani), (Tamdan, Melanie, Darlyn, Sanjana, Namen), (Darlyn, Sanjana, Namen)
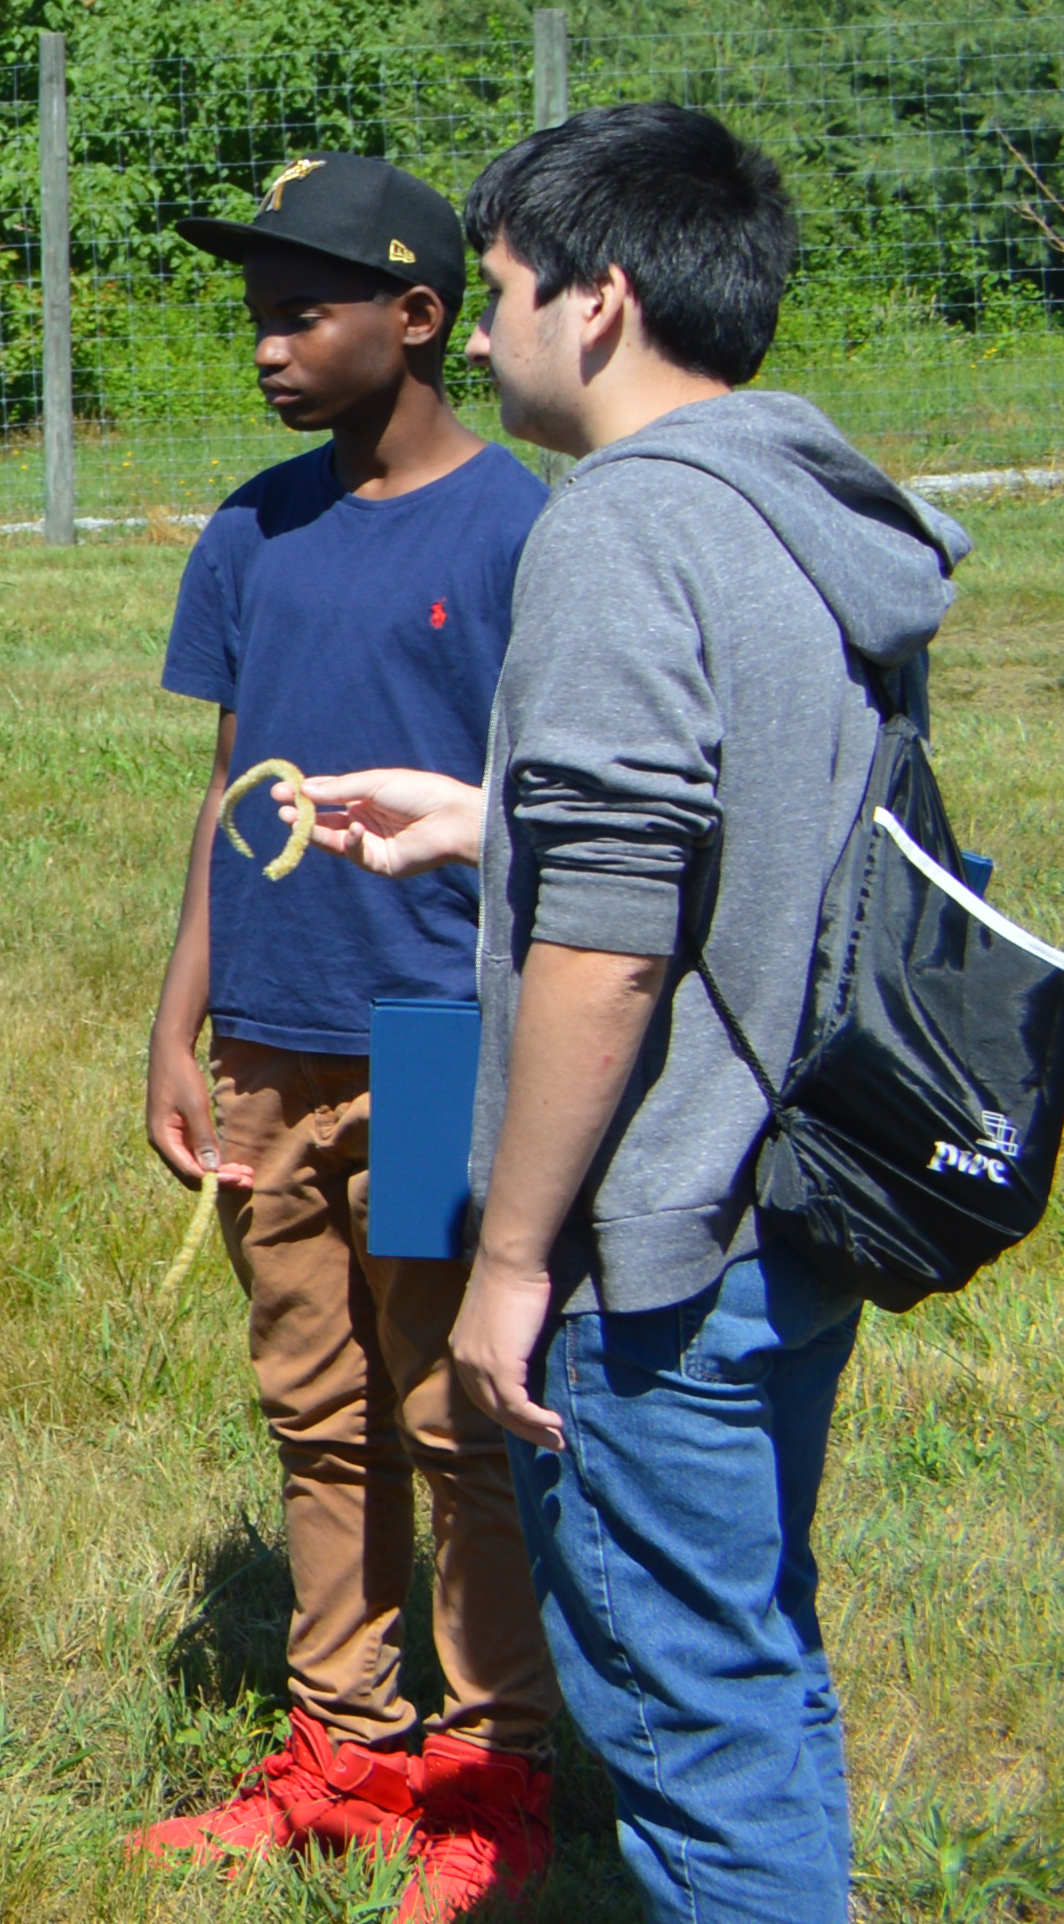
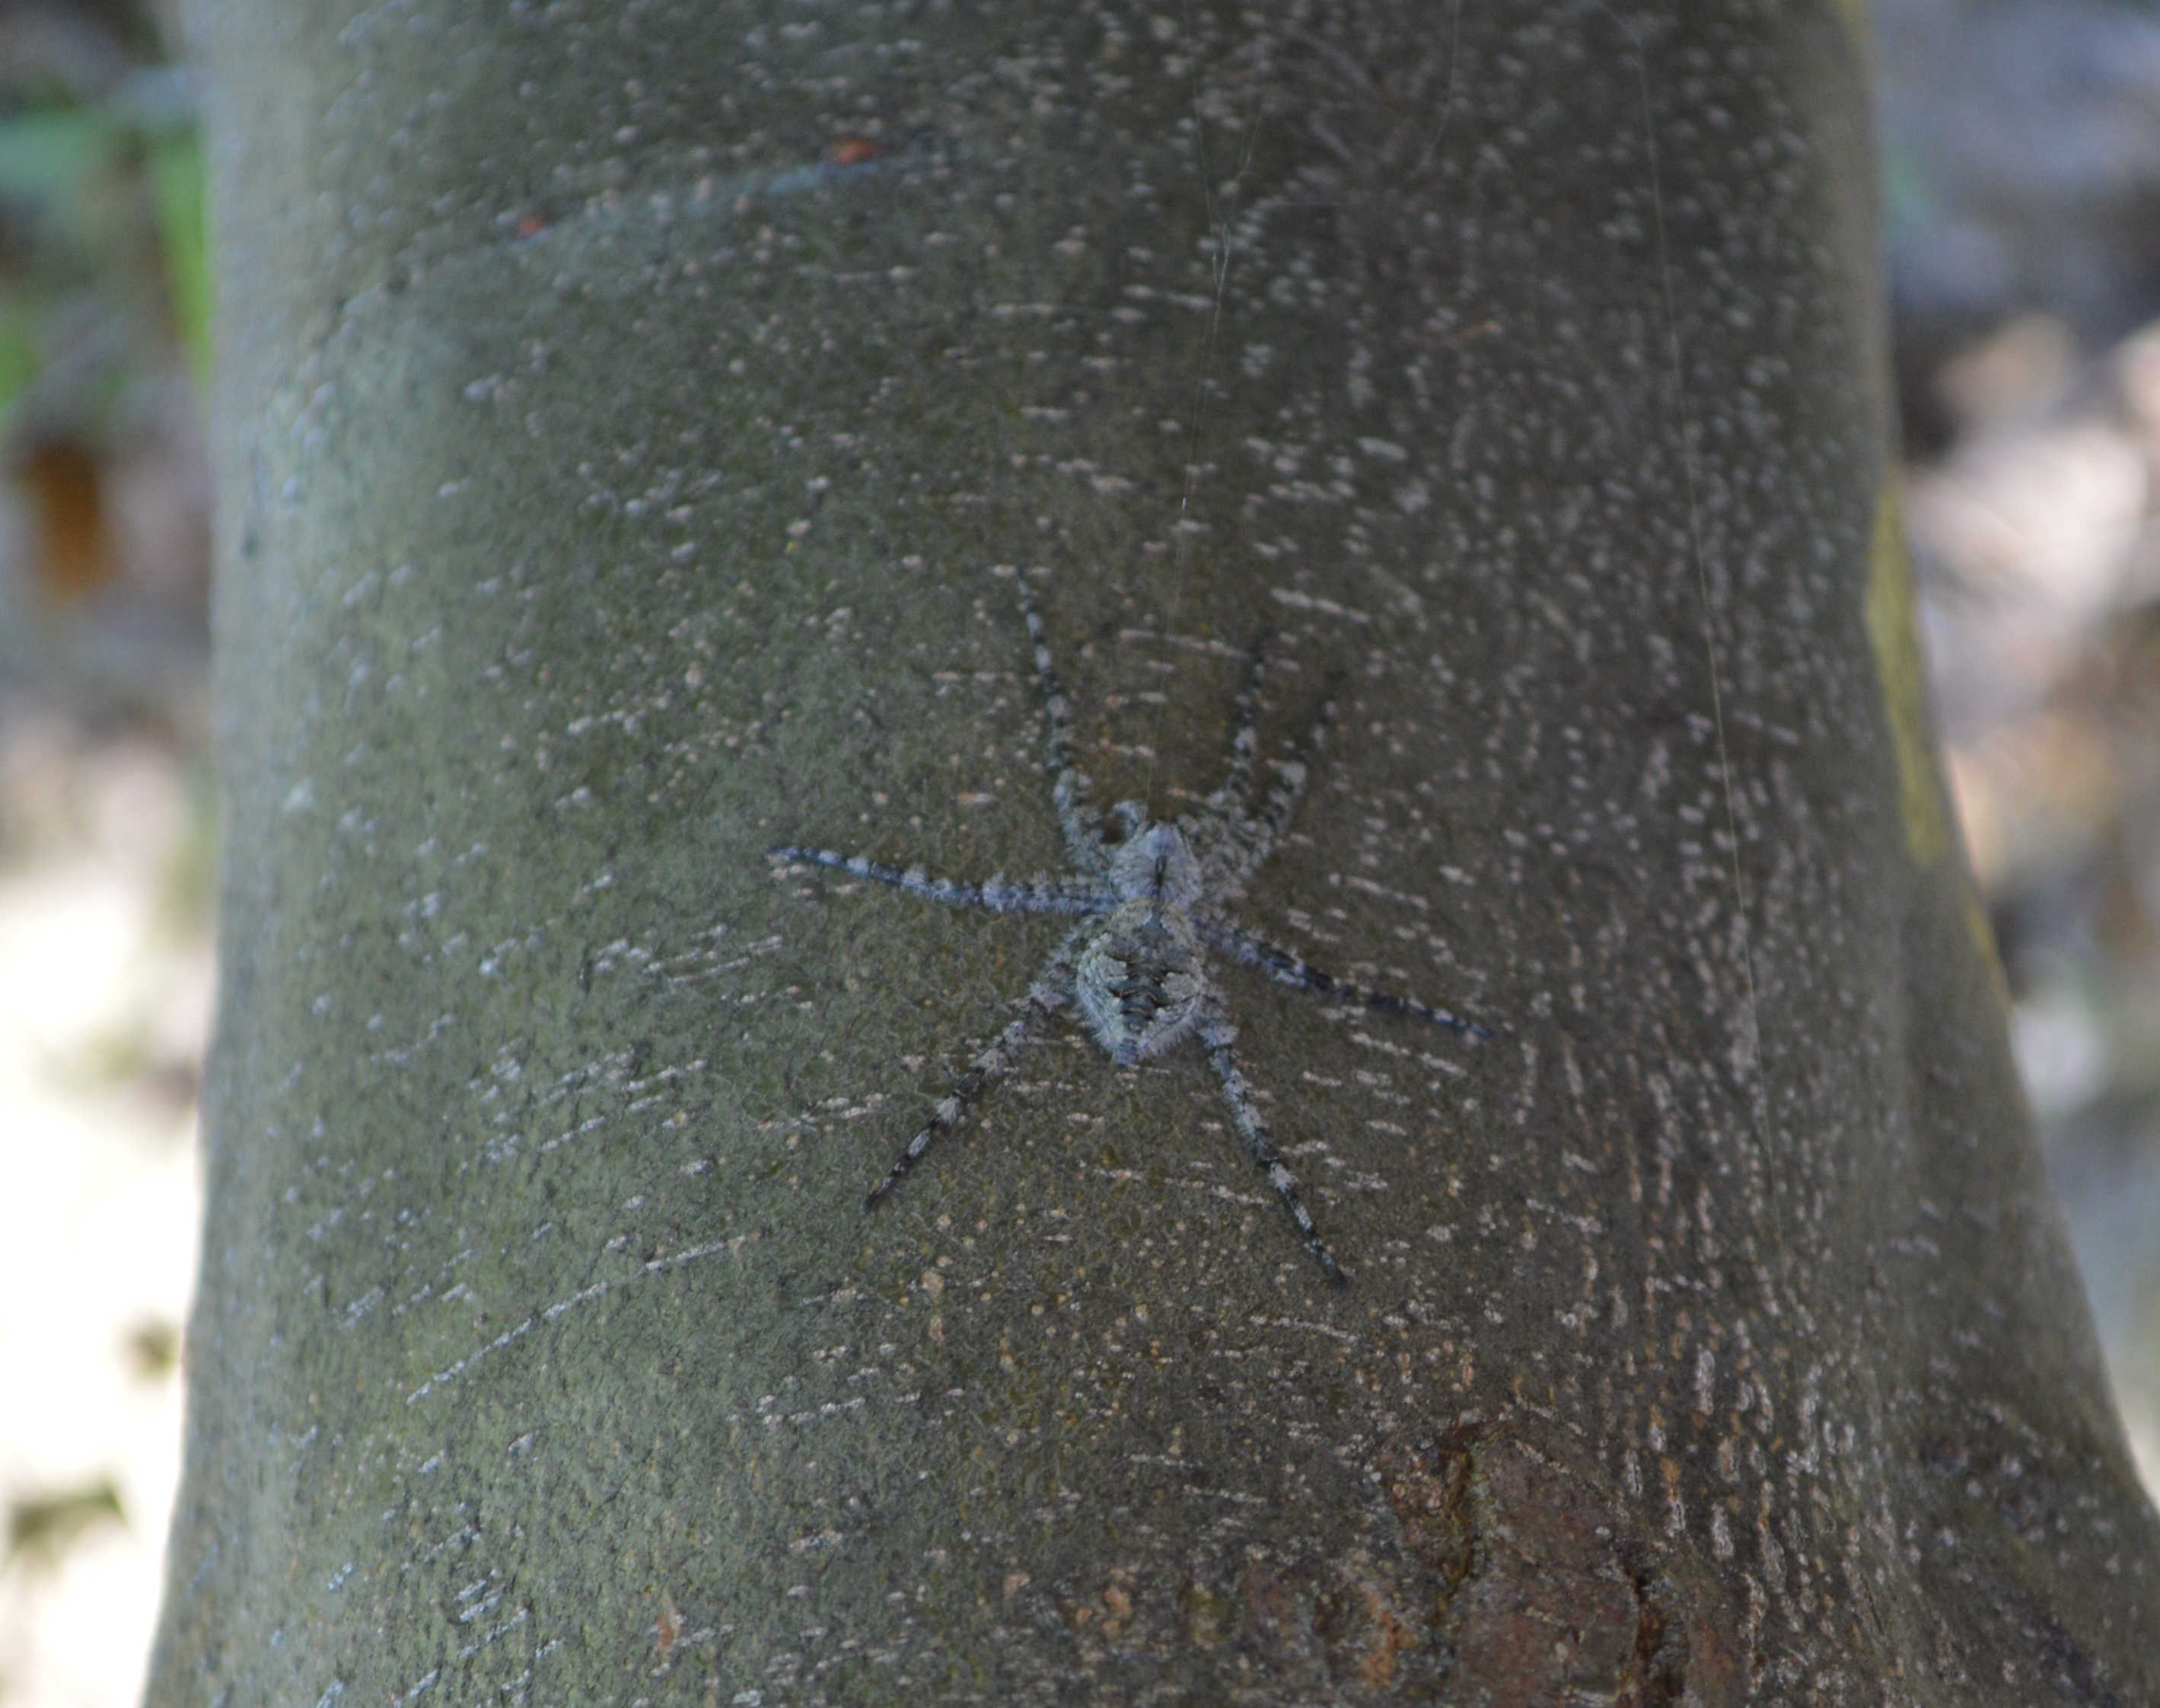
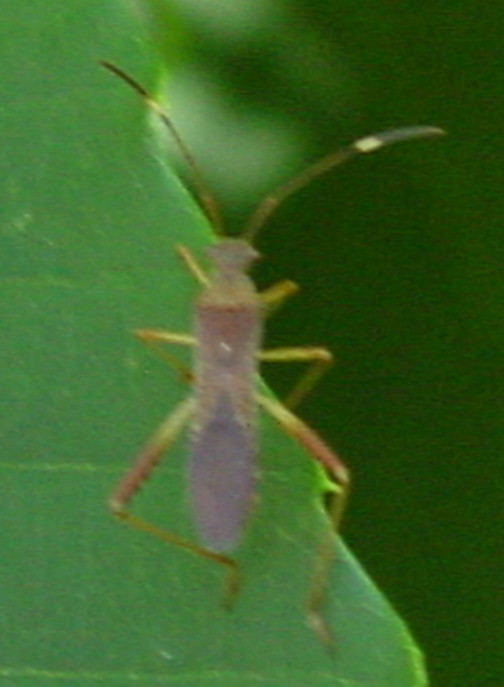
Brandon and Kevin also collected some catkins to take back to the lab. Students spotted some orchard wildlife (spider - much excitement) and leaf hopper (not so much).
Students also carried out the infection process - since the complete steps are given in the Presentation, just a few examples are shown here:
Namen using the awl, and Caleb and Sanjana sterilzing the spatula just before carrying out the infection, Kajal and Keilani carrying out the infection step.
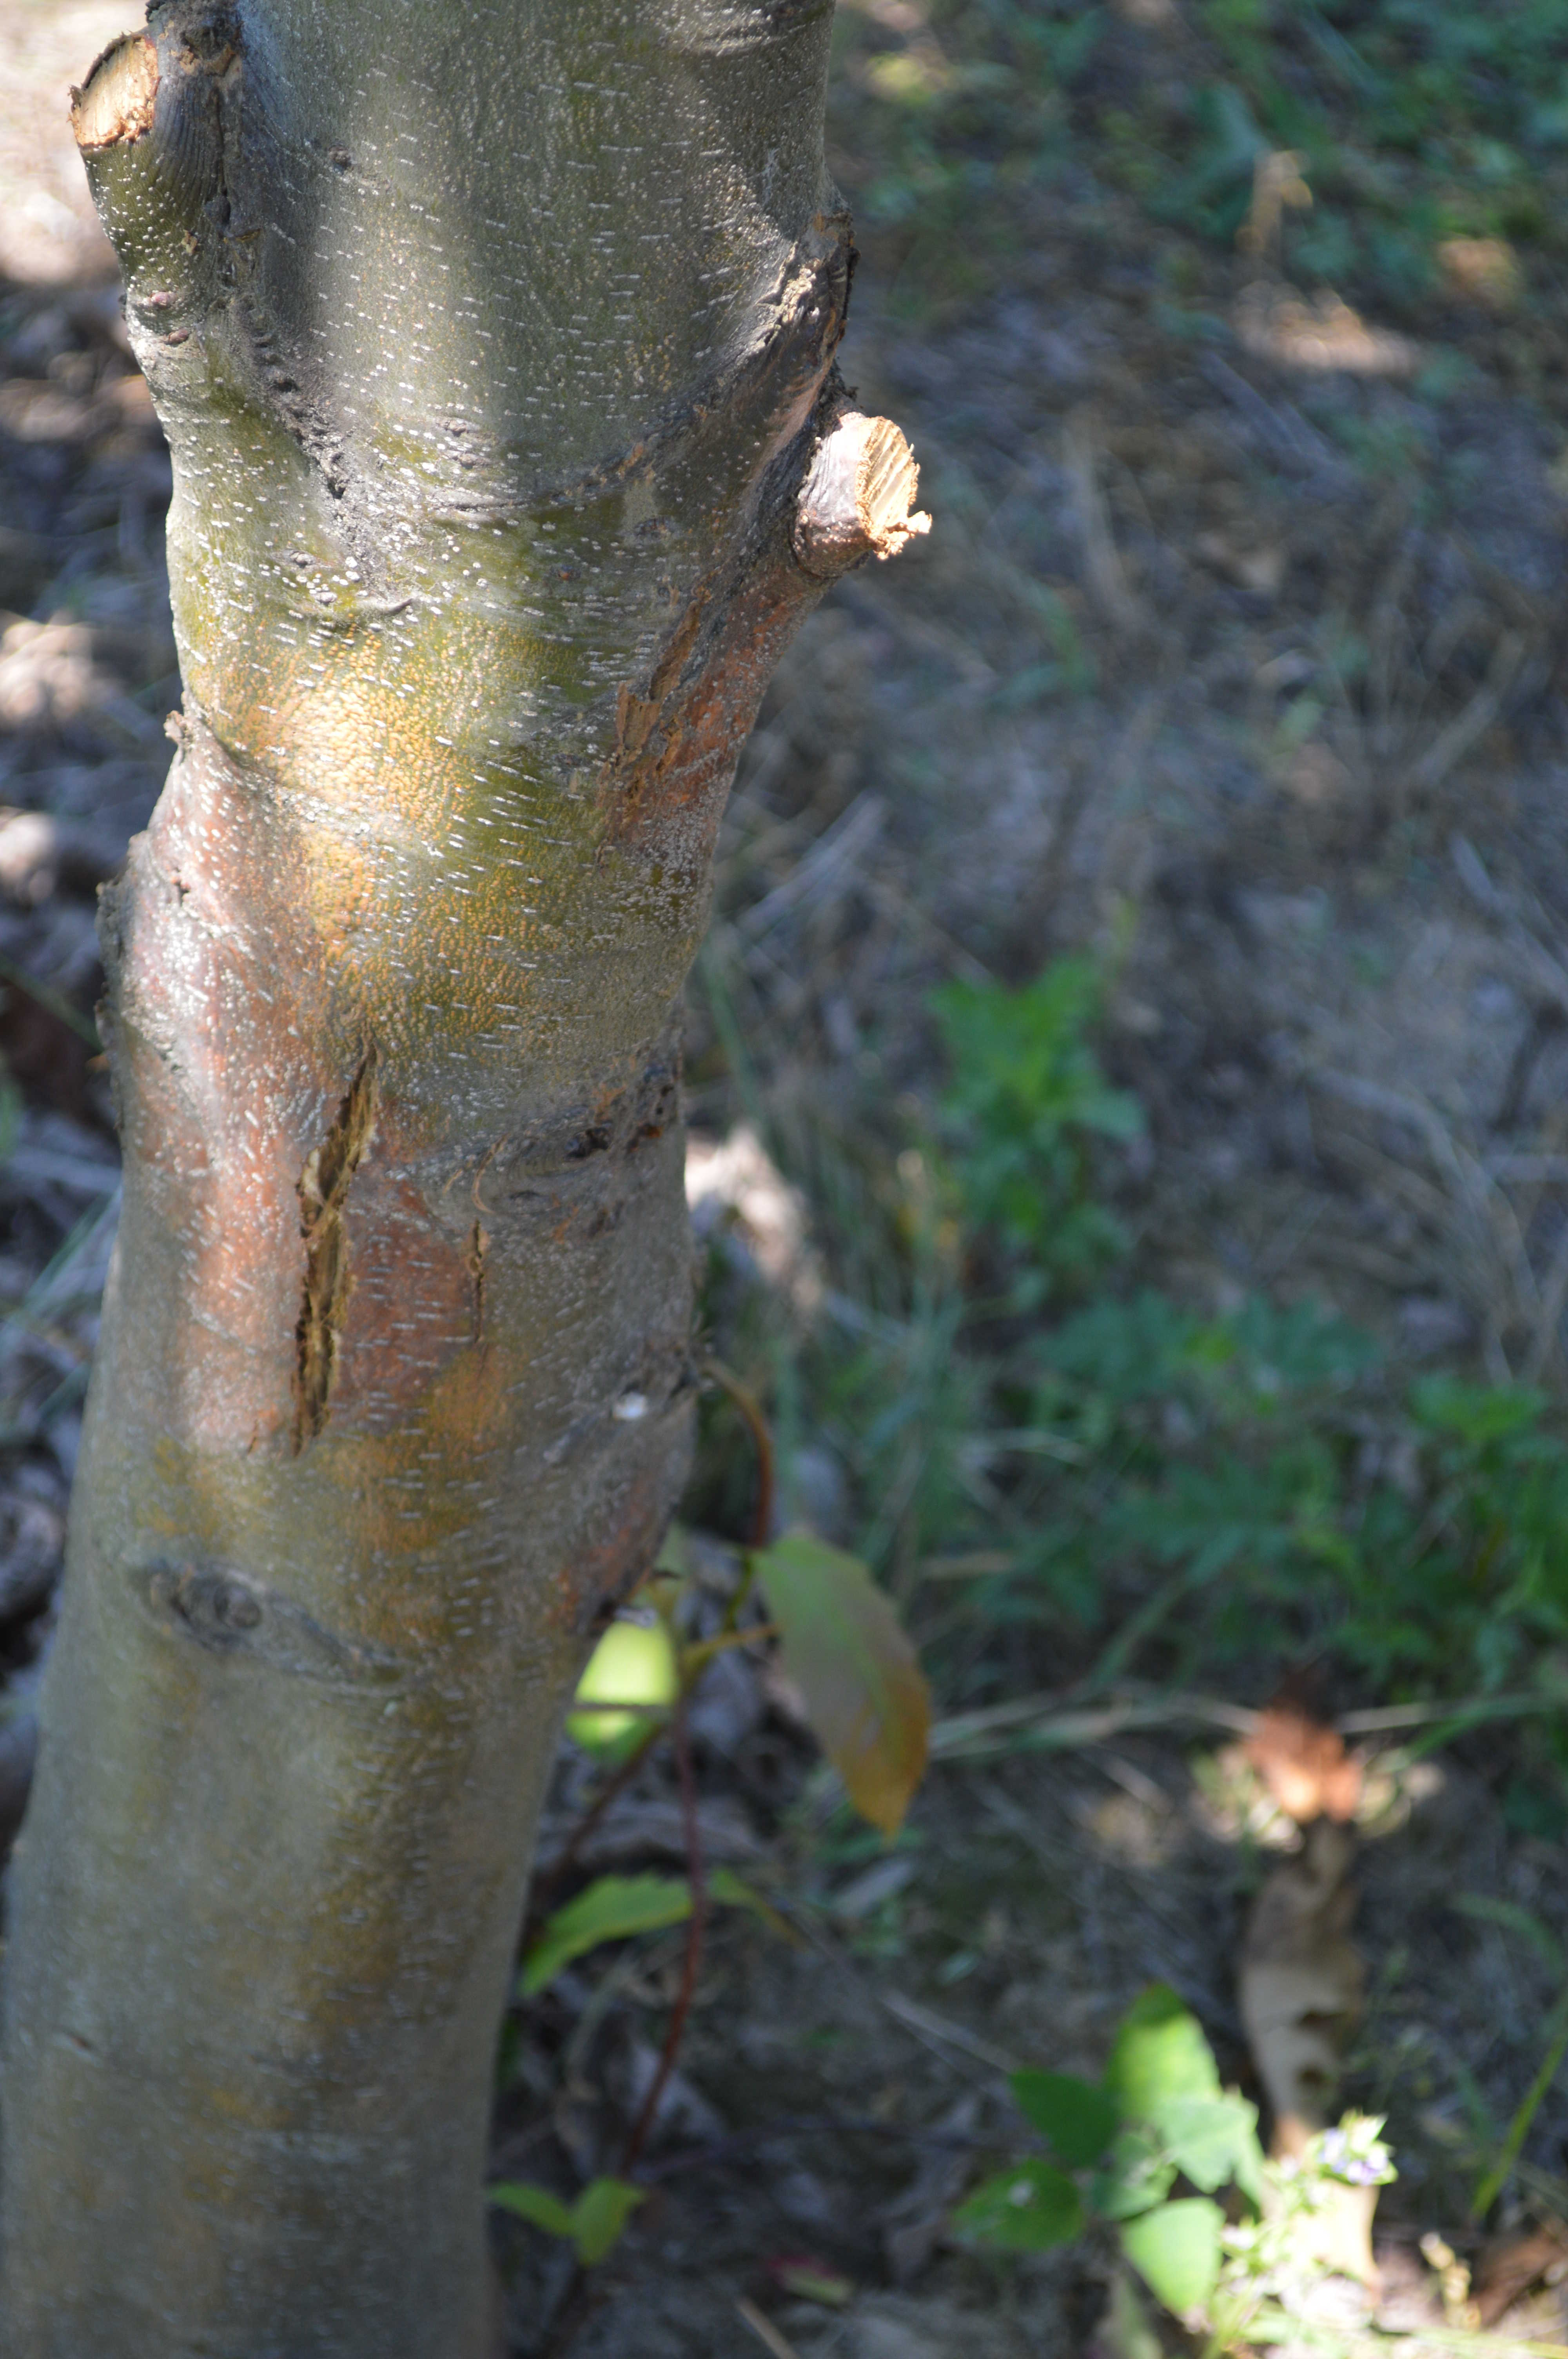
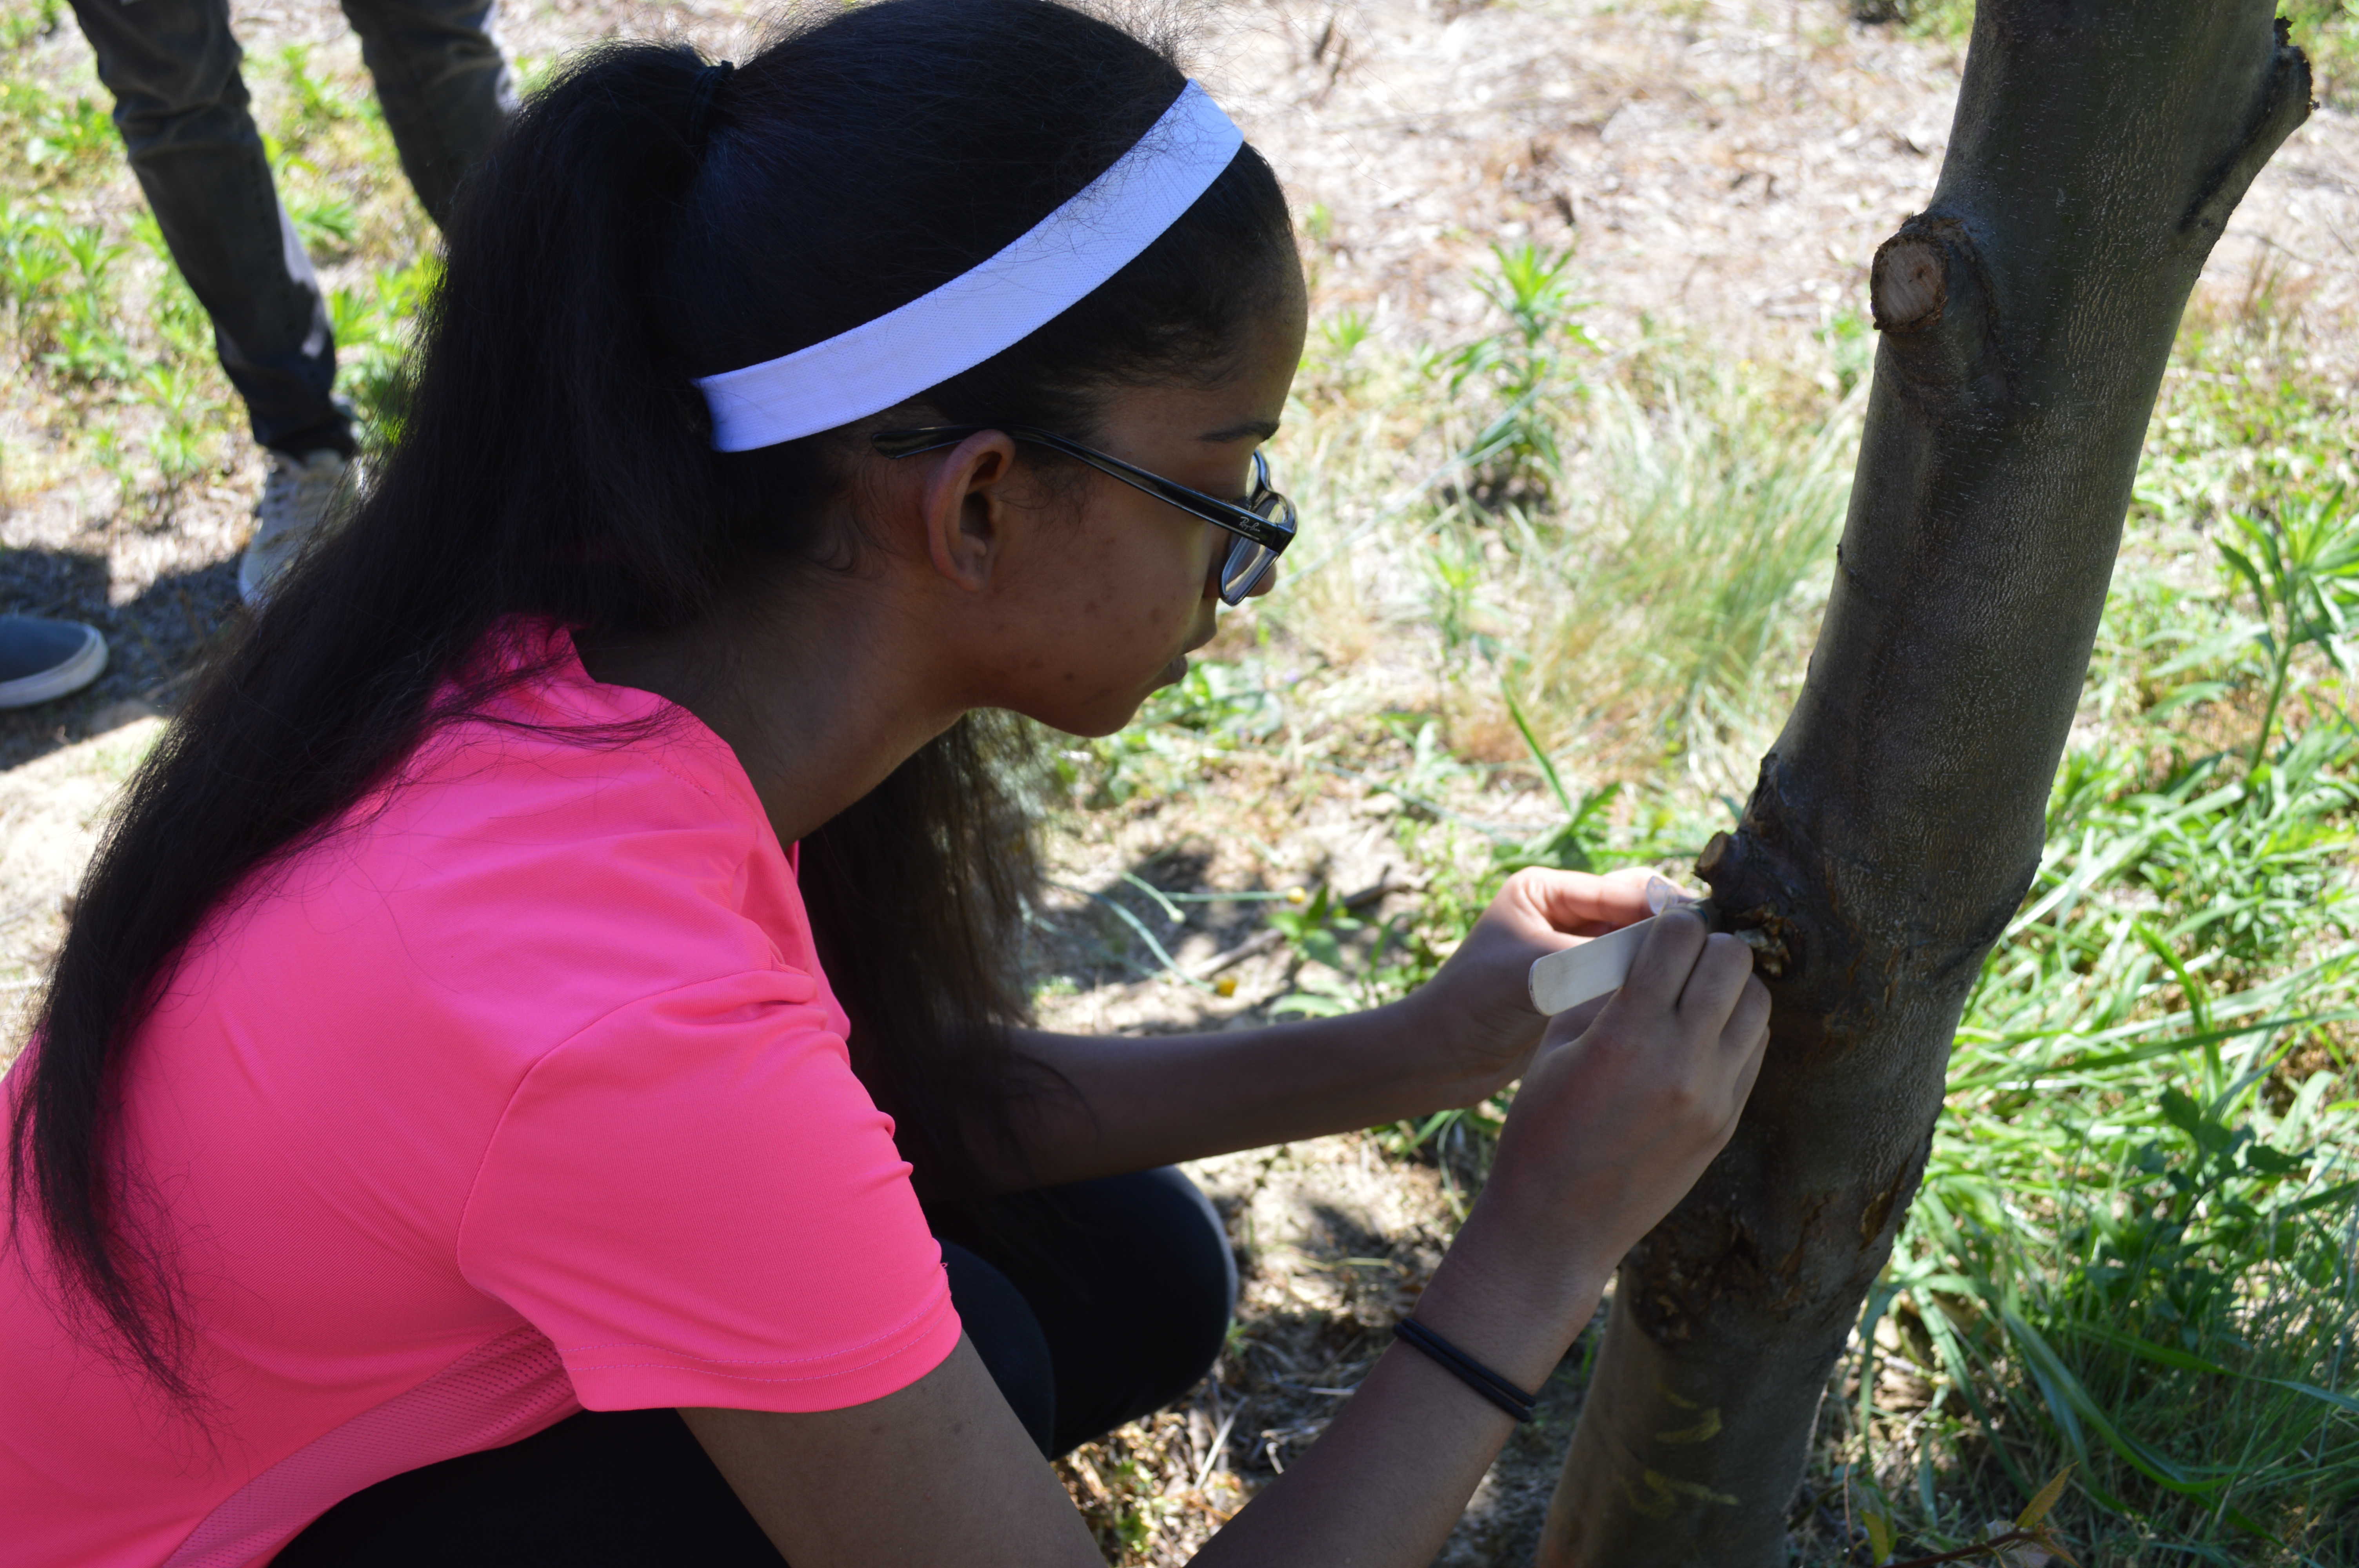
Dr. Sisco showed an example of an infected tree, and we obtained some bark scrapings to take back to the lab (Gabriella collecting, here).
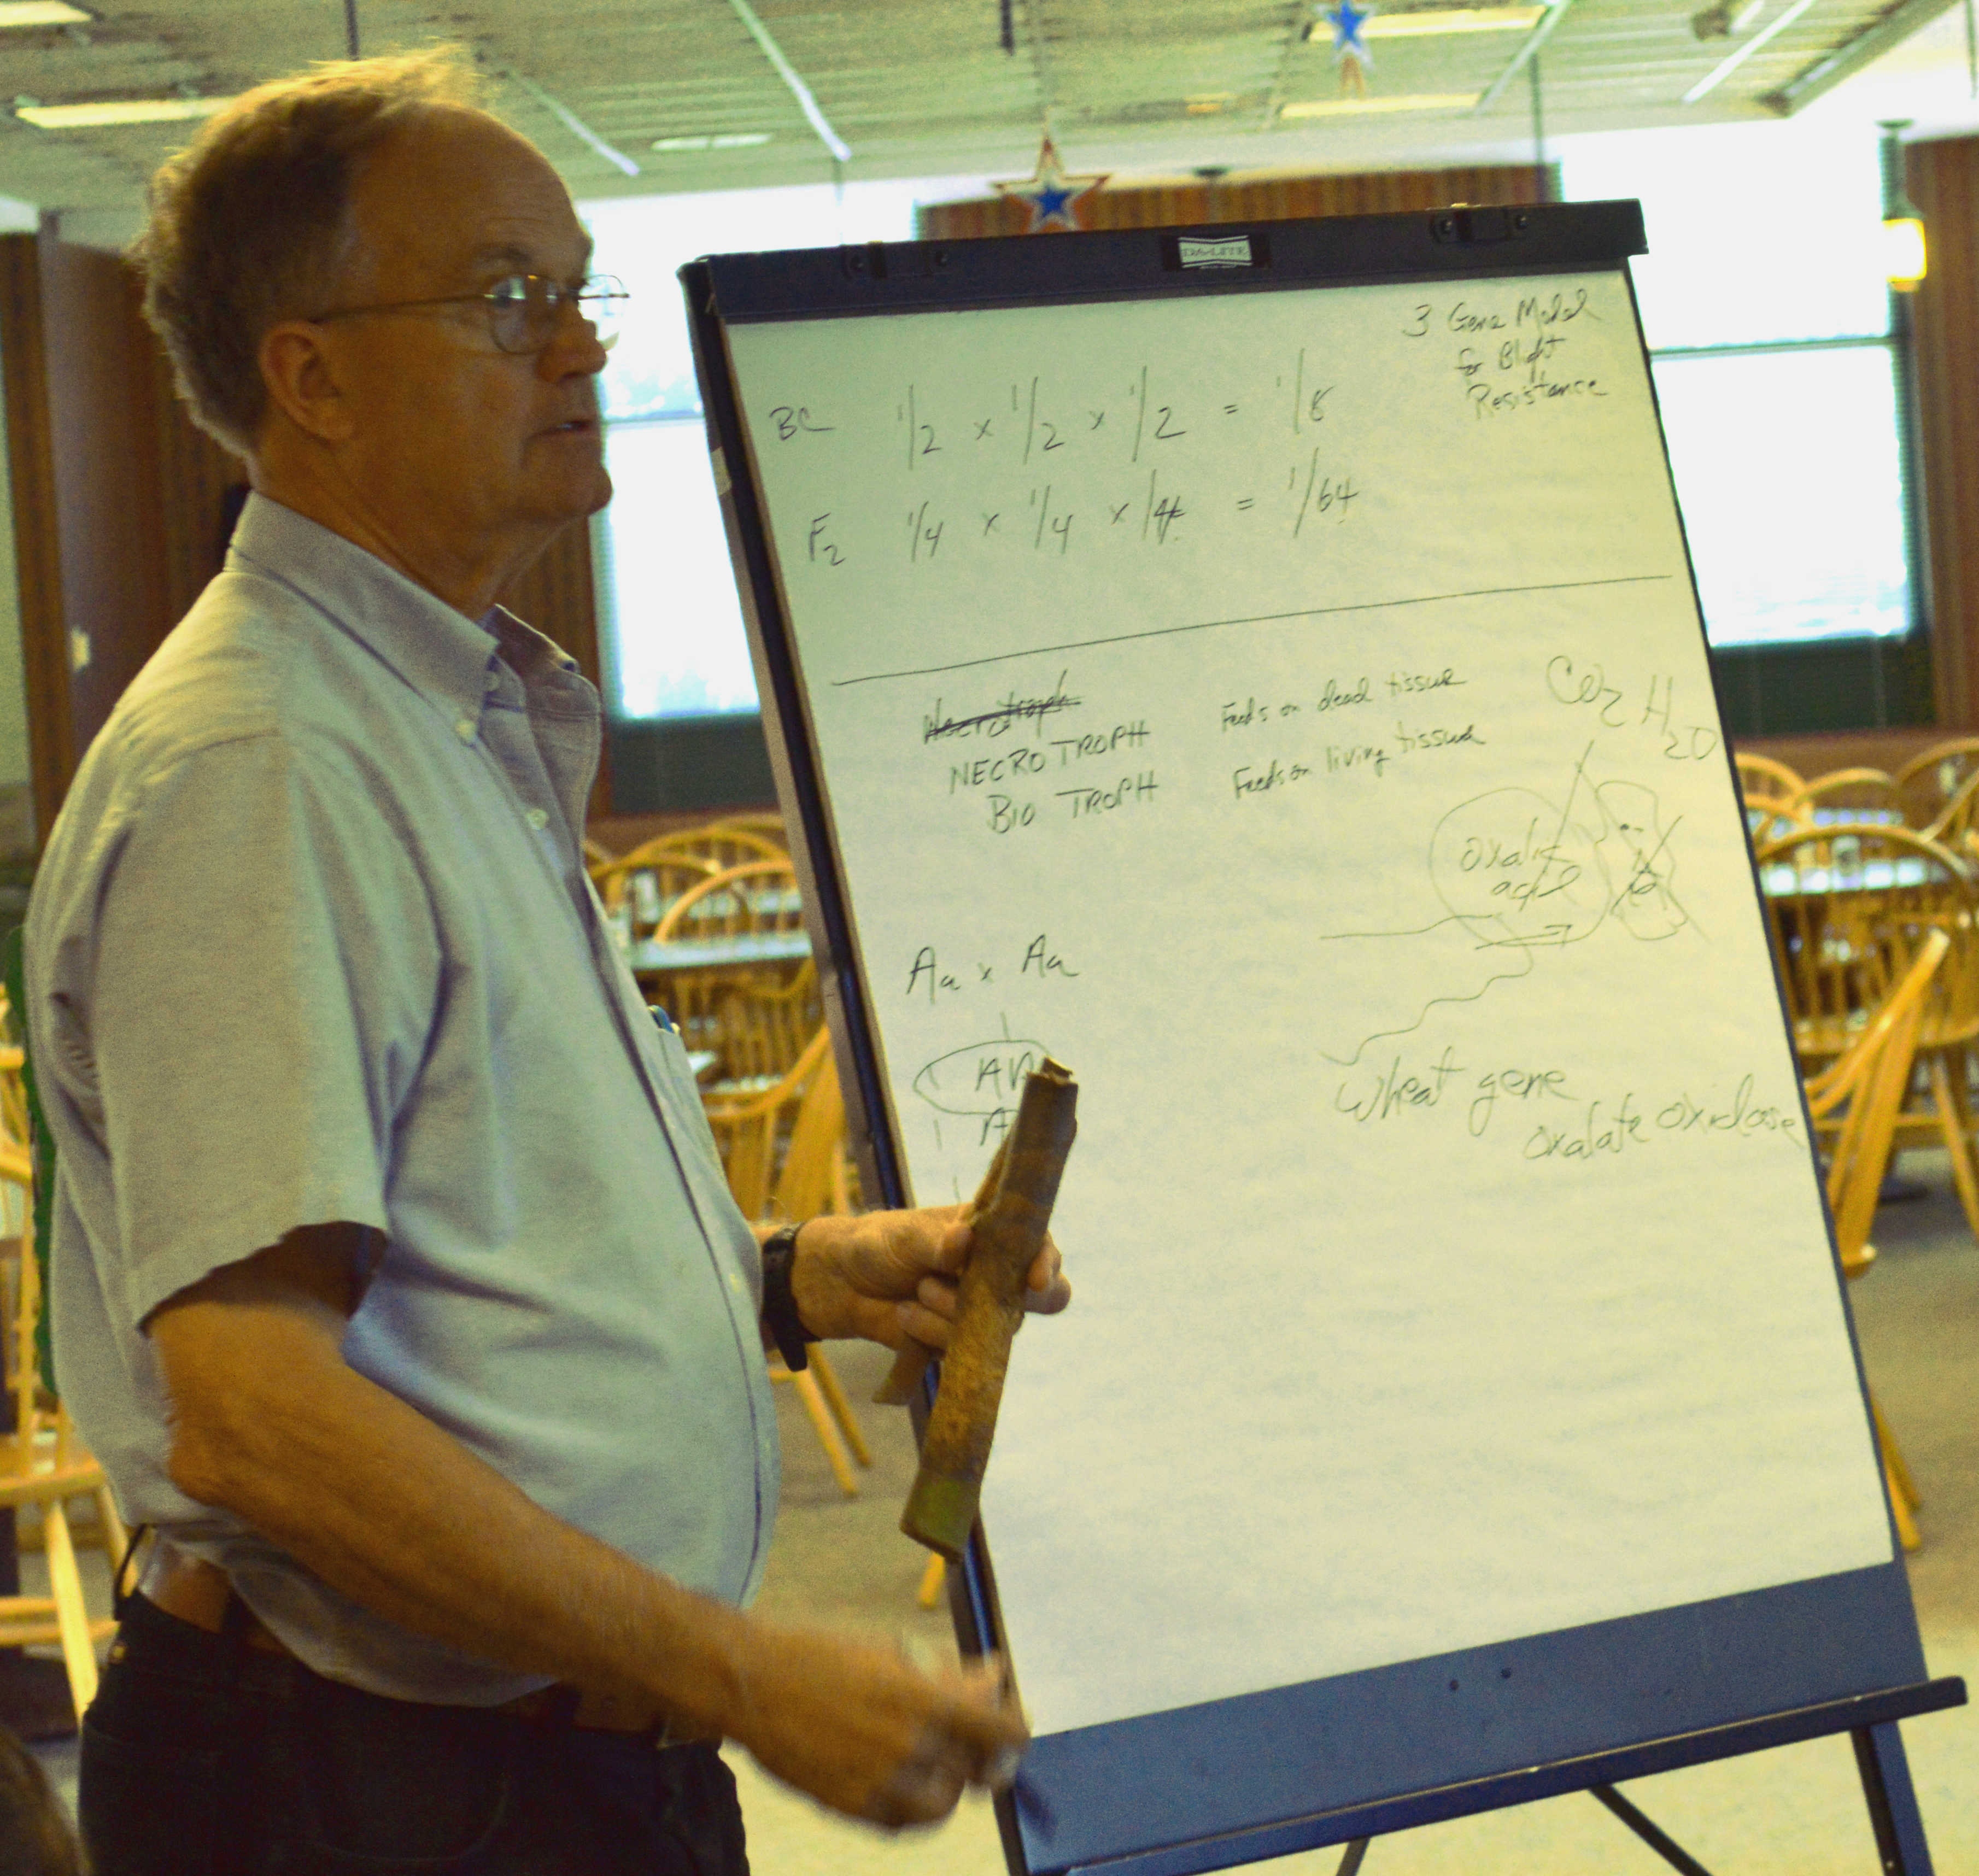
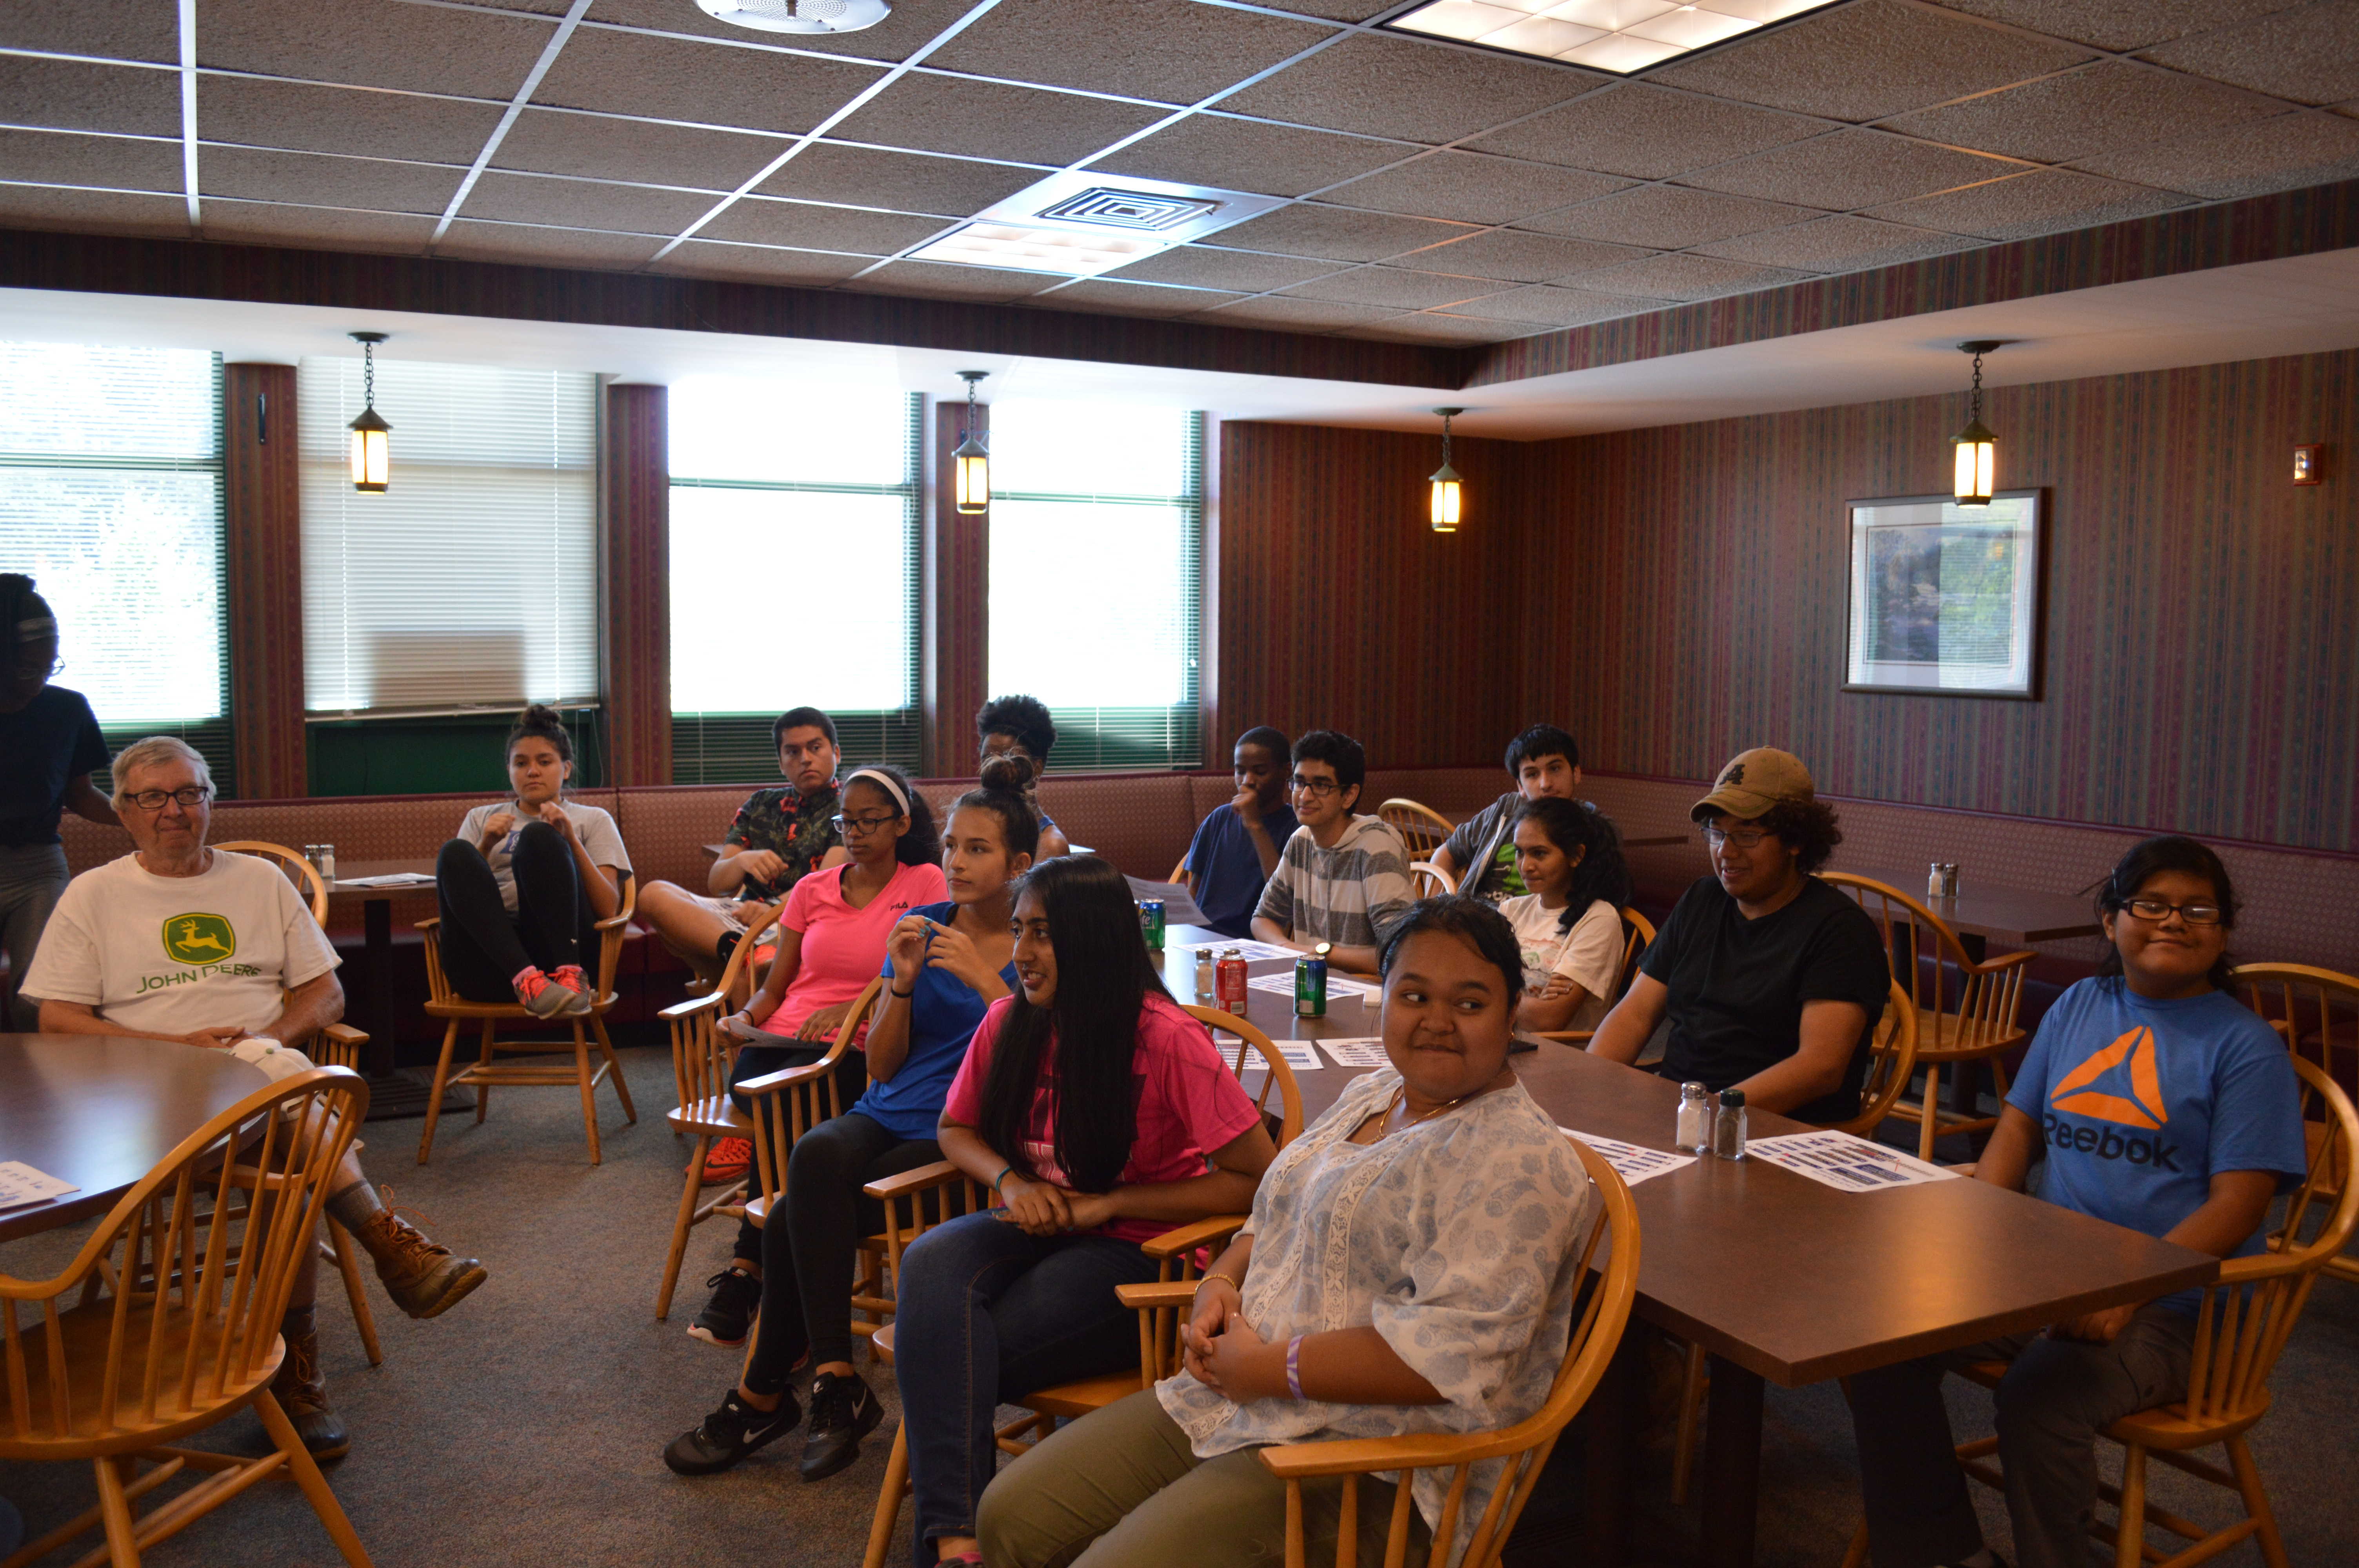
We had lunch at the Justus Center in Edneyville, after which Dr. Sisco gave a more detailed explanation of backcross genetics to a lively audience,
including Mr. Paul Scott Pryor, our host (far left of audience).
June 17 th
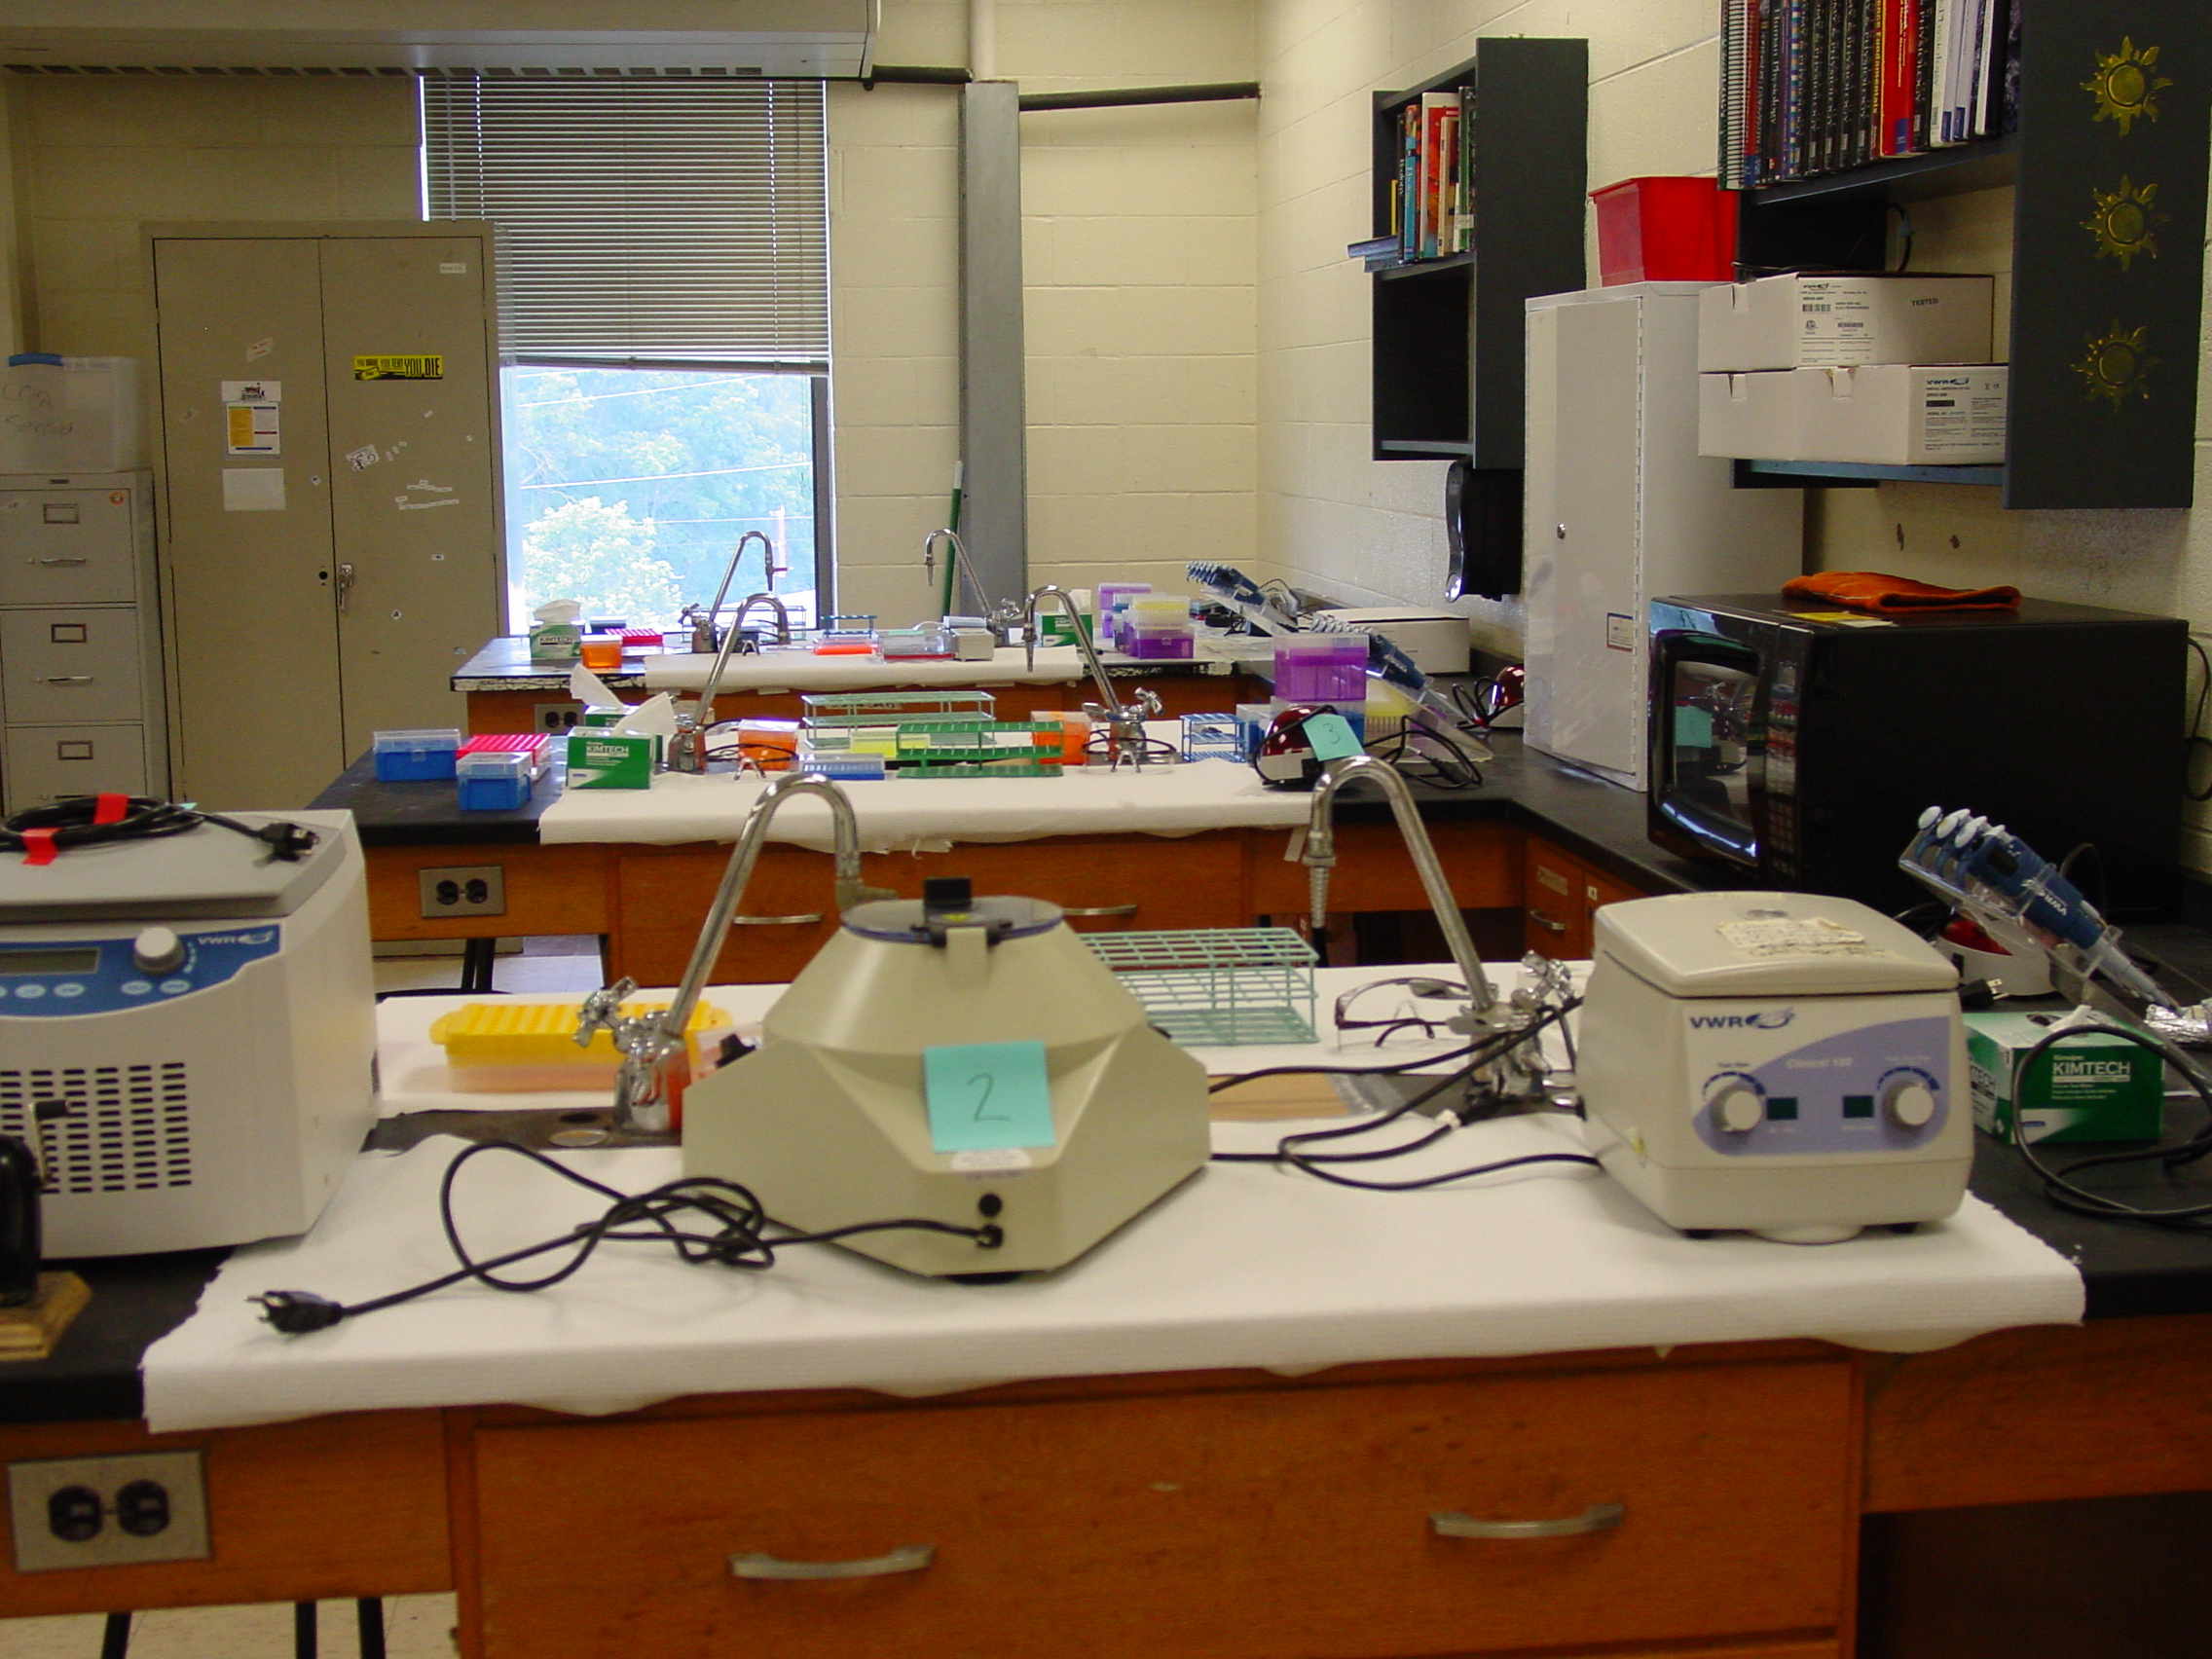
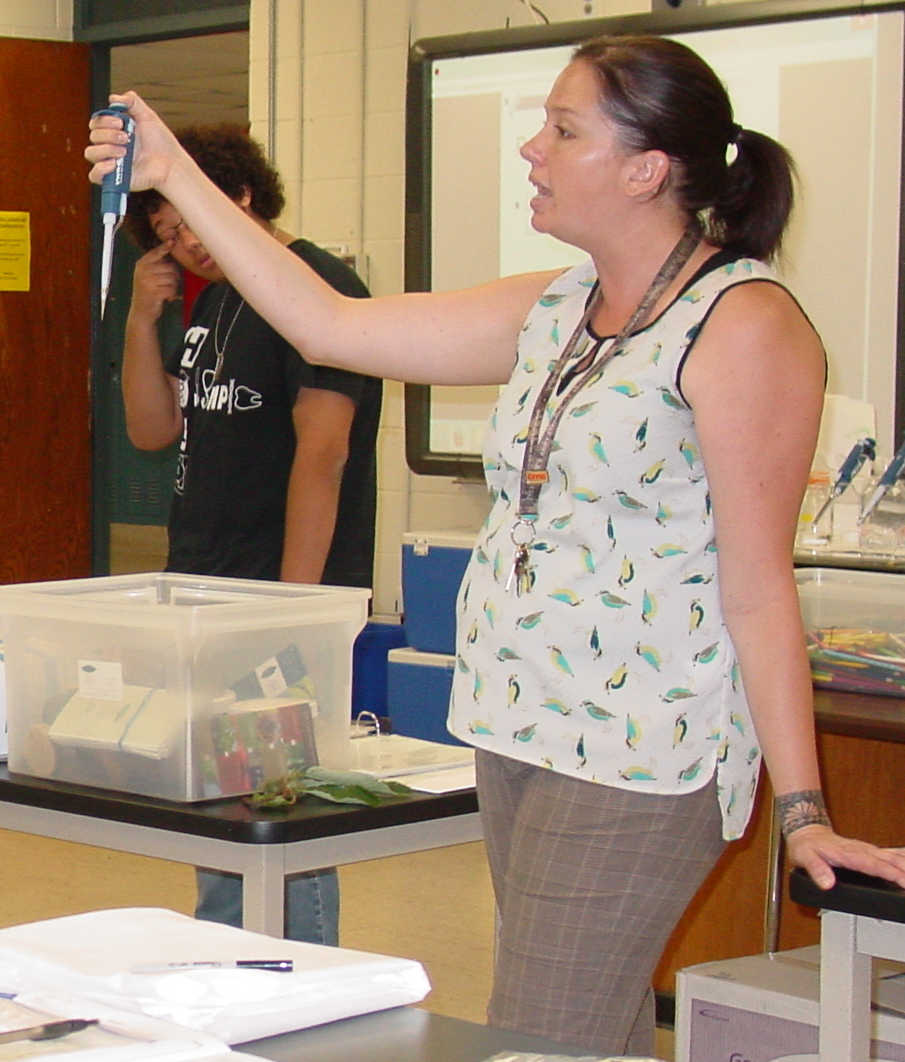
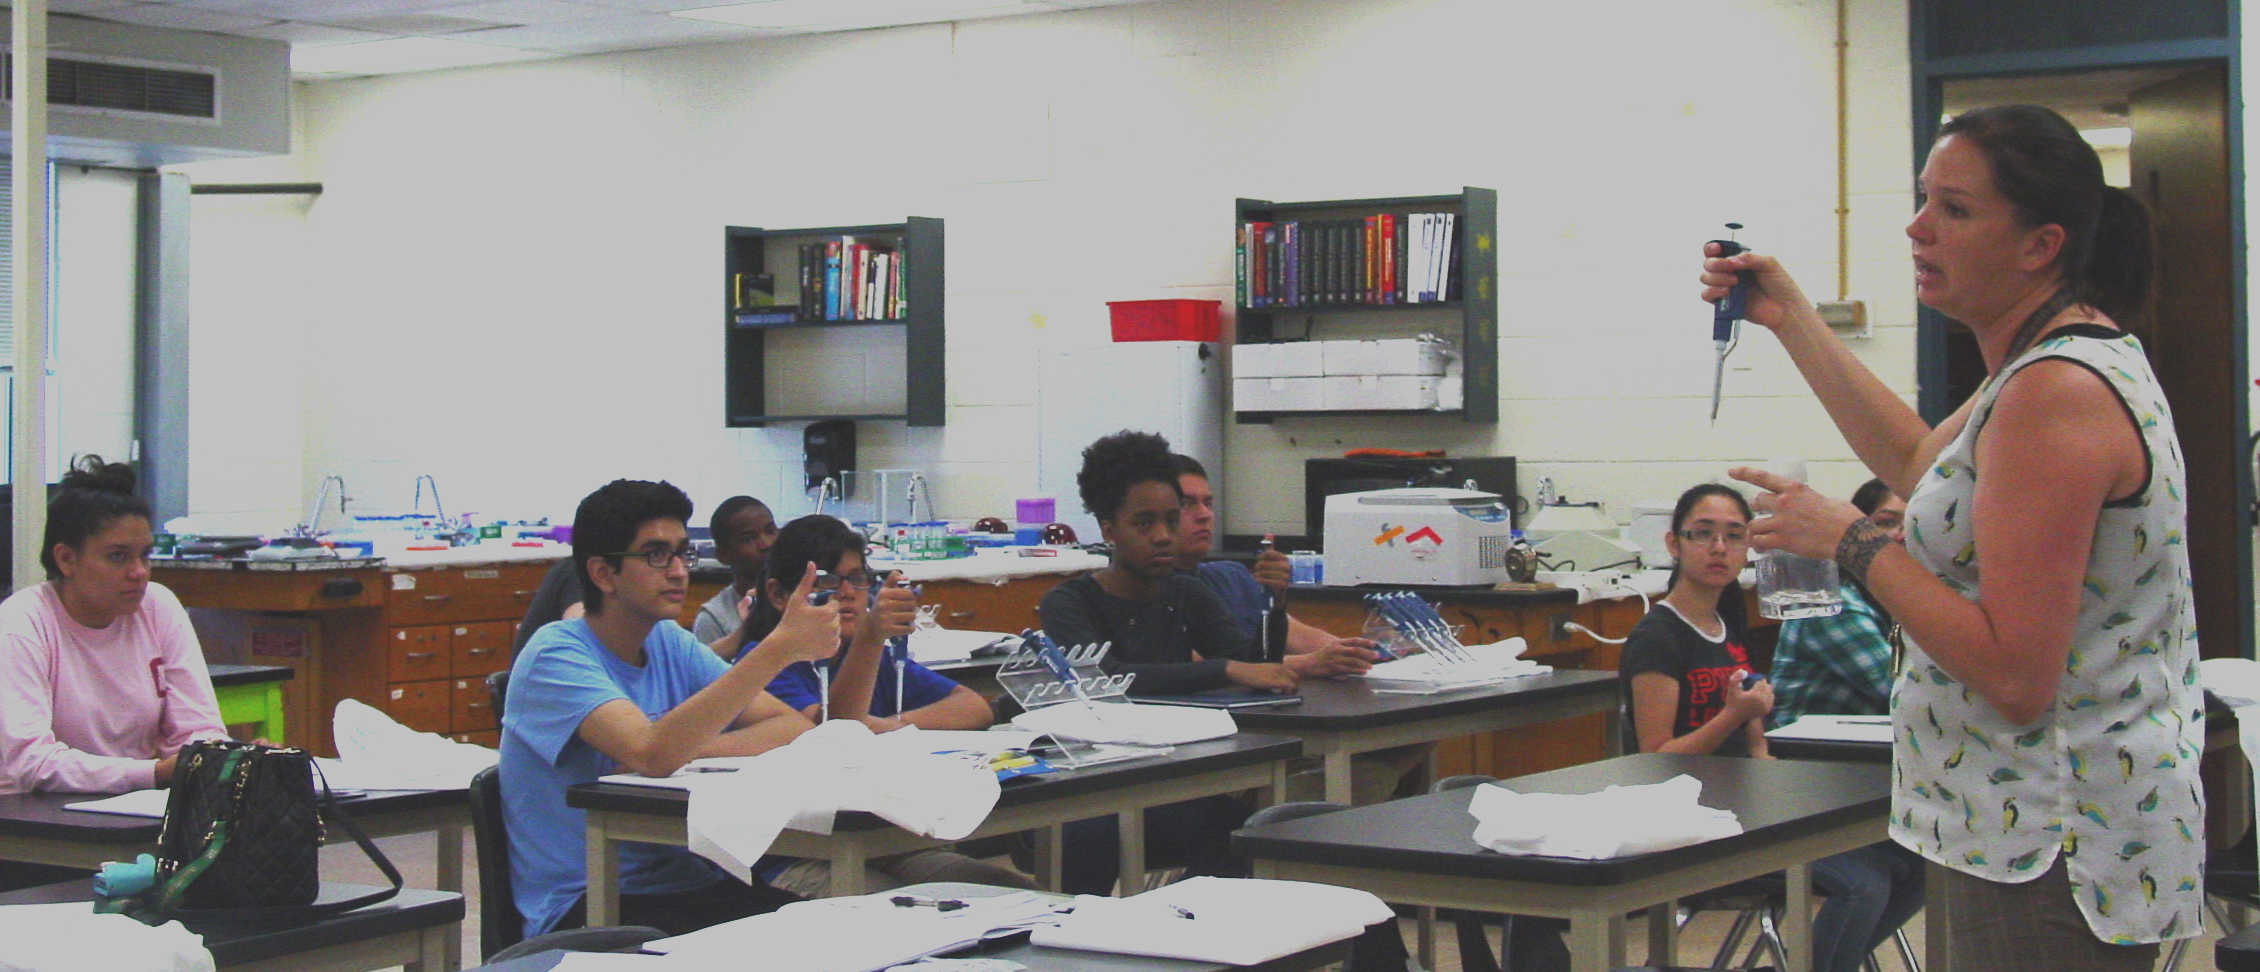
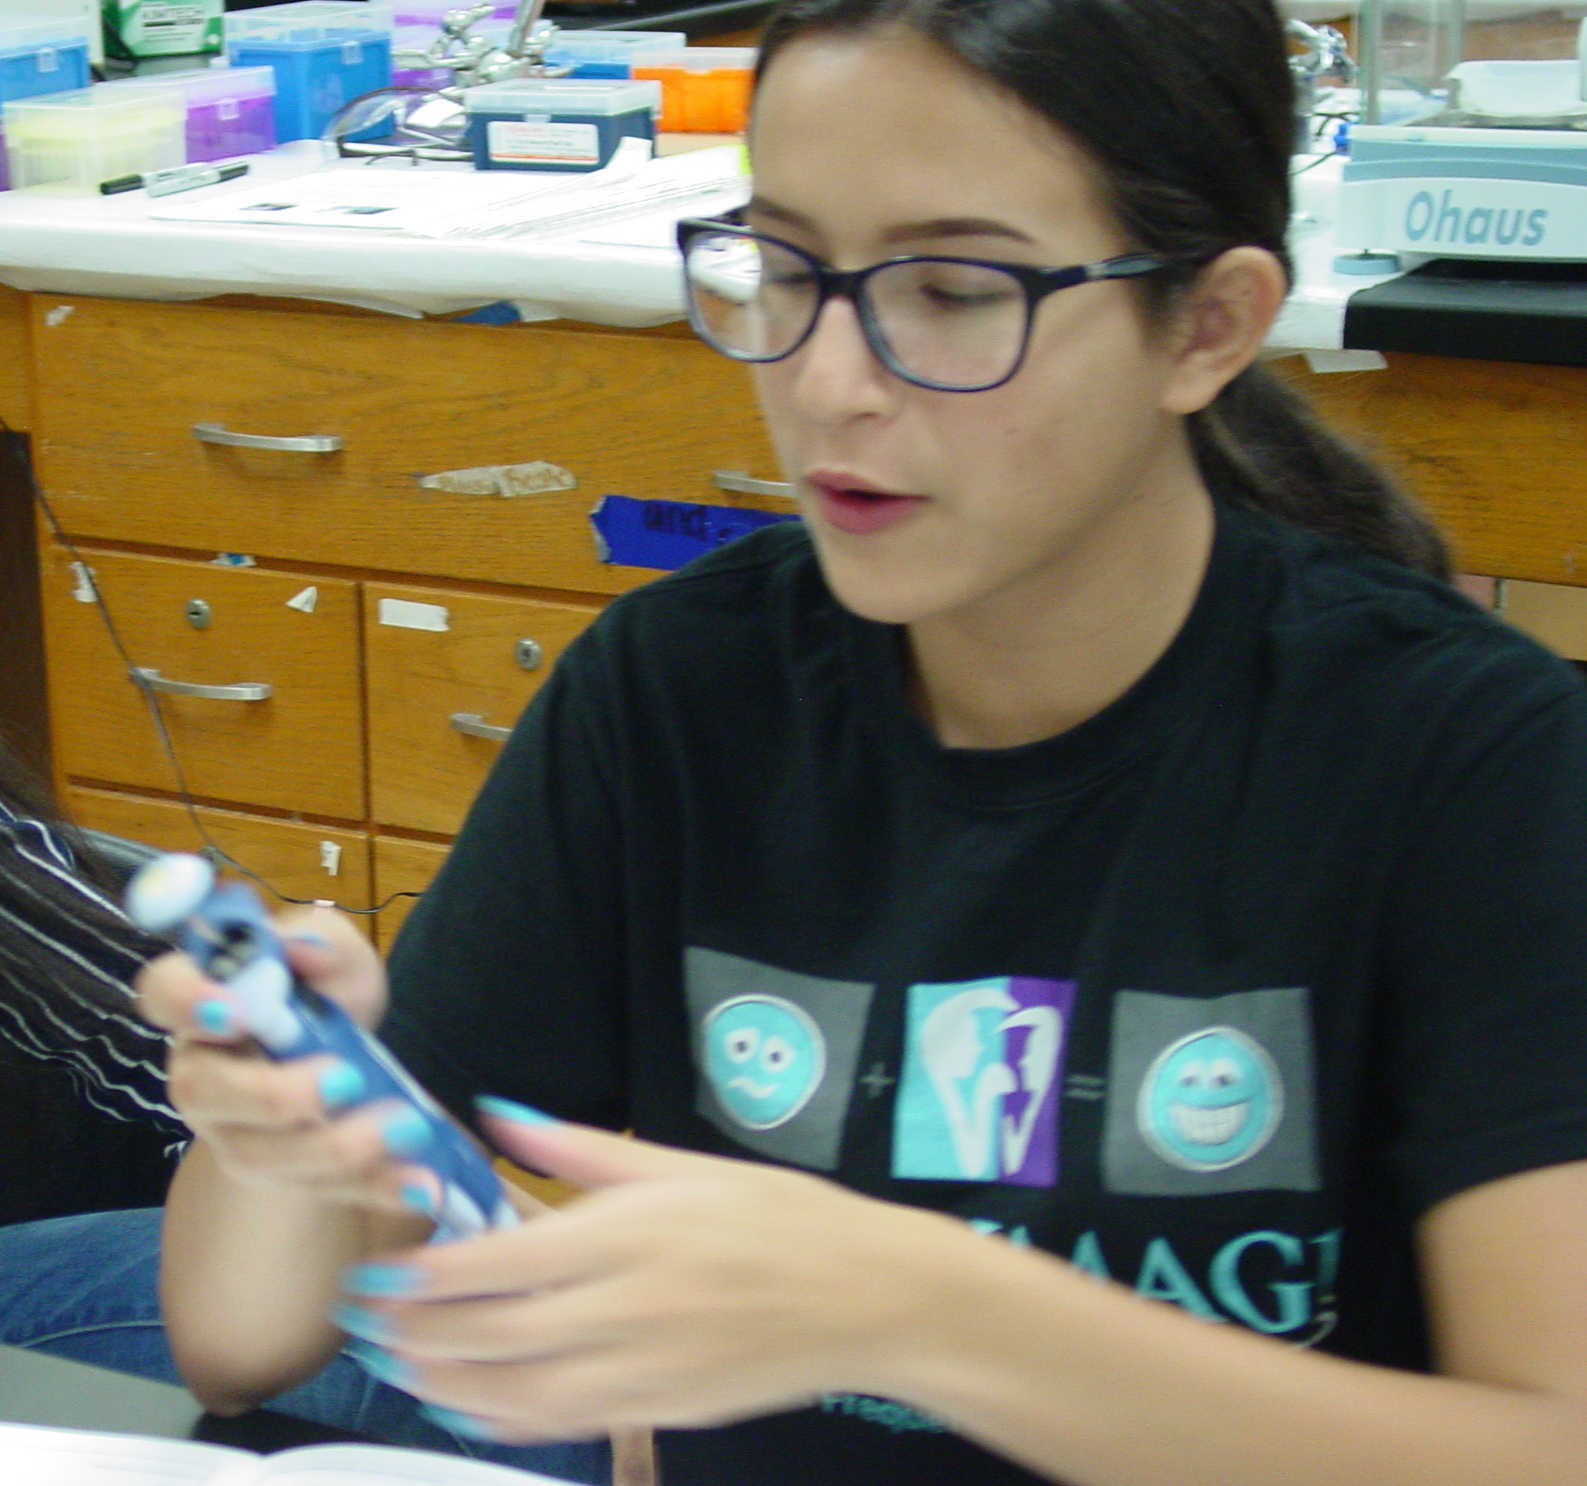
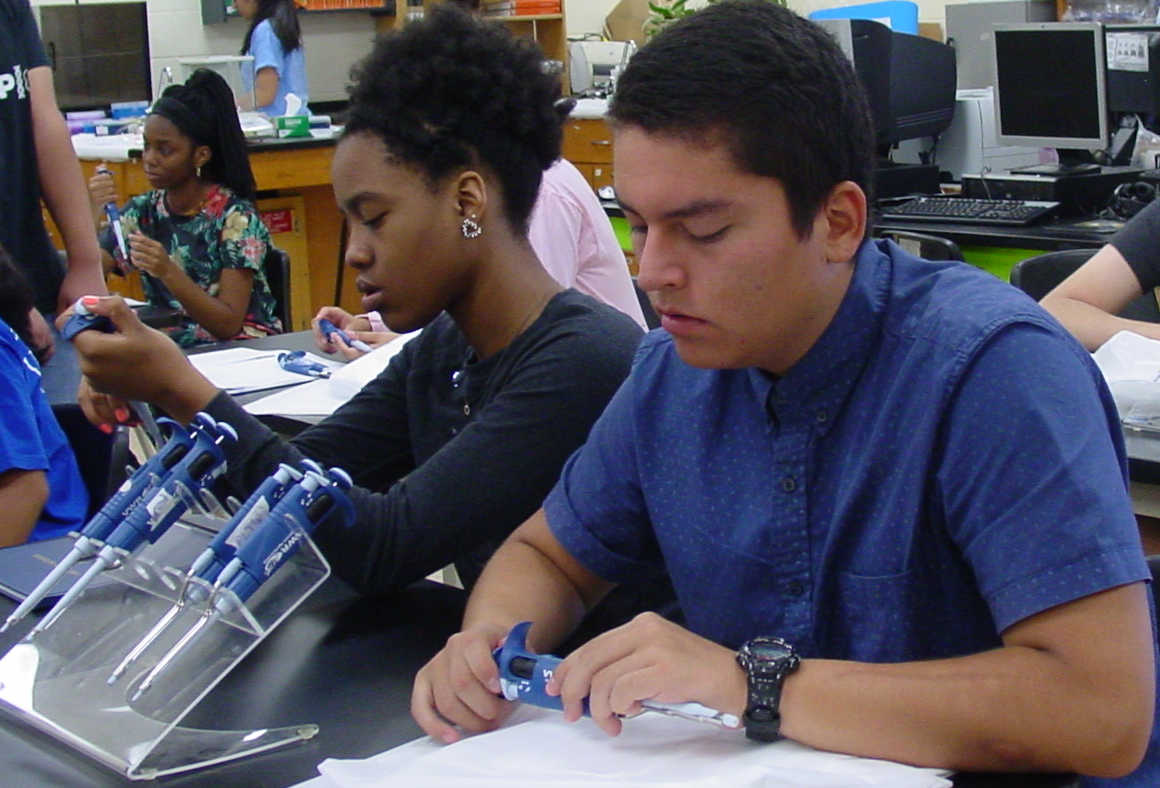
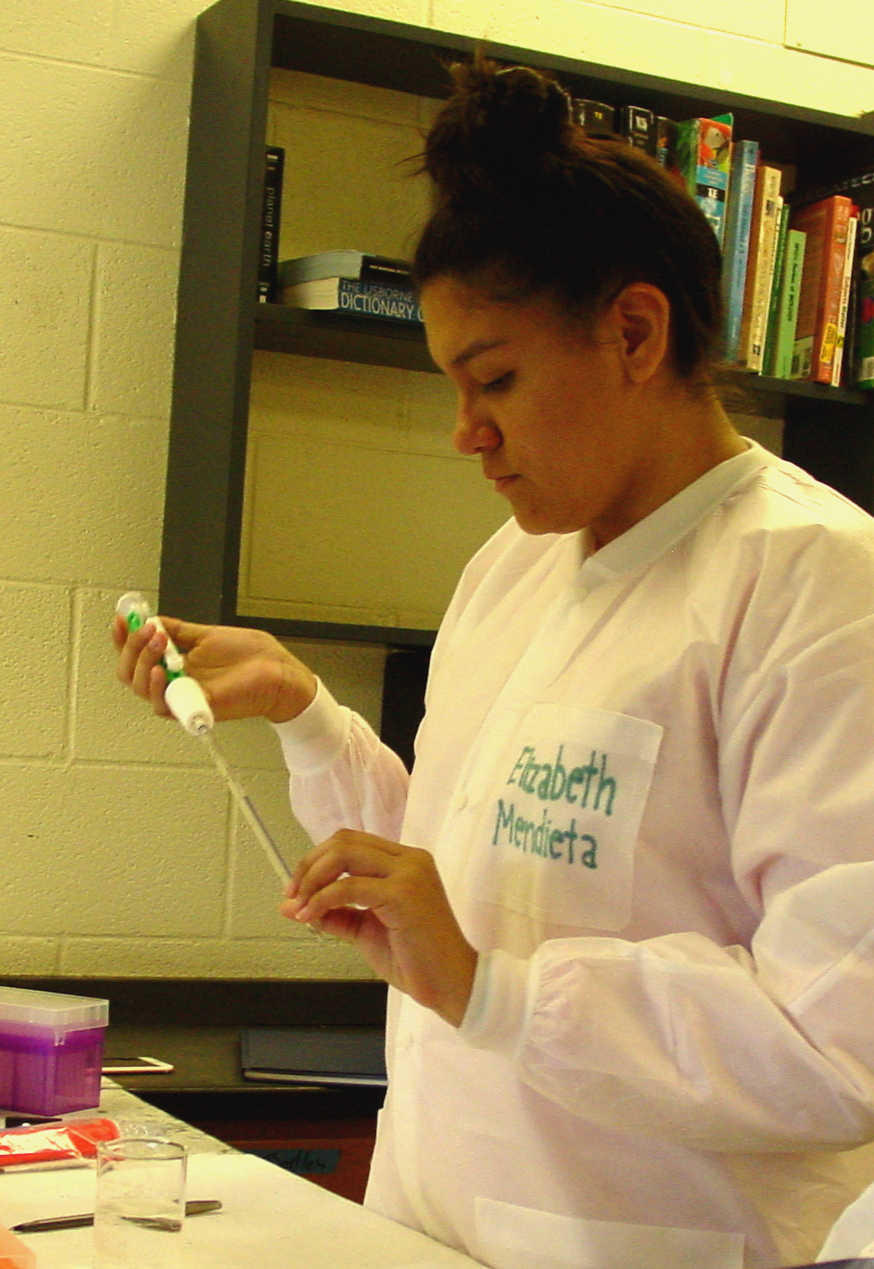
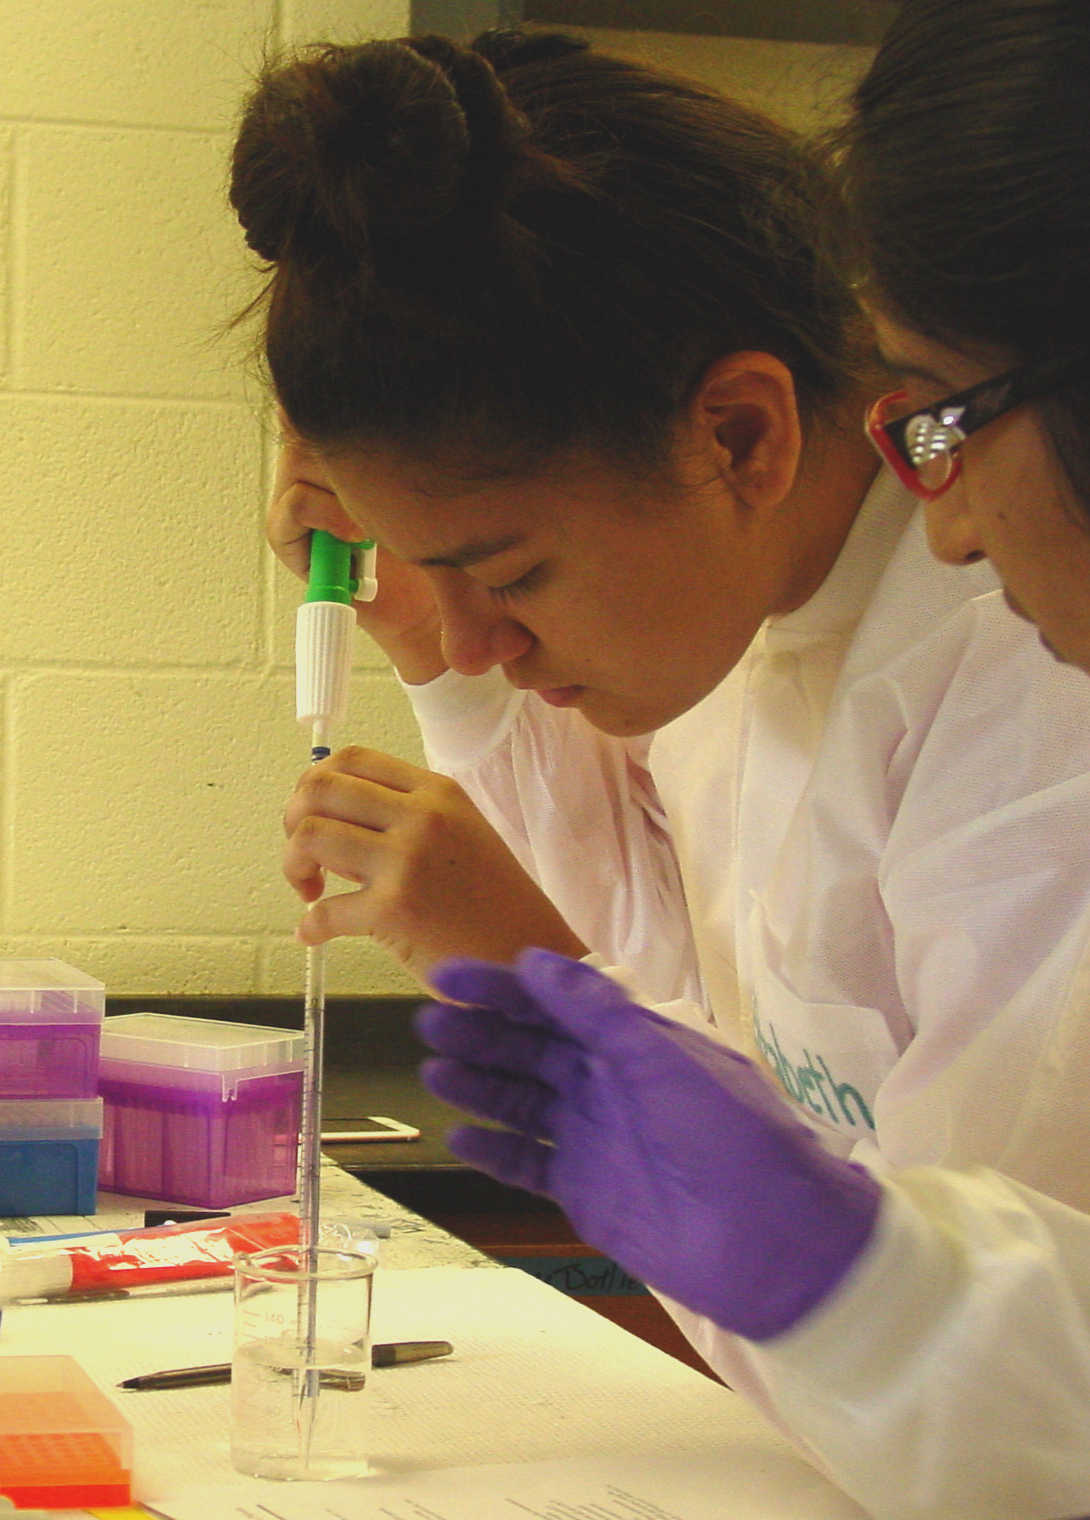
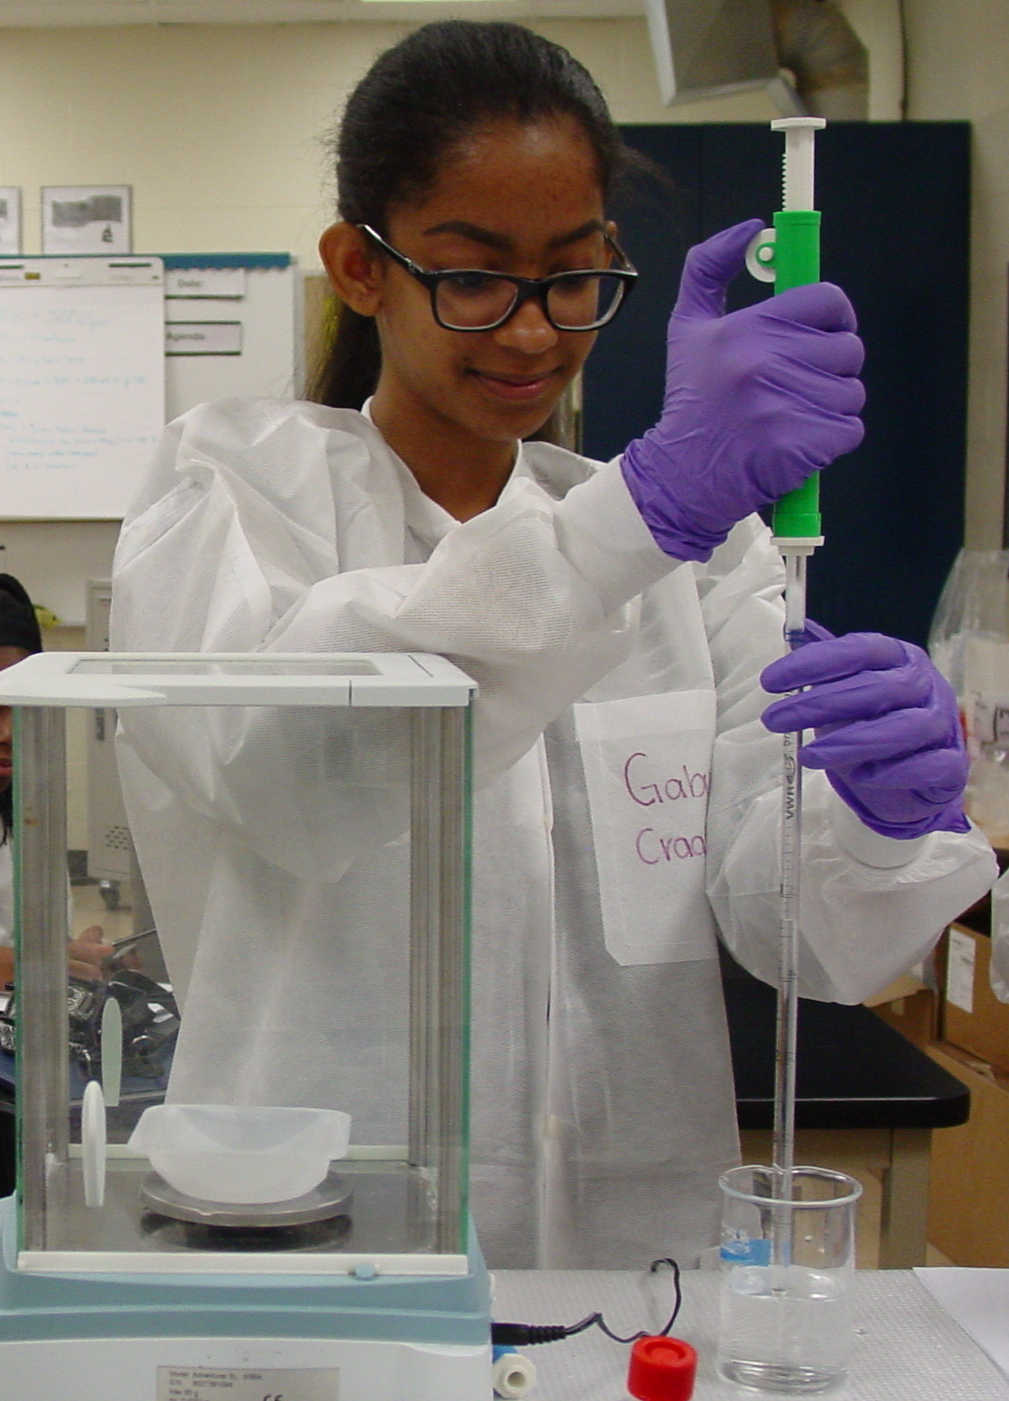
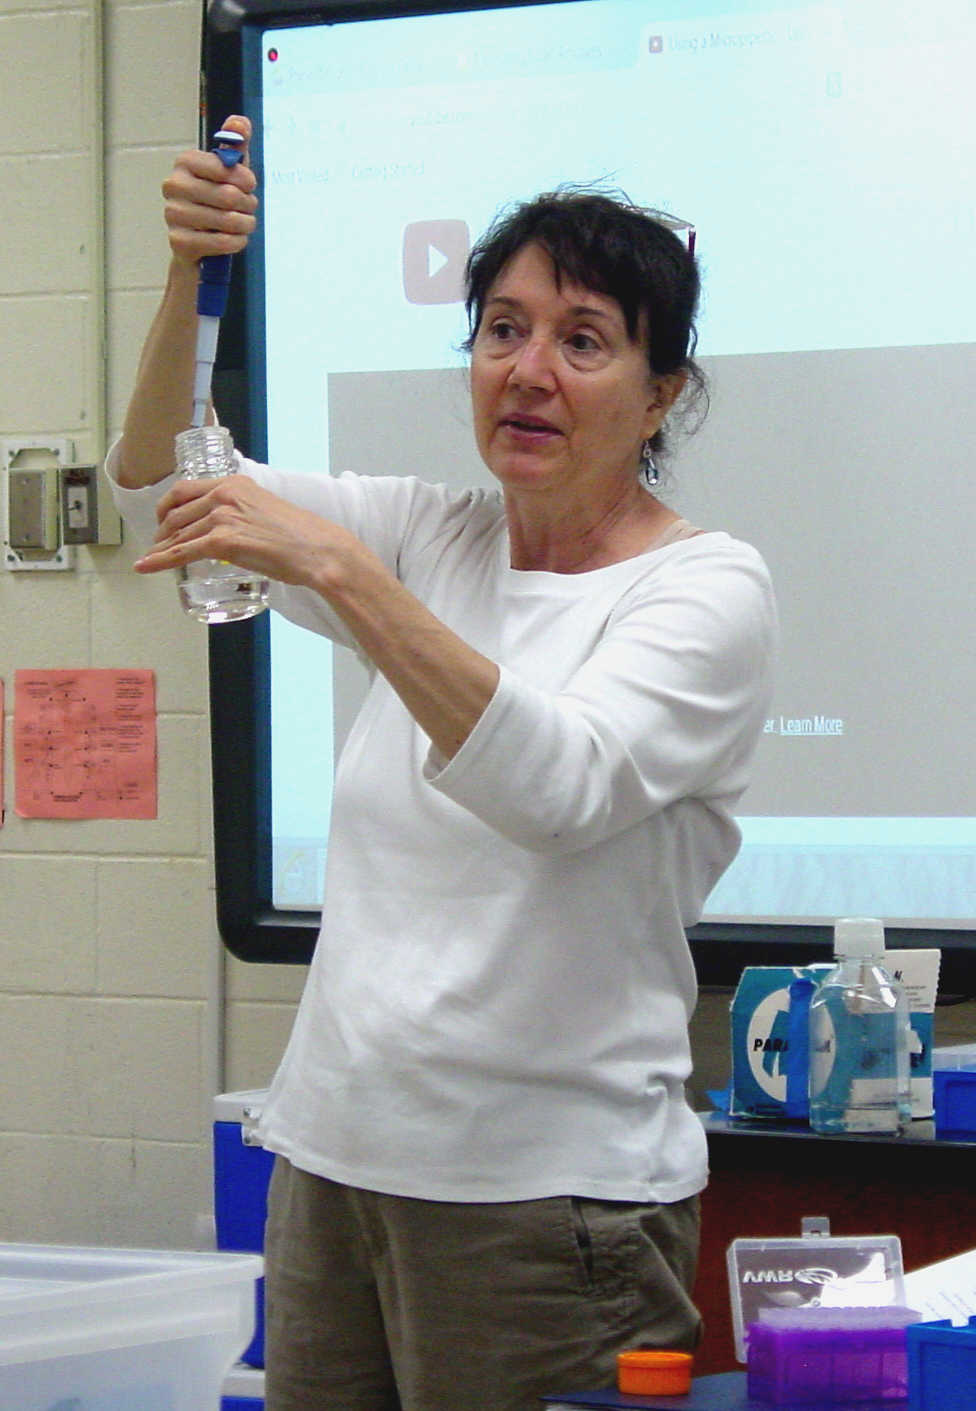
Field Trip to Crowder's MT S.P. had to be cancelled so we spent the day practicing basic lab skills: using micropipettors, pipette pumps with serological pipettes.
The goal of todays activities is use mass balances to test the precision and accuracy of our pipetting.
Also, to practice choosing the correct device, setting the volume and choosing the correct tip.
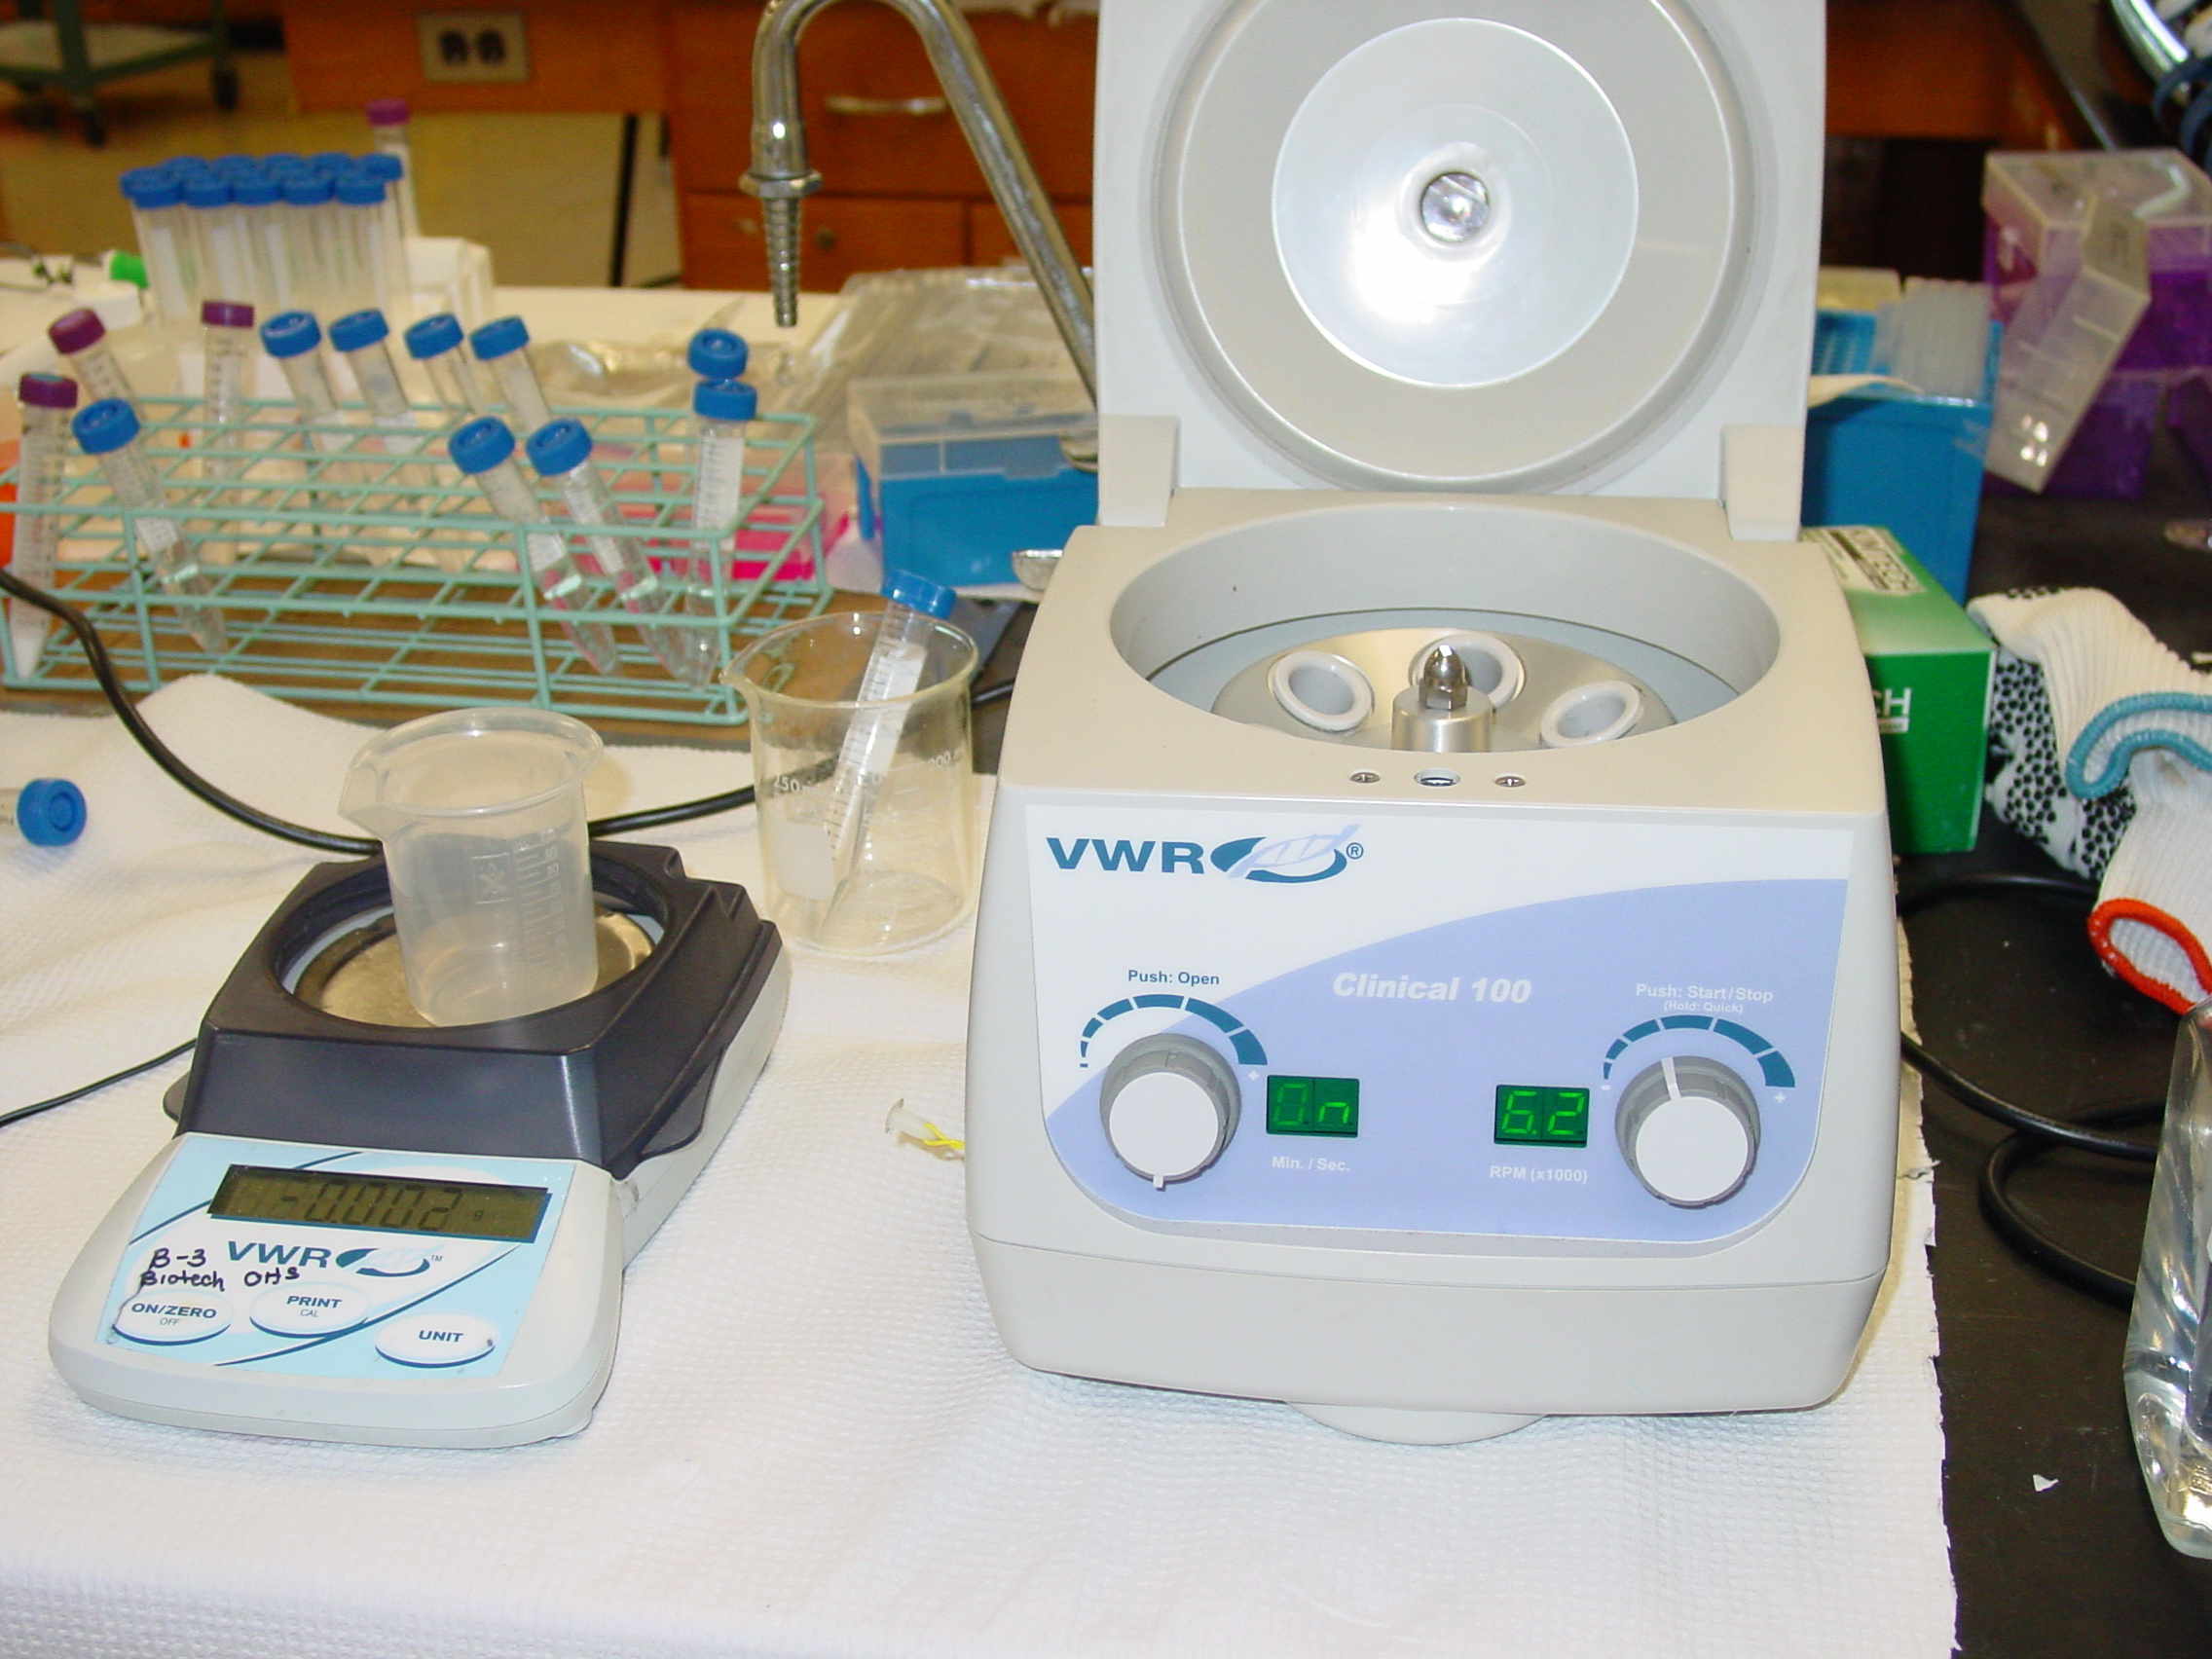
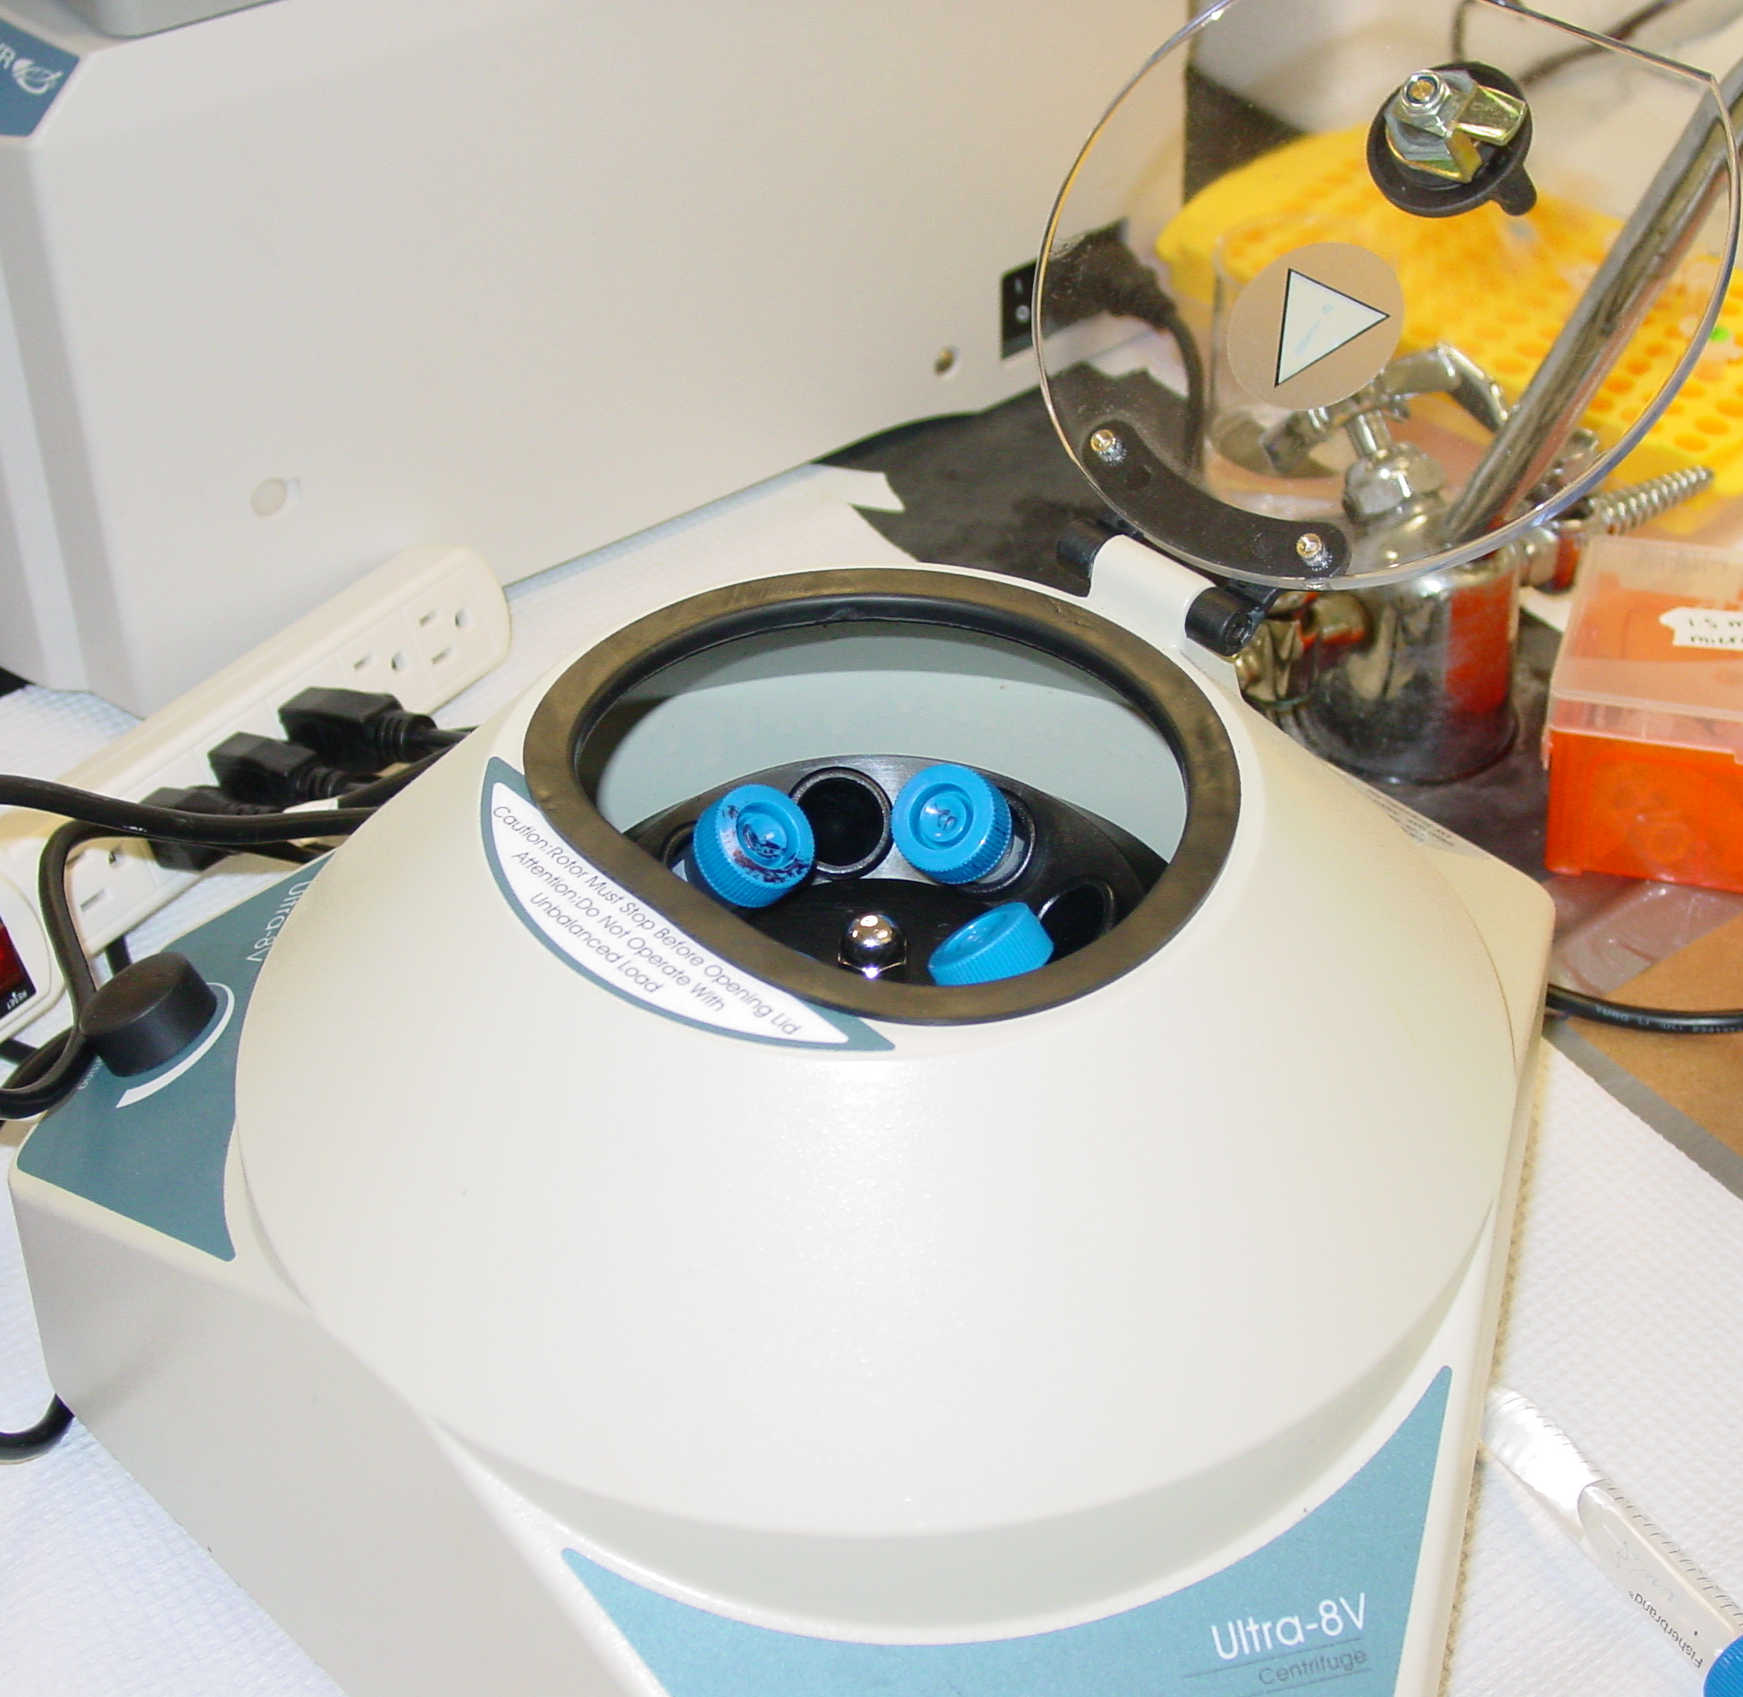
Other skills include mixing solutions with different viscosity, centrifuging, and pelleting insoluble material.
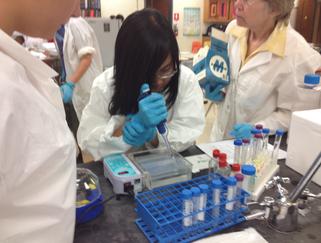
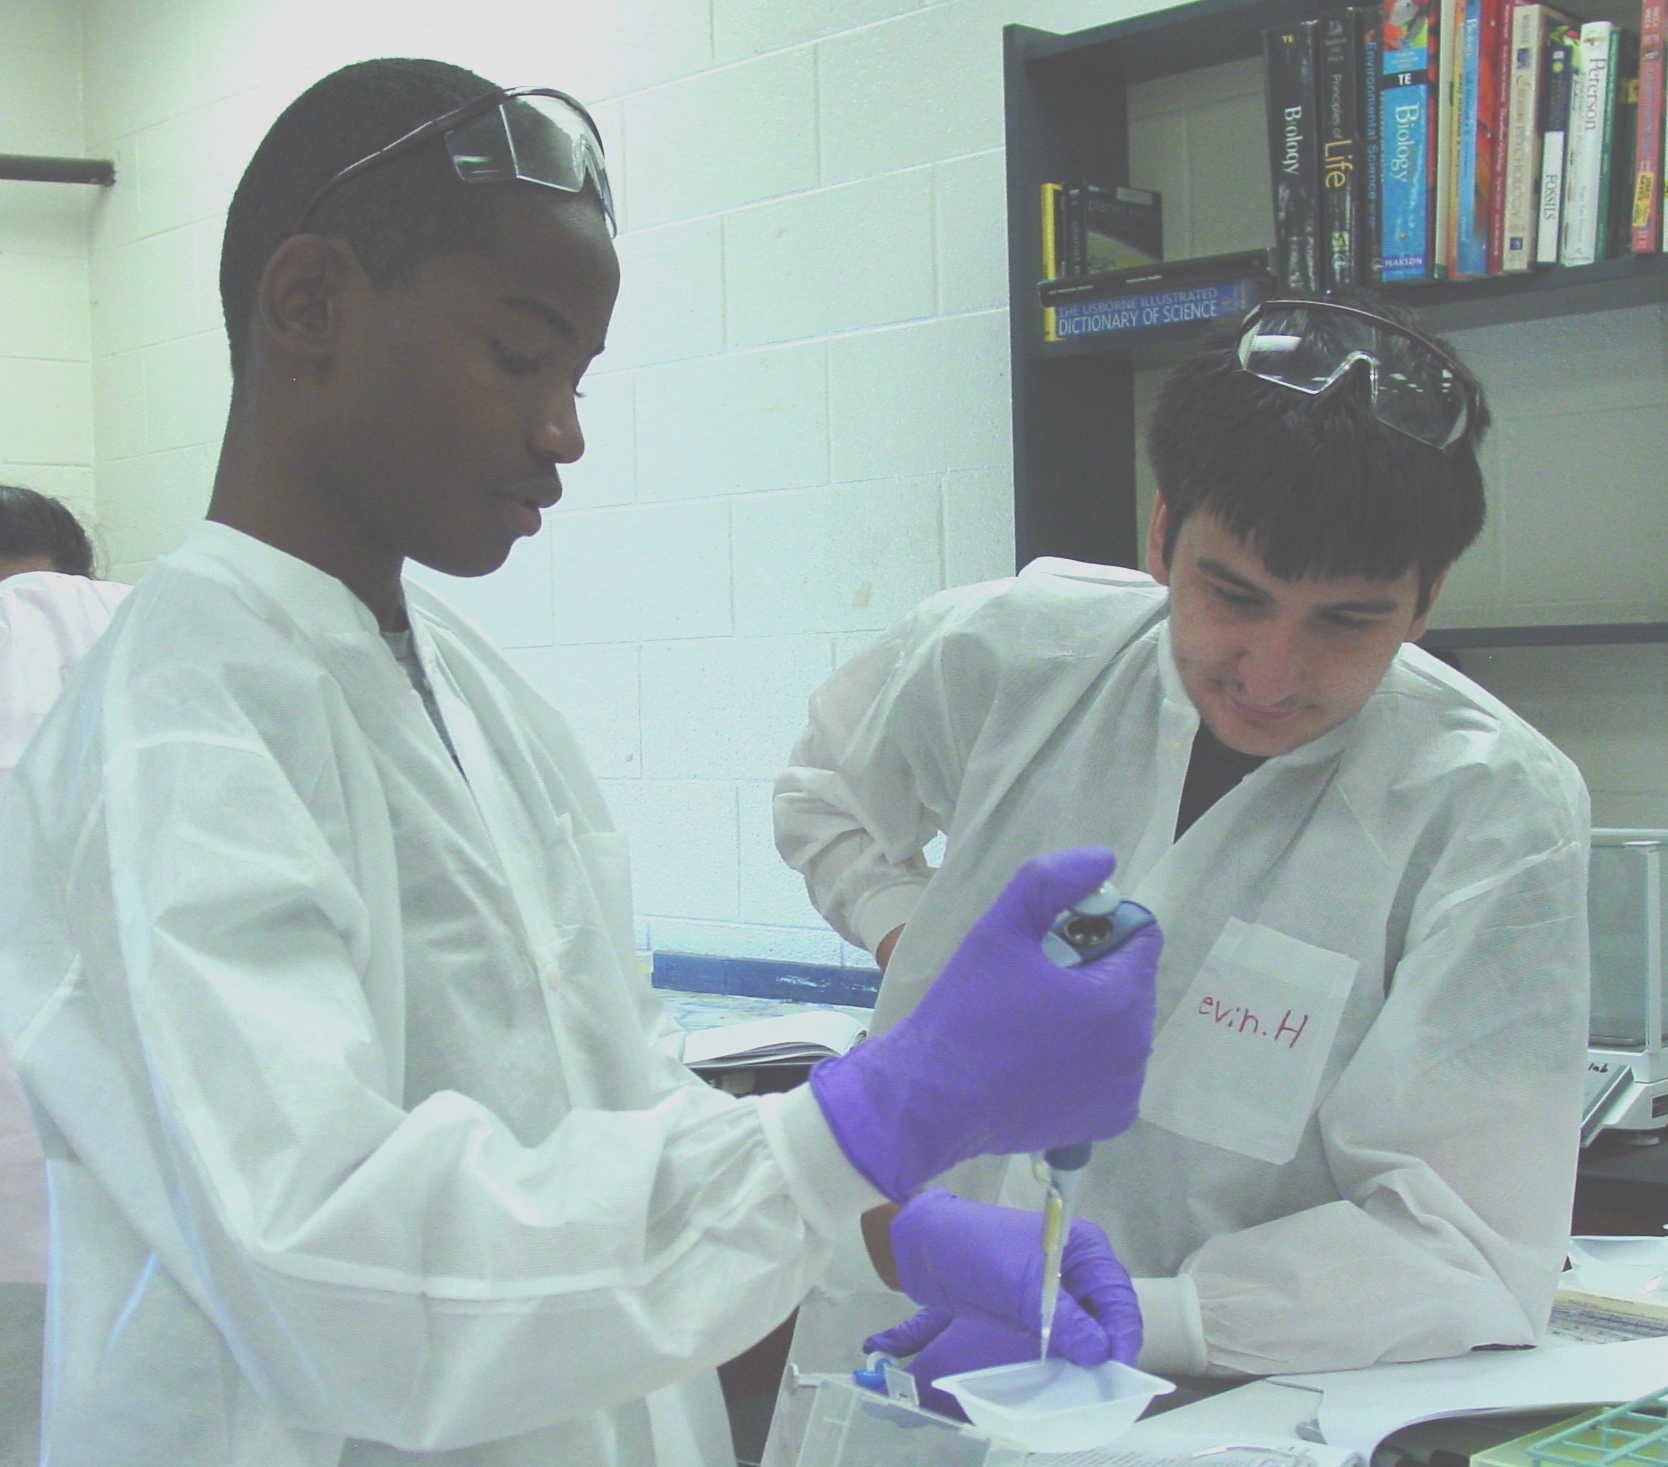
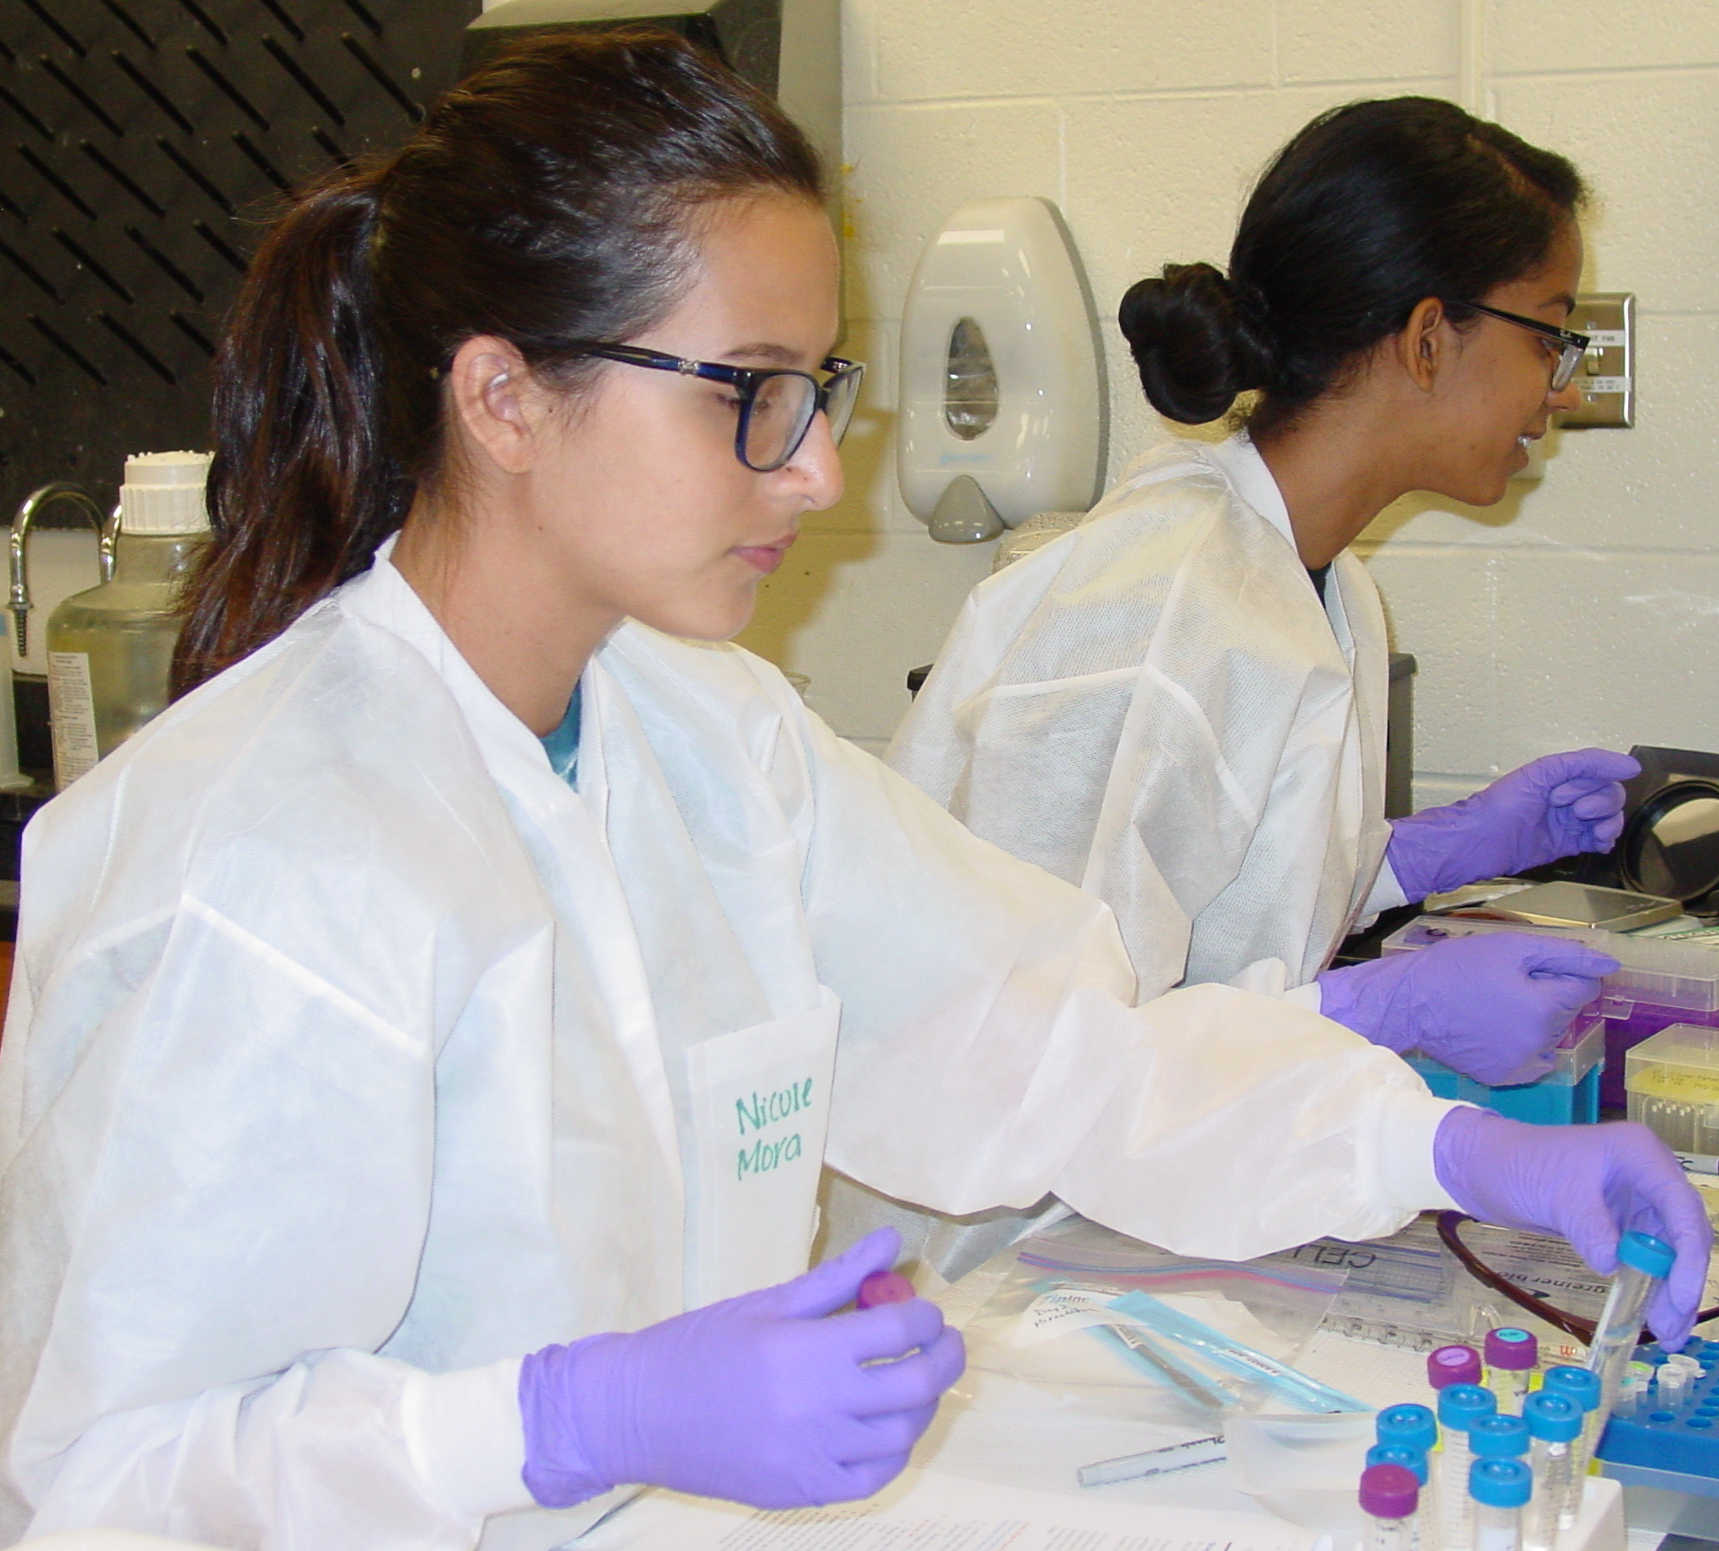
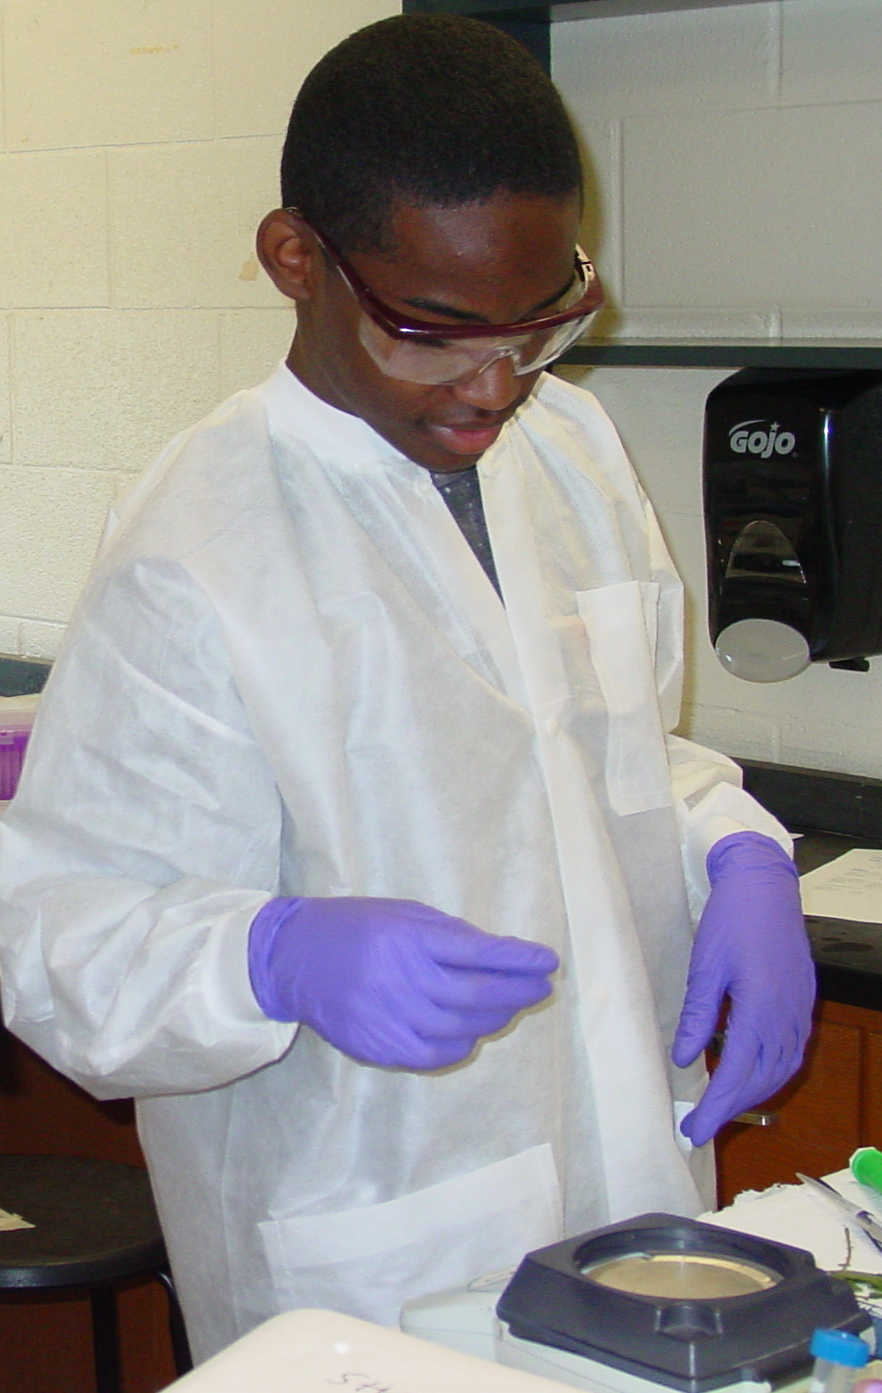
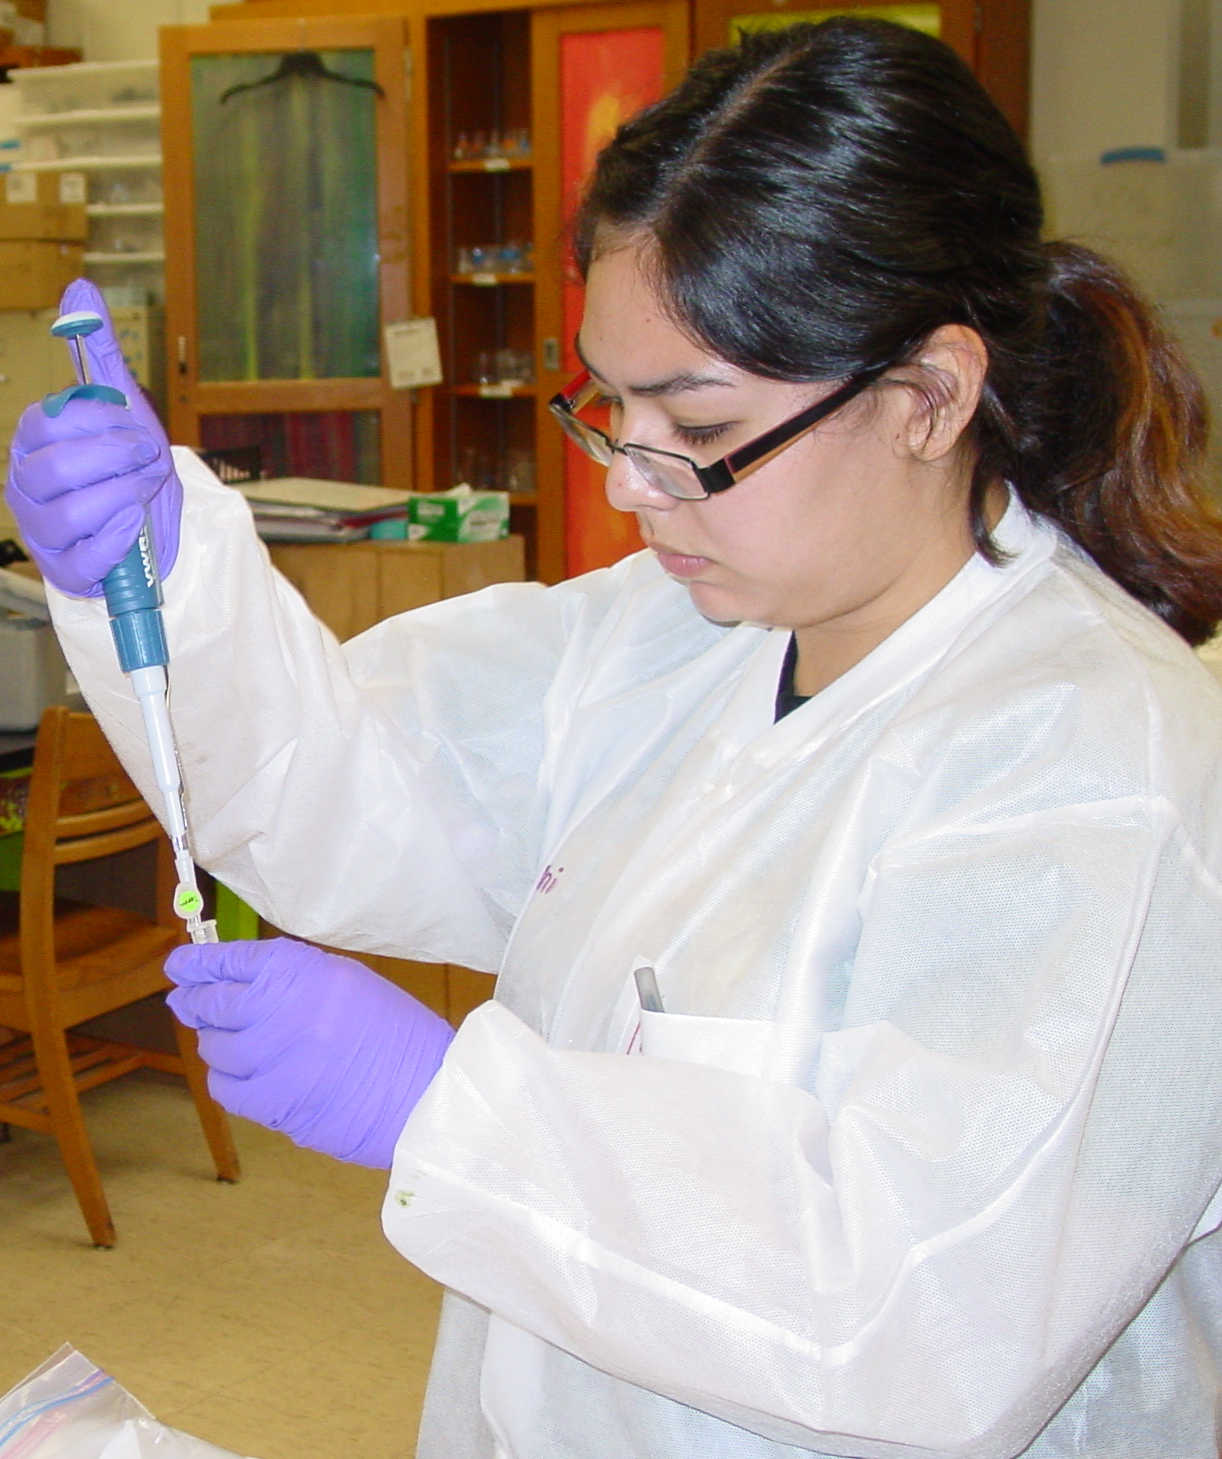
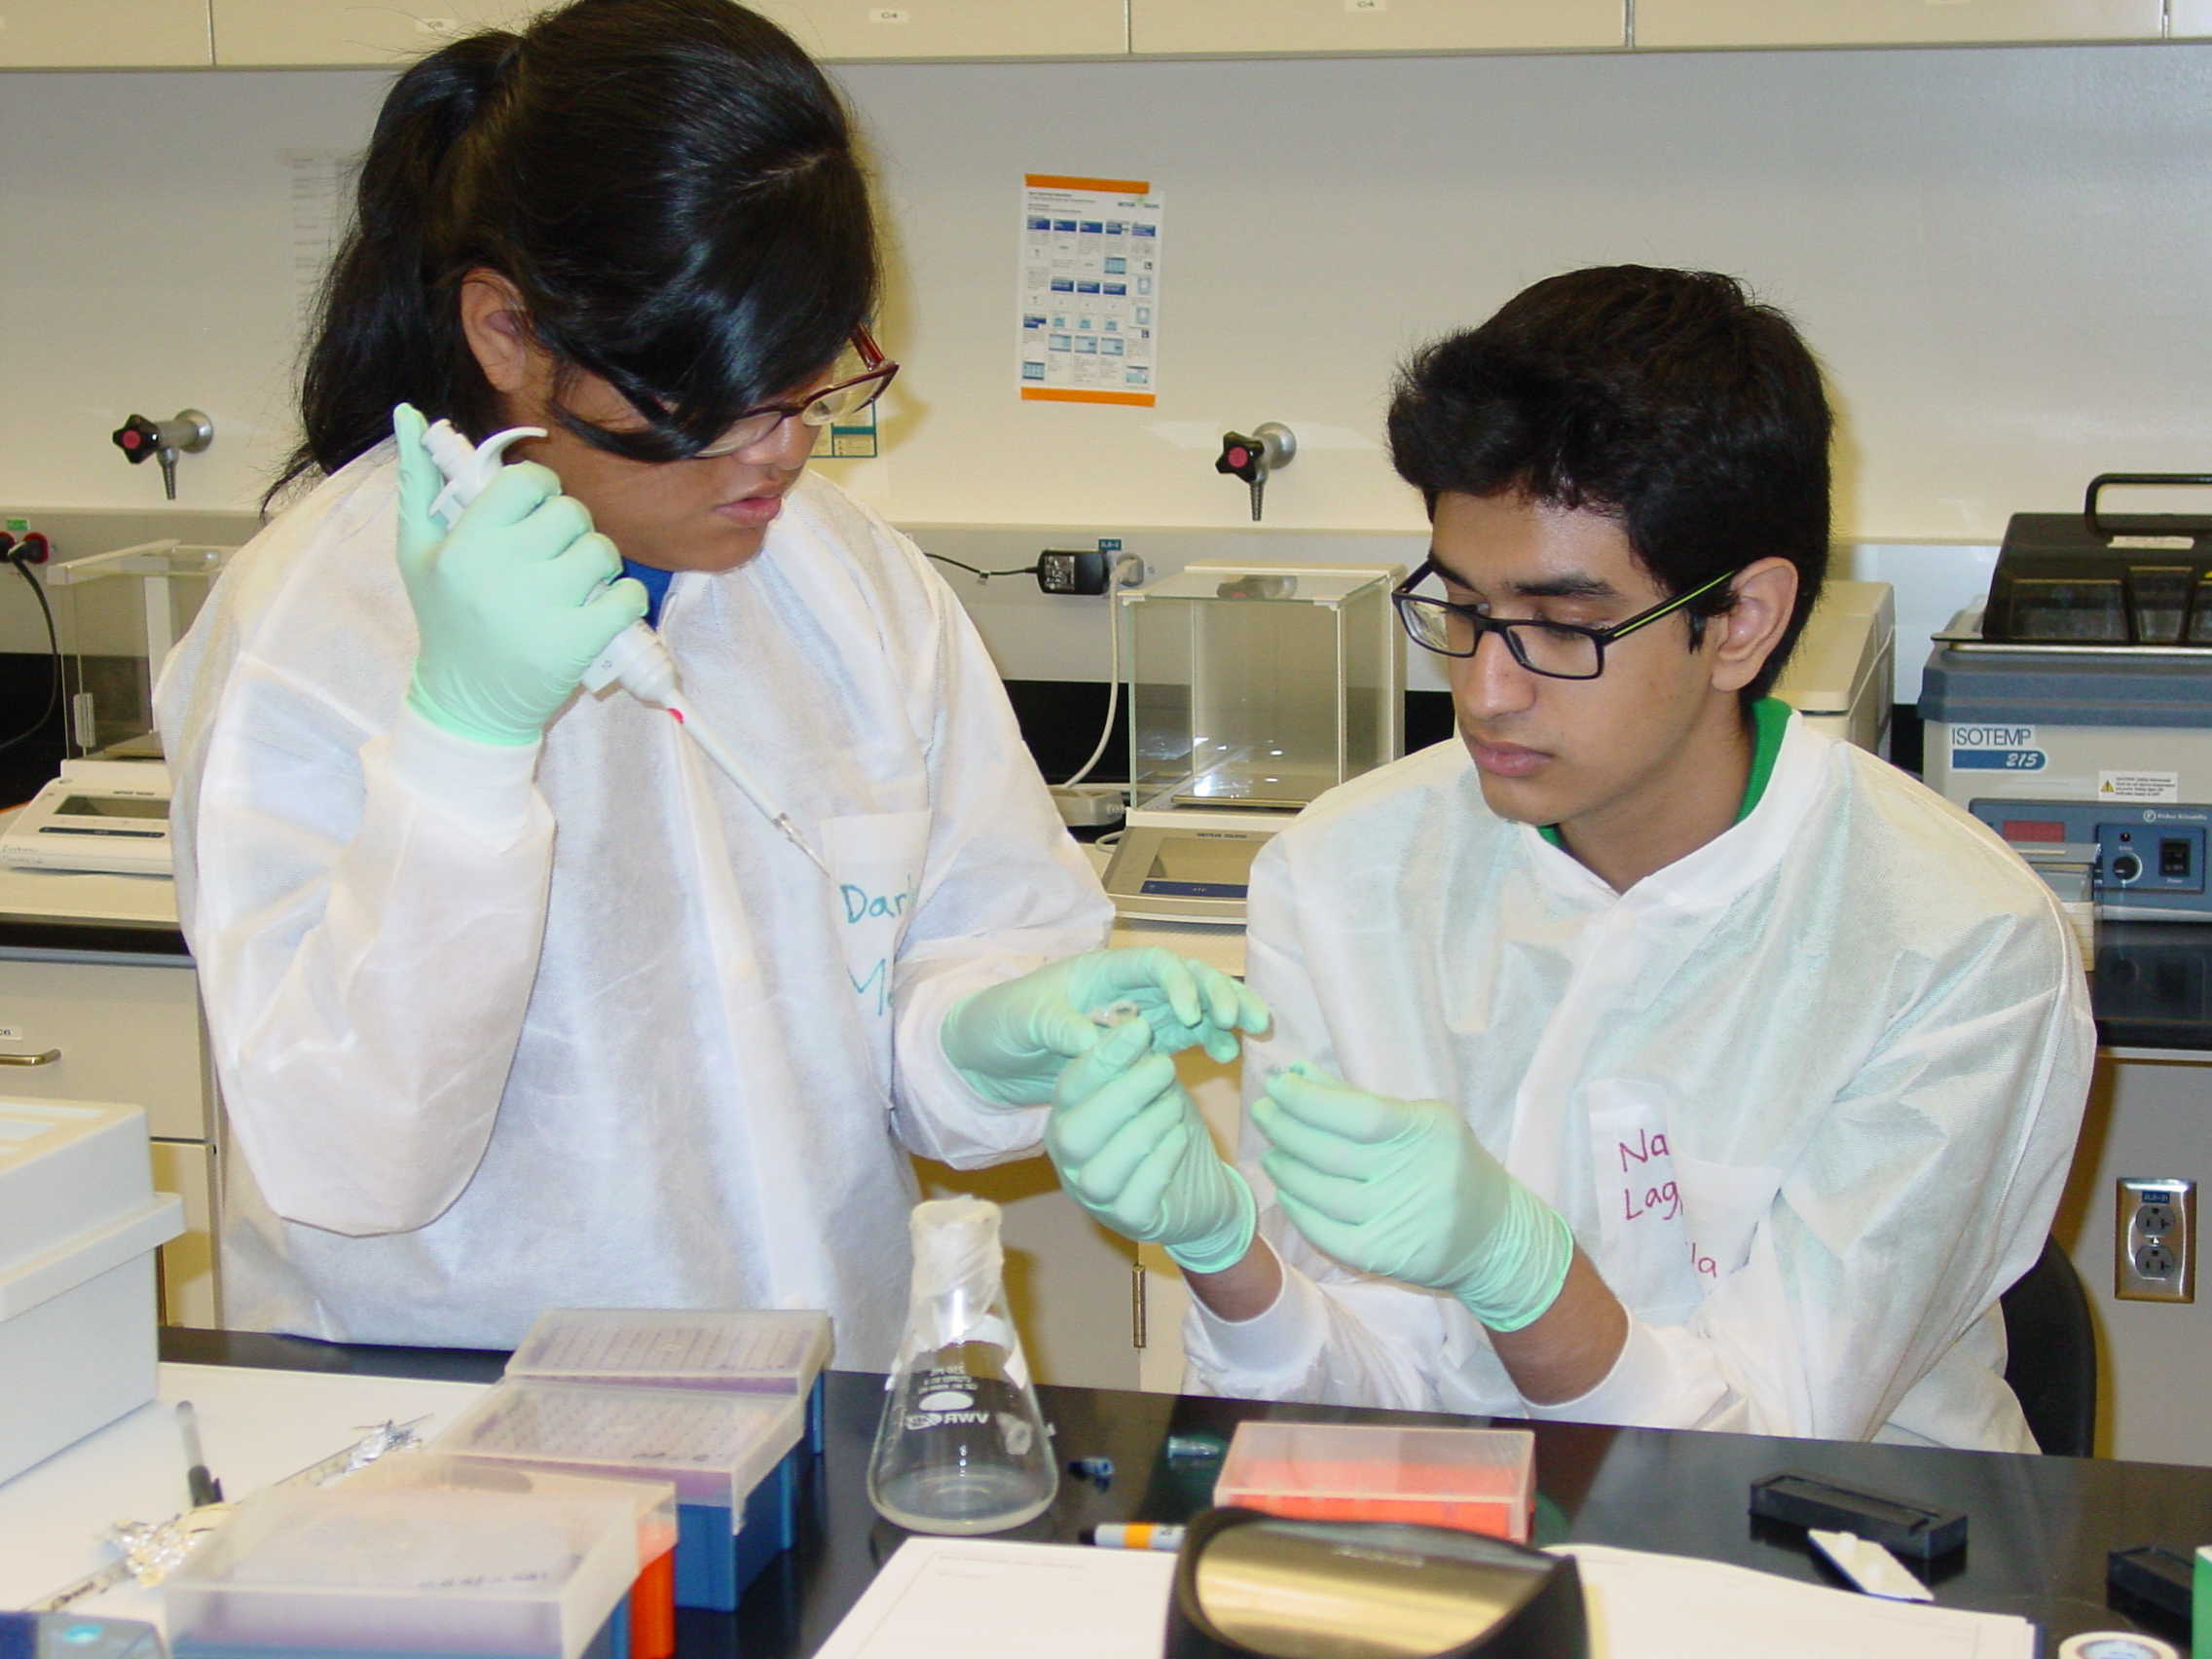
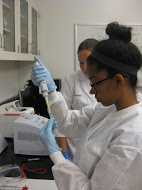
Ms. Putnam demonstrated how to set the micropipetters (Caleb did not actually get squirted in the eye), and then everyone practiced at the desks before putting on lab coats and getting to work (Nicole in close-up, and Kayla and Carlos).
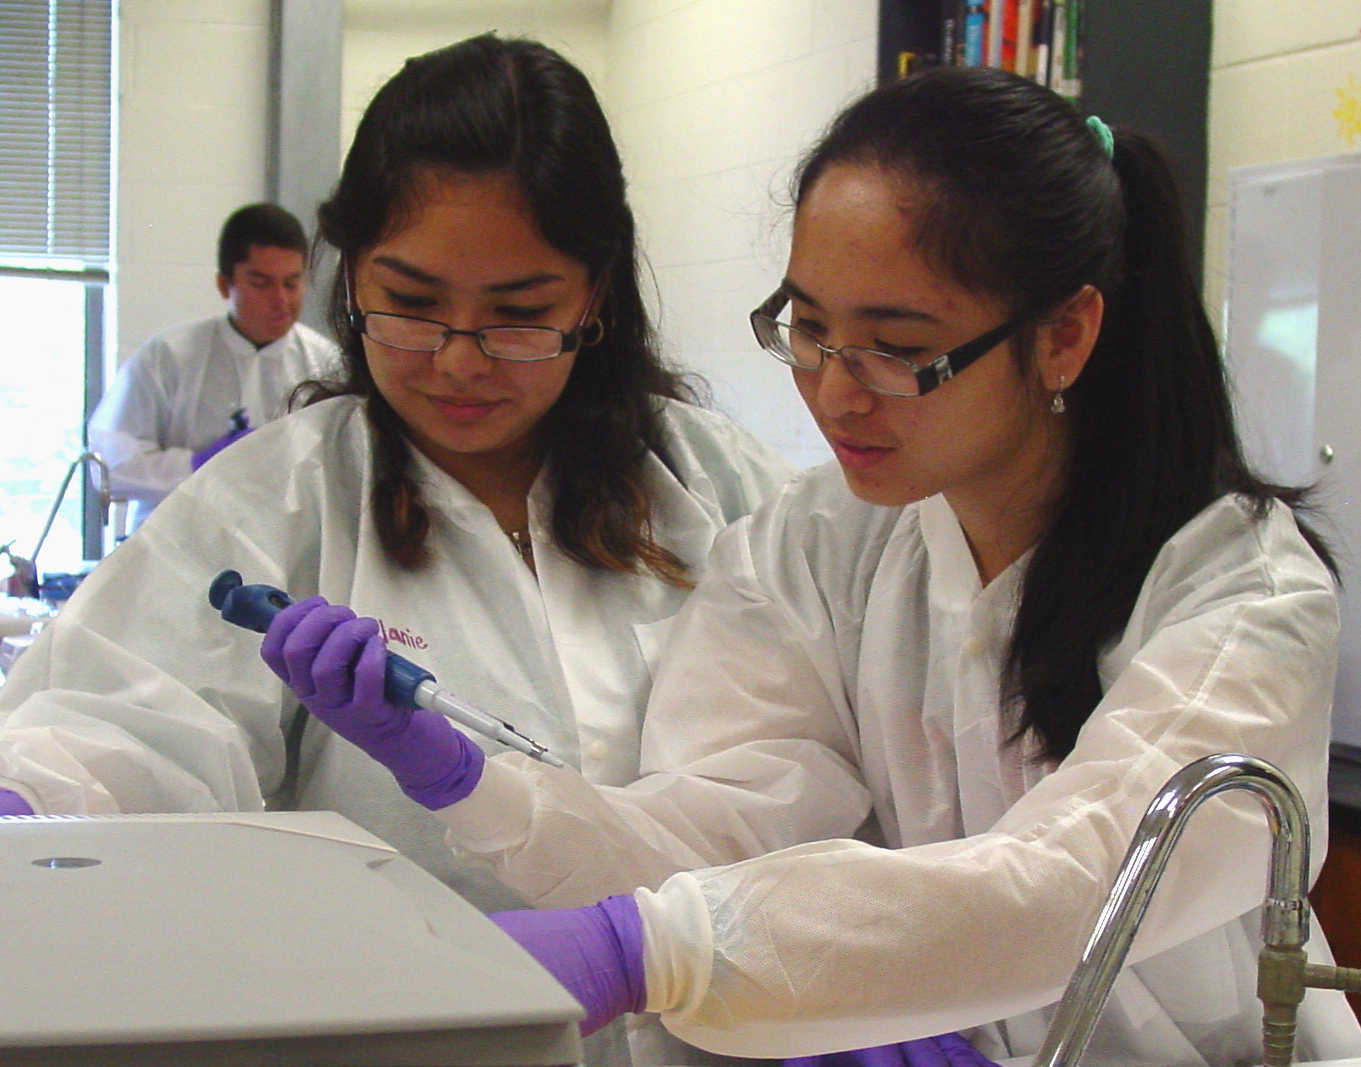
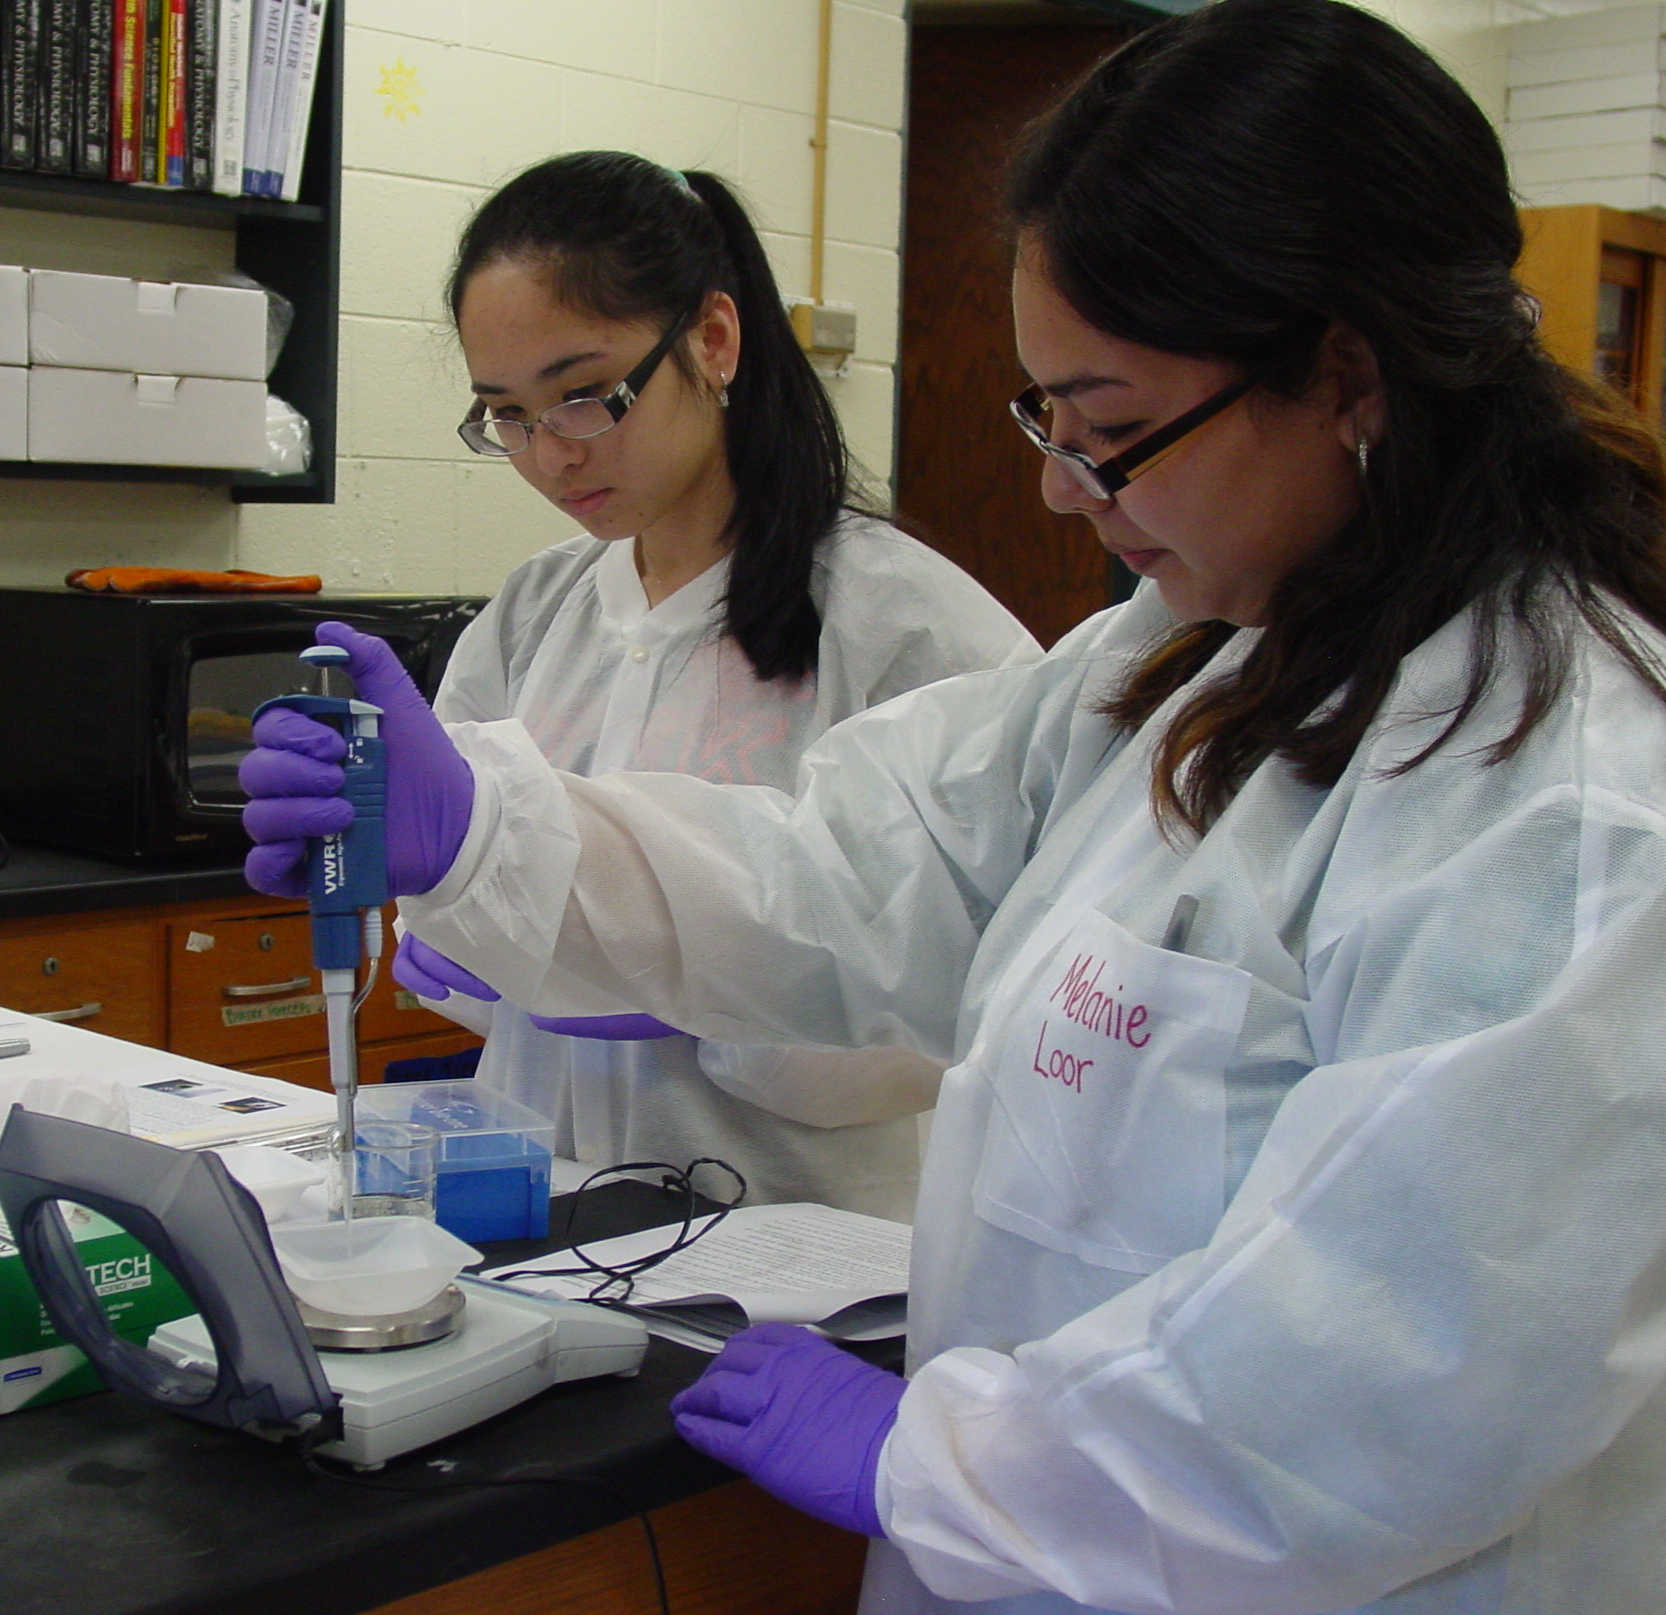
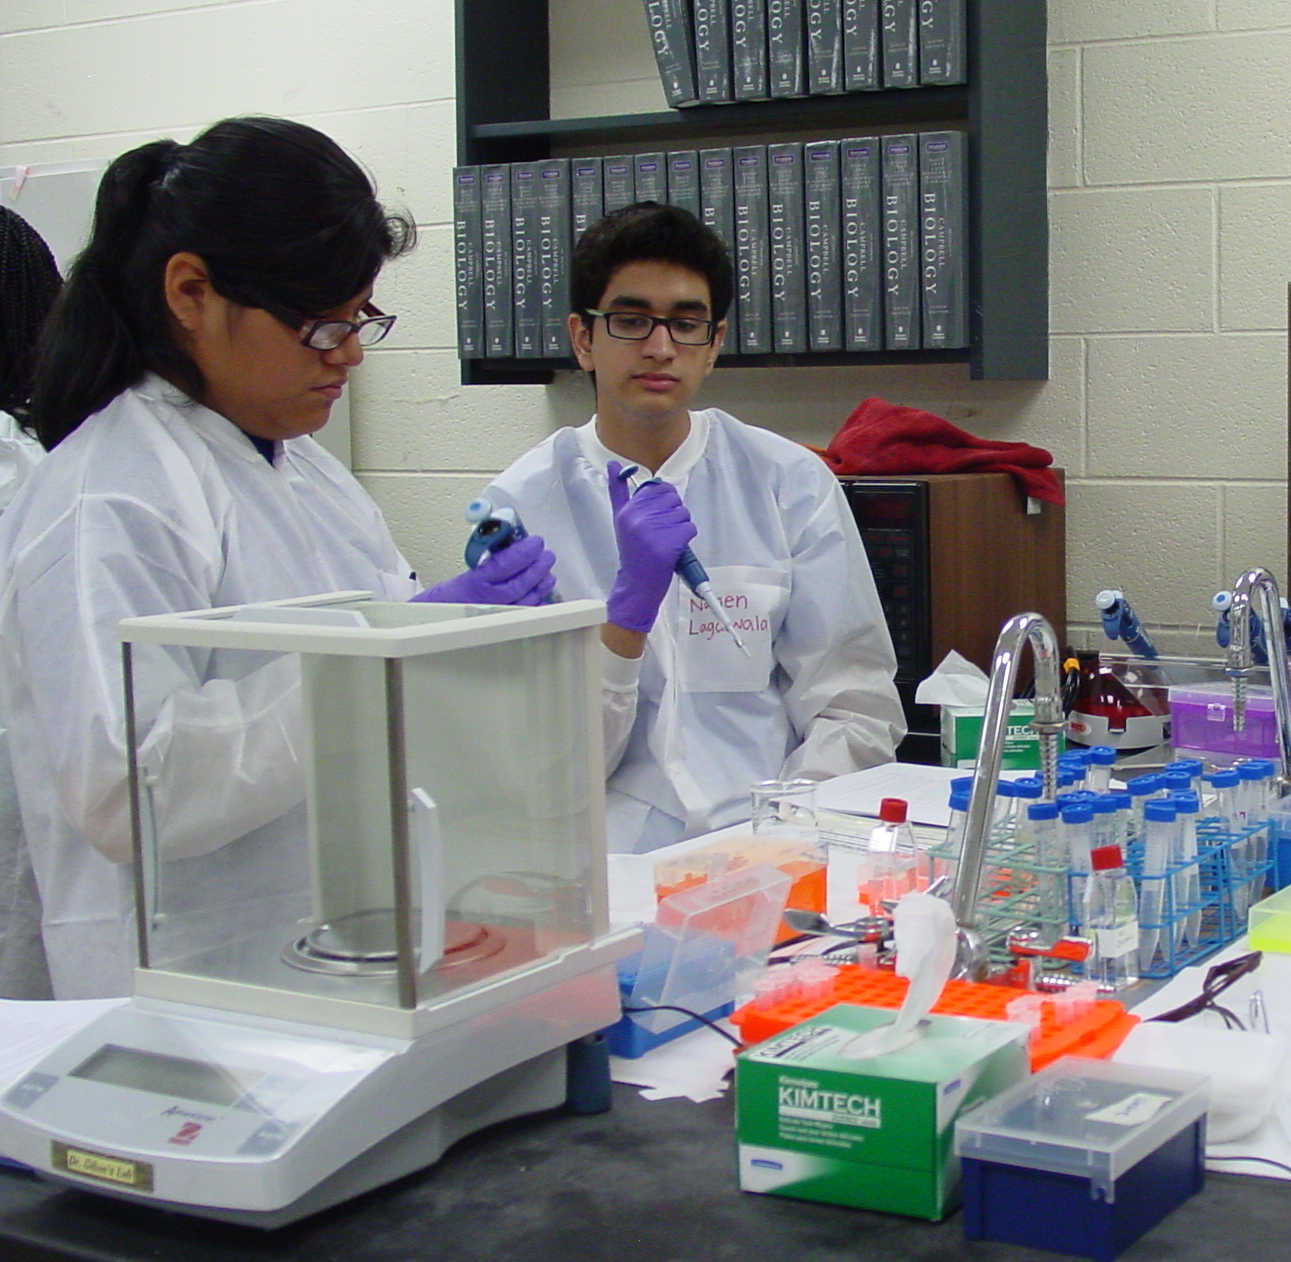
At the benches, students began testing the micropipetter settings and weighing out the volumes. (Here, Melanie and Tamdan setting up and then weighing and recording the results)
There were definitely different styles, as students consulted with each other to see what worked. (Carlos, Darlyn and Namen, Brandon and Kevin).
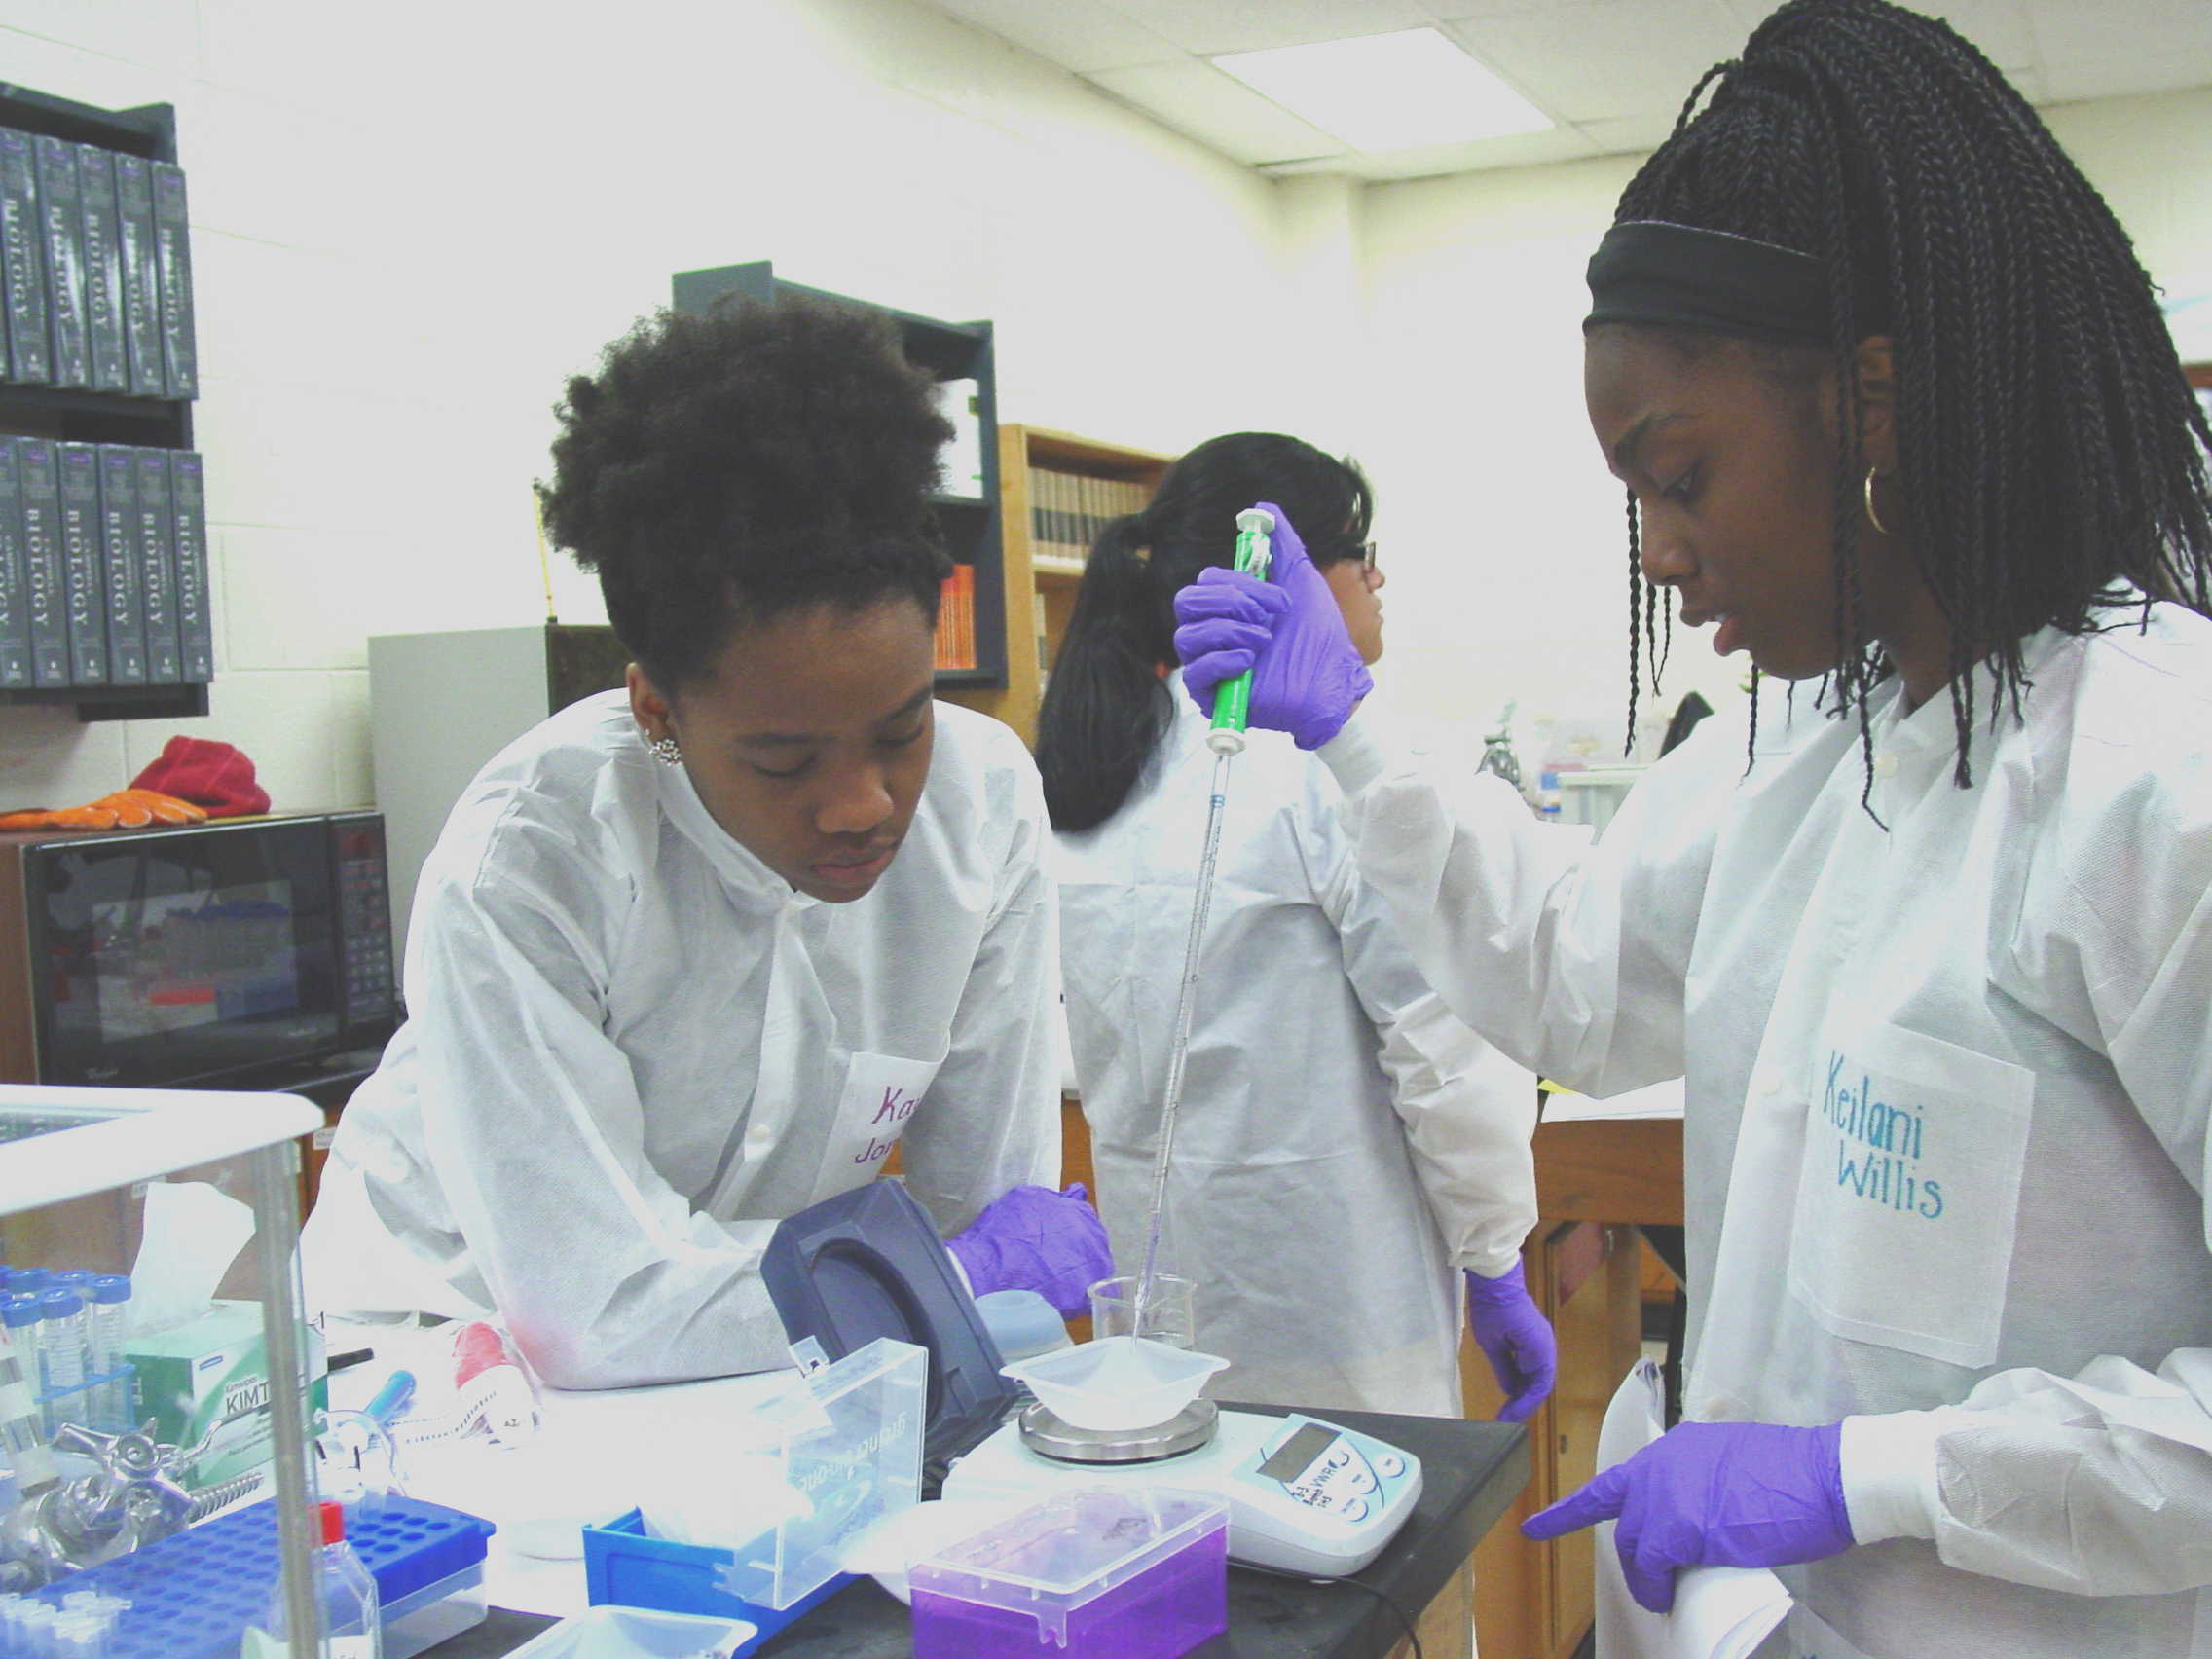
The TAs were on hand to give advice and criticism (Caleb, Kajal,Sanjana, Kim)
The serological pipettes required more elbow room (Kayla, Elizabeth, Gaby, Keilani and Kayla)
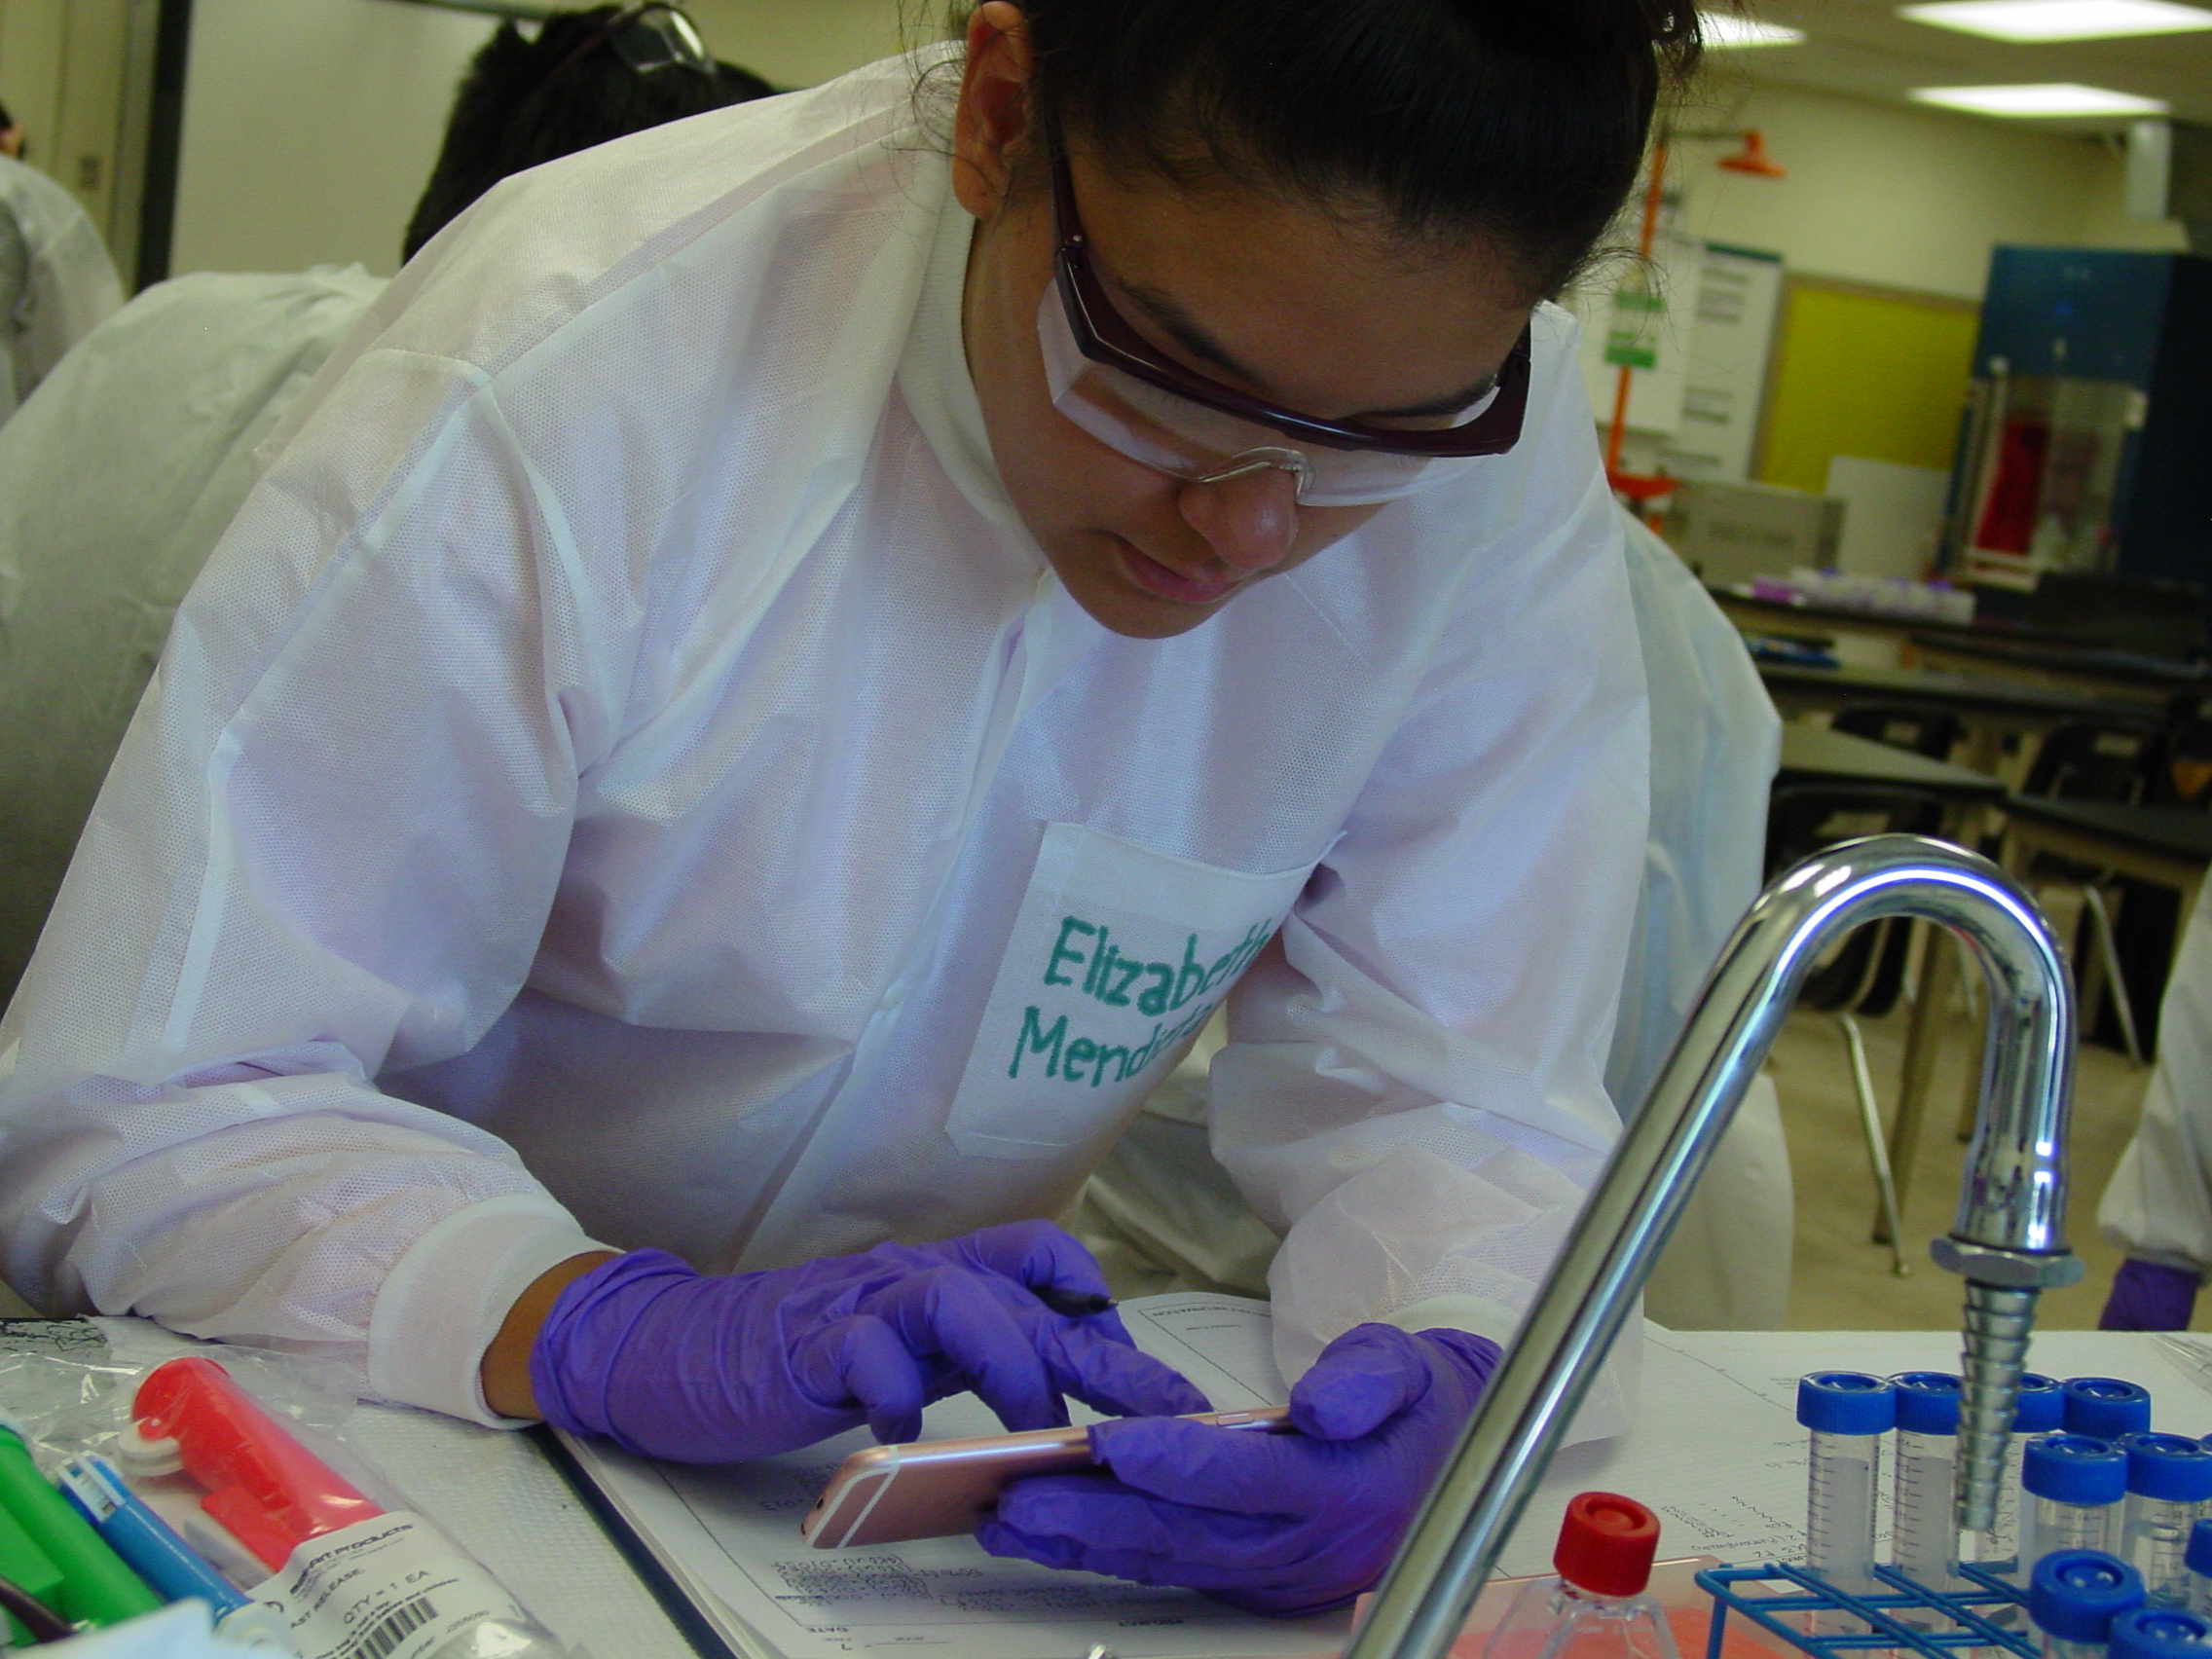
recording the measurements and calculating the mean and standard deviation were also part of the tasks (Brandon, Kajal with Keilani and Nicole and Gaby, Elizabeth)
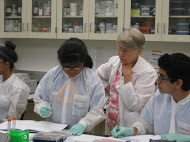
Ms. Putnam explained the genetics, Dr. Weller and Ms. Smith did contribute to some of the explanations for technical steps.
June 20 th
Make or Break day - extracting DNA from the plan leaves we collected is essentail to all of the work we will do in the next few days.
The goal of todays activities is to understand how the components we use when grinding up the leaves are important to the success of the final purification.
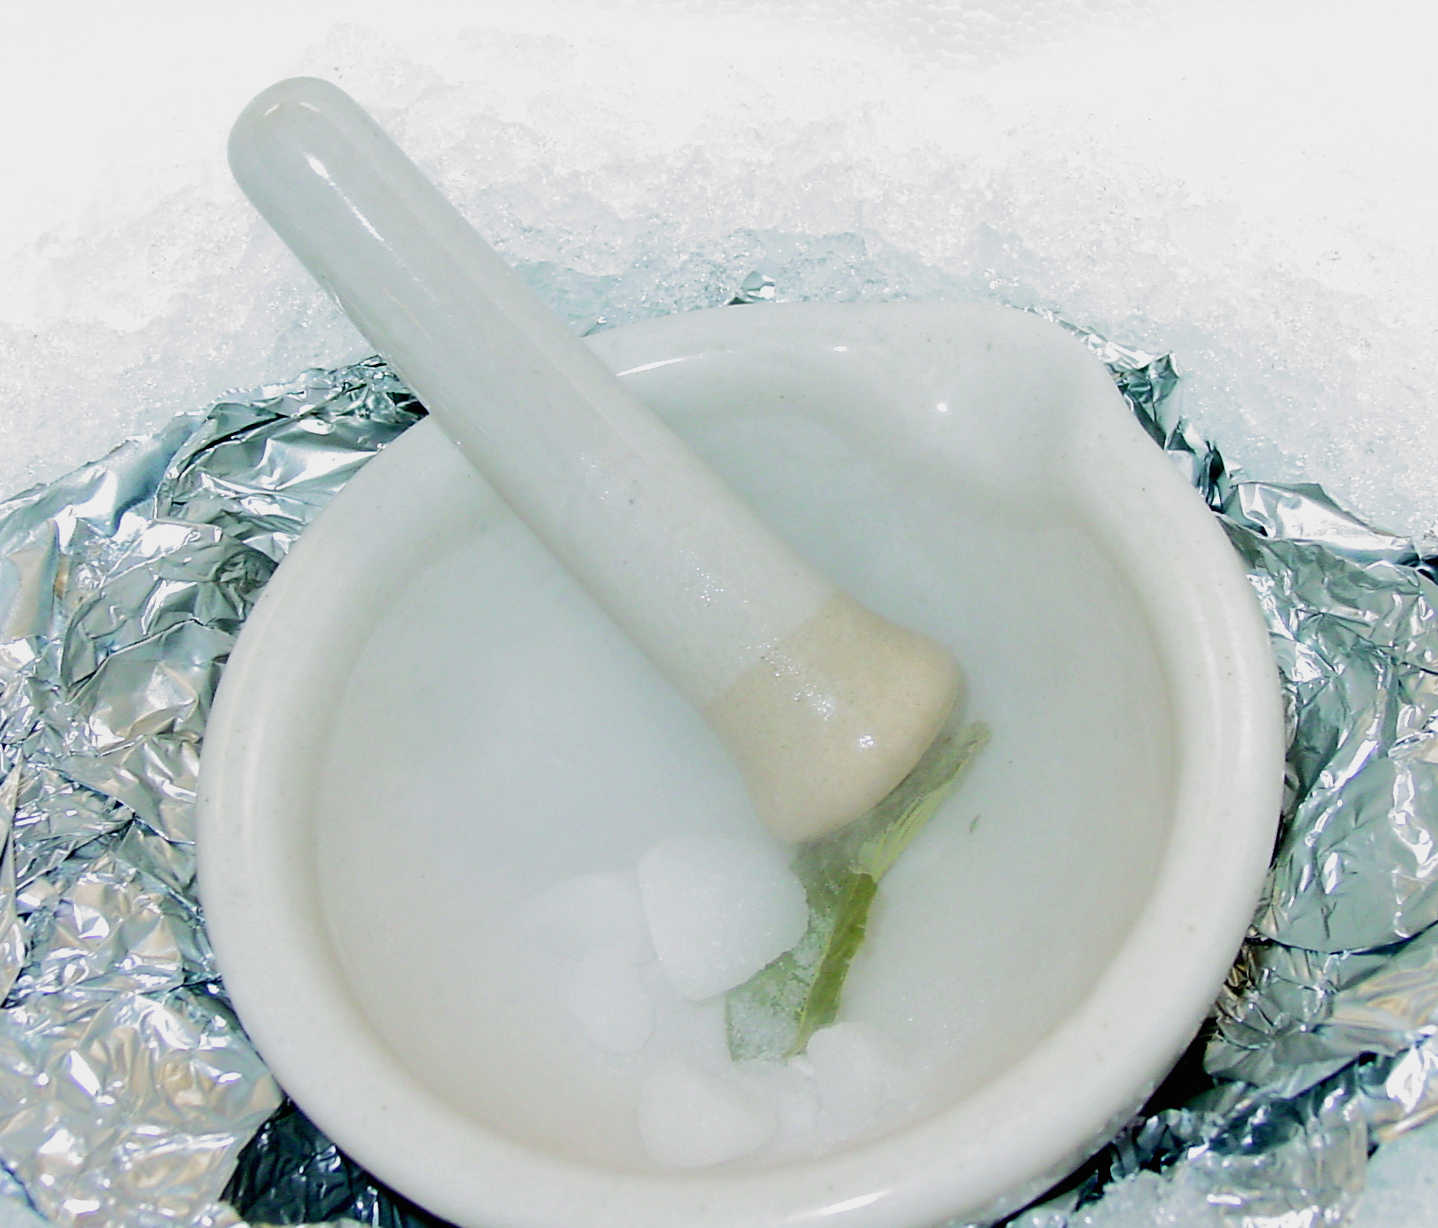
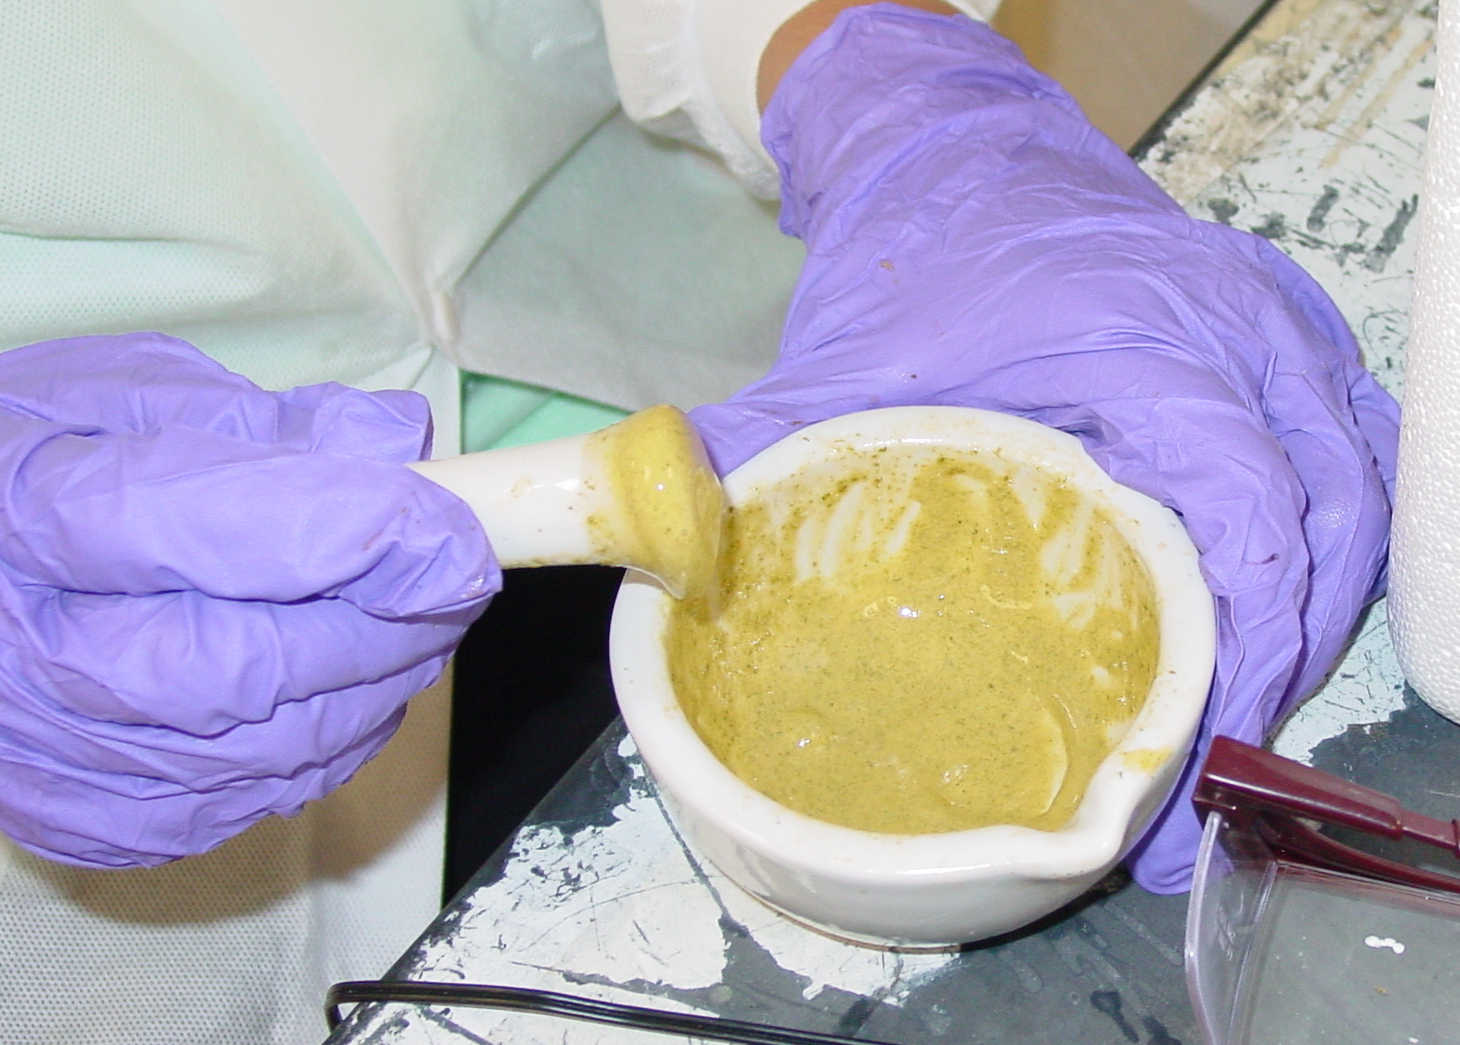
Plant leaves are ground using dry ice to powder and break open the leaf cells while keeping the contents cold enough that the cell enzymes don't degrade the DNA.
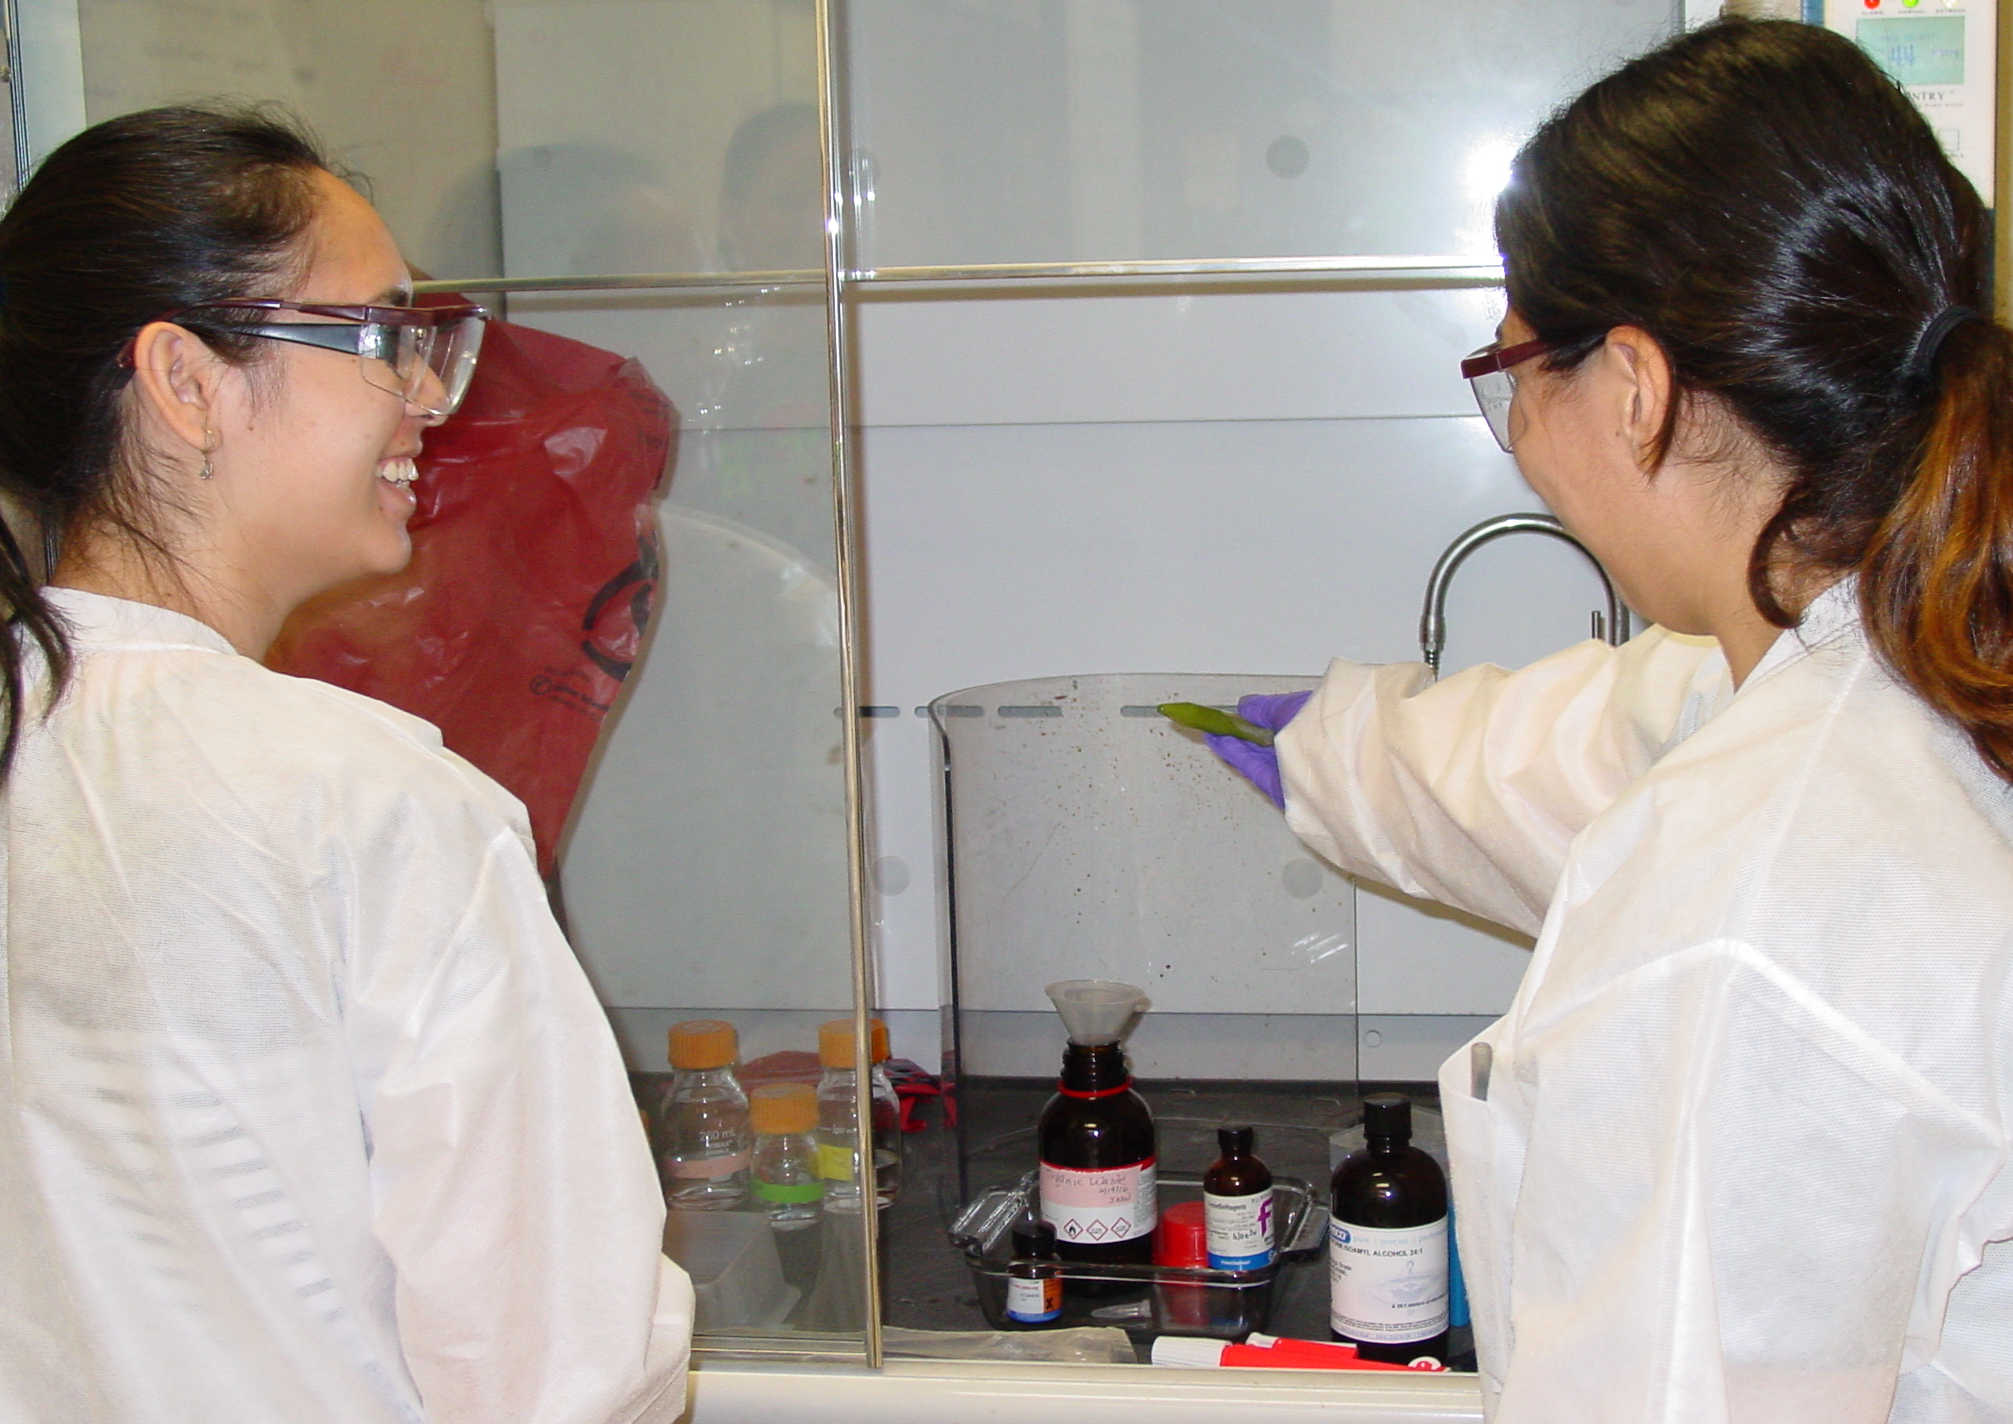
Using several detergents and selective extraction with chloroform, (in the hood - safe use is important) removes the impurities.
In the final step for the day the DNA is concentrated using an alcohol solution that causes the DNA to precipitate from the solution.
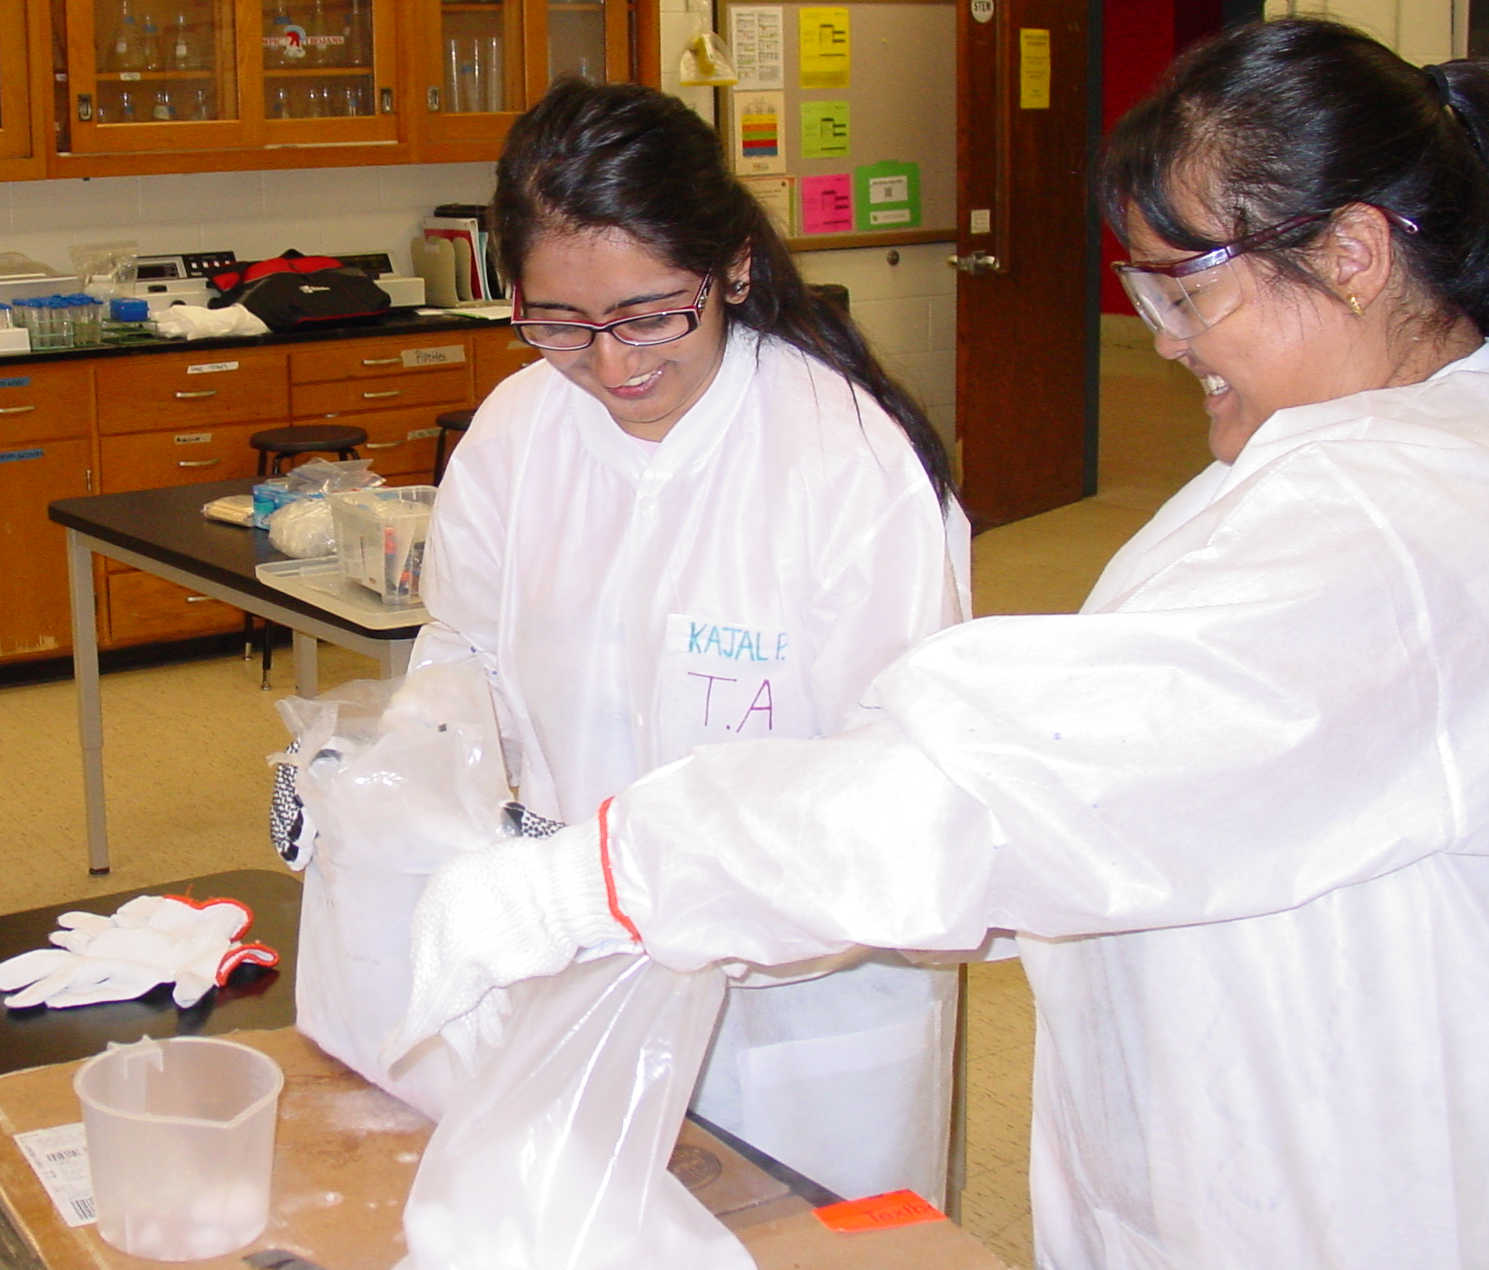
The TAs did a beautiful job of getting the benches set up and crushing some dry ice ahead of time -there were a lot of tubes of reagents to check out (as Gaby and Nicole check to make sure they are all there).
The first step is to put mortars in ice buckets, add a piece of leaf tissue and some dry ice, and then add several chemicals to the mix, including buffer, sorbitol, PVPP, betamercaptoethanol (stinks!) and Tween (detergent.
Then the students spent a (very long) 15 minutes grinding the leaves into a greenish paste.
The 'squishate' then is filtered to get ridof big chunks, and heated in a water bath for 45 minutes.
After cooling the solution, students proceed to the hood in order to add an equal volume of chlroform - making sure the caps are tight before returning to the bench to balance the tubes and then spin them in a cetnrifuge.
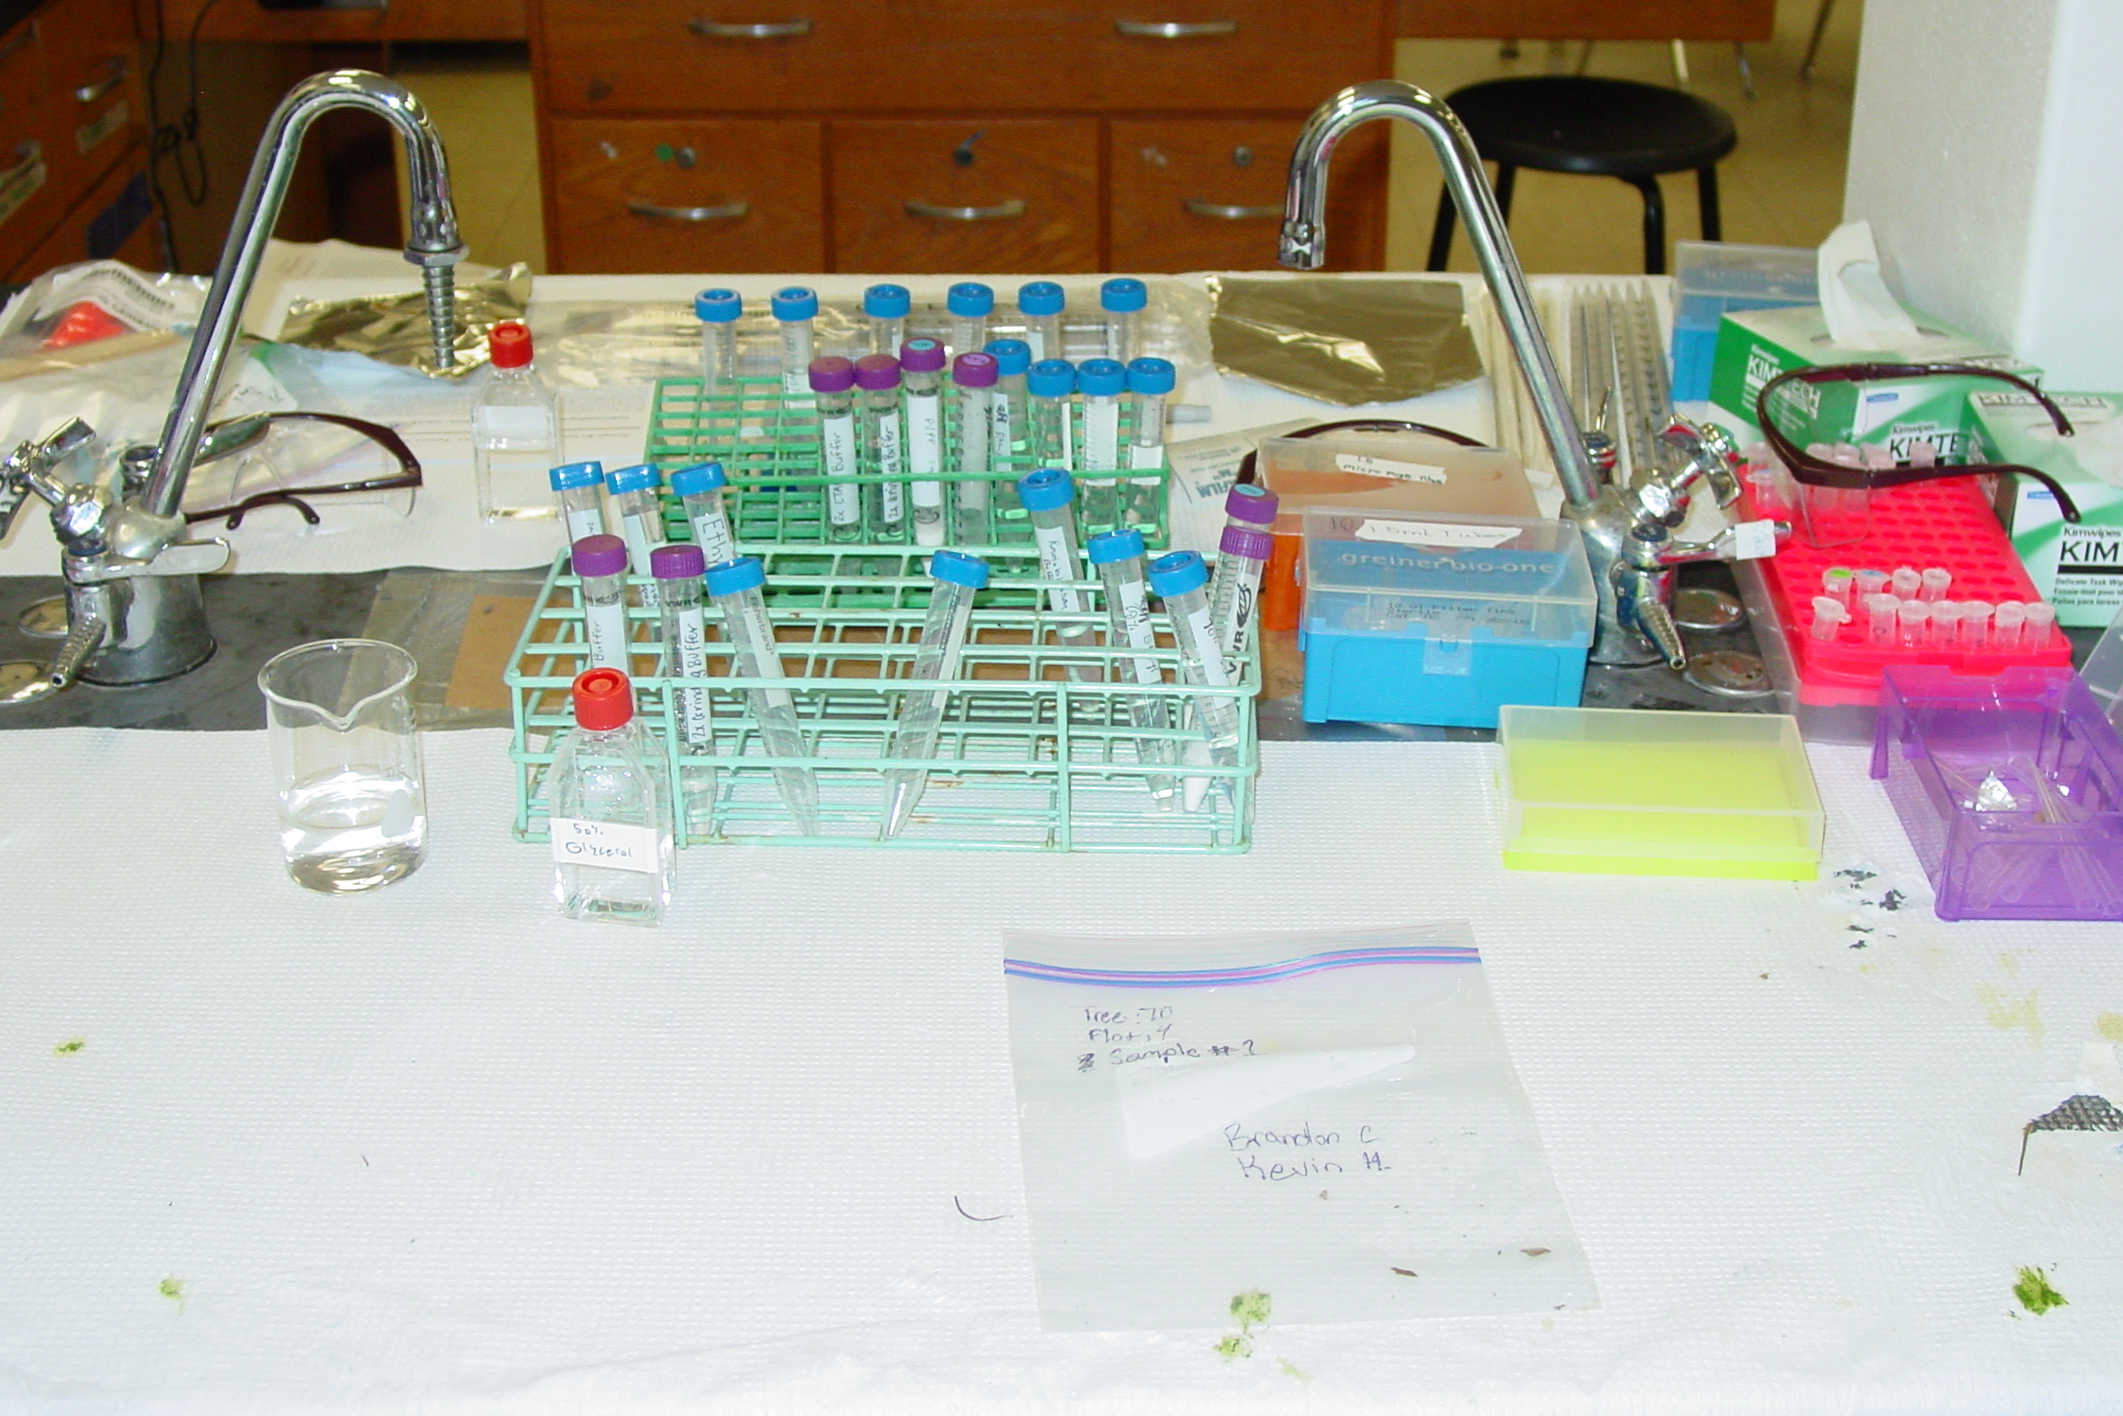
The top layer is moved to a new tube and alcohol is added to precipitate the DNA - this can be left overnight. The benches are not nearly so clean when we are done.
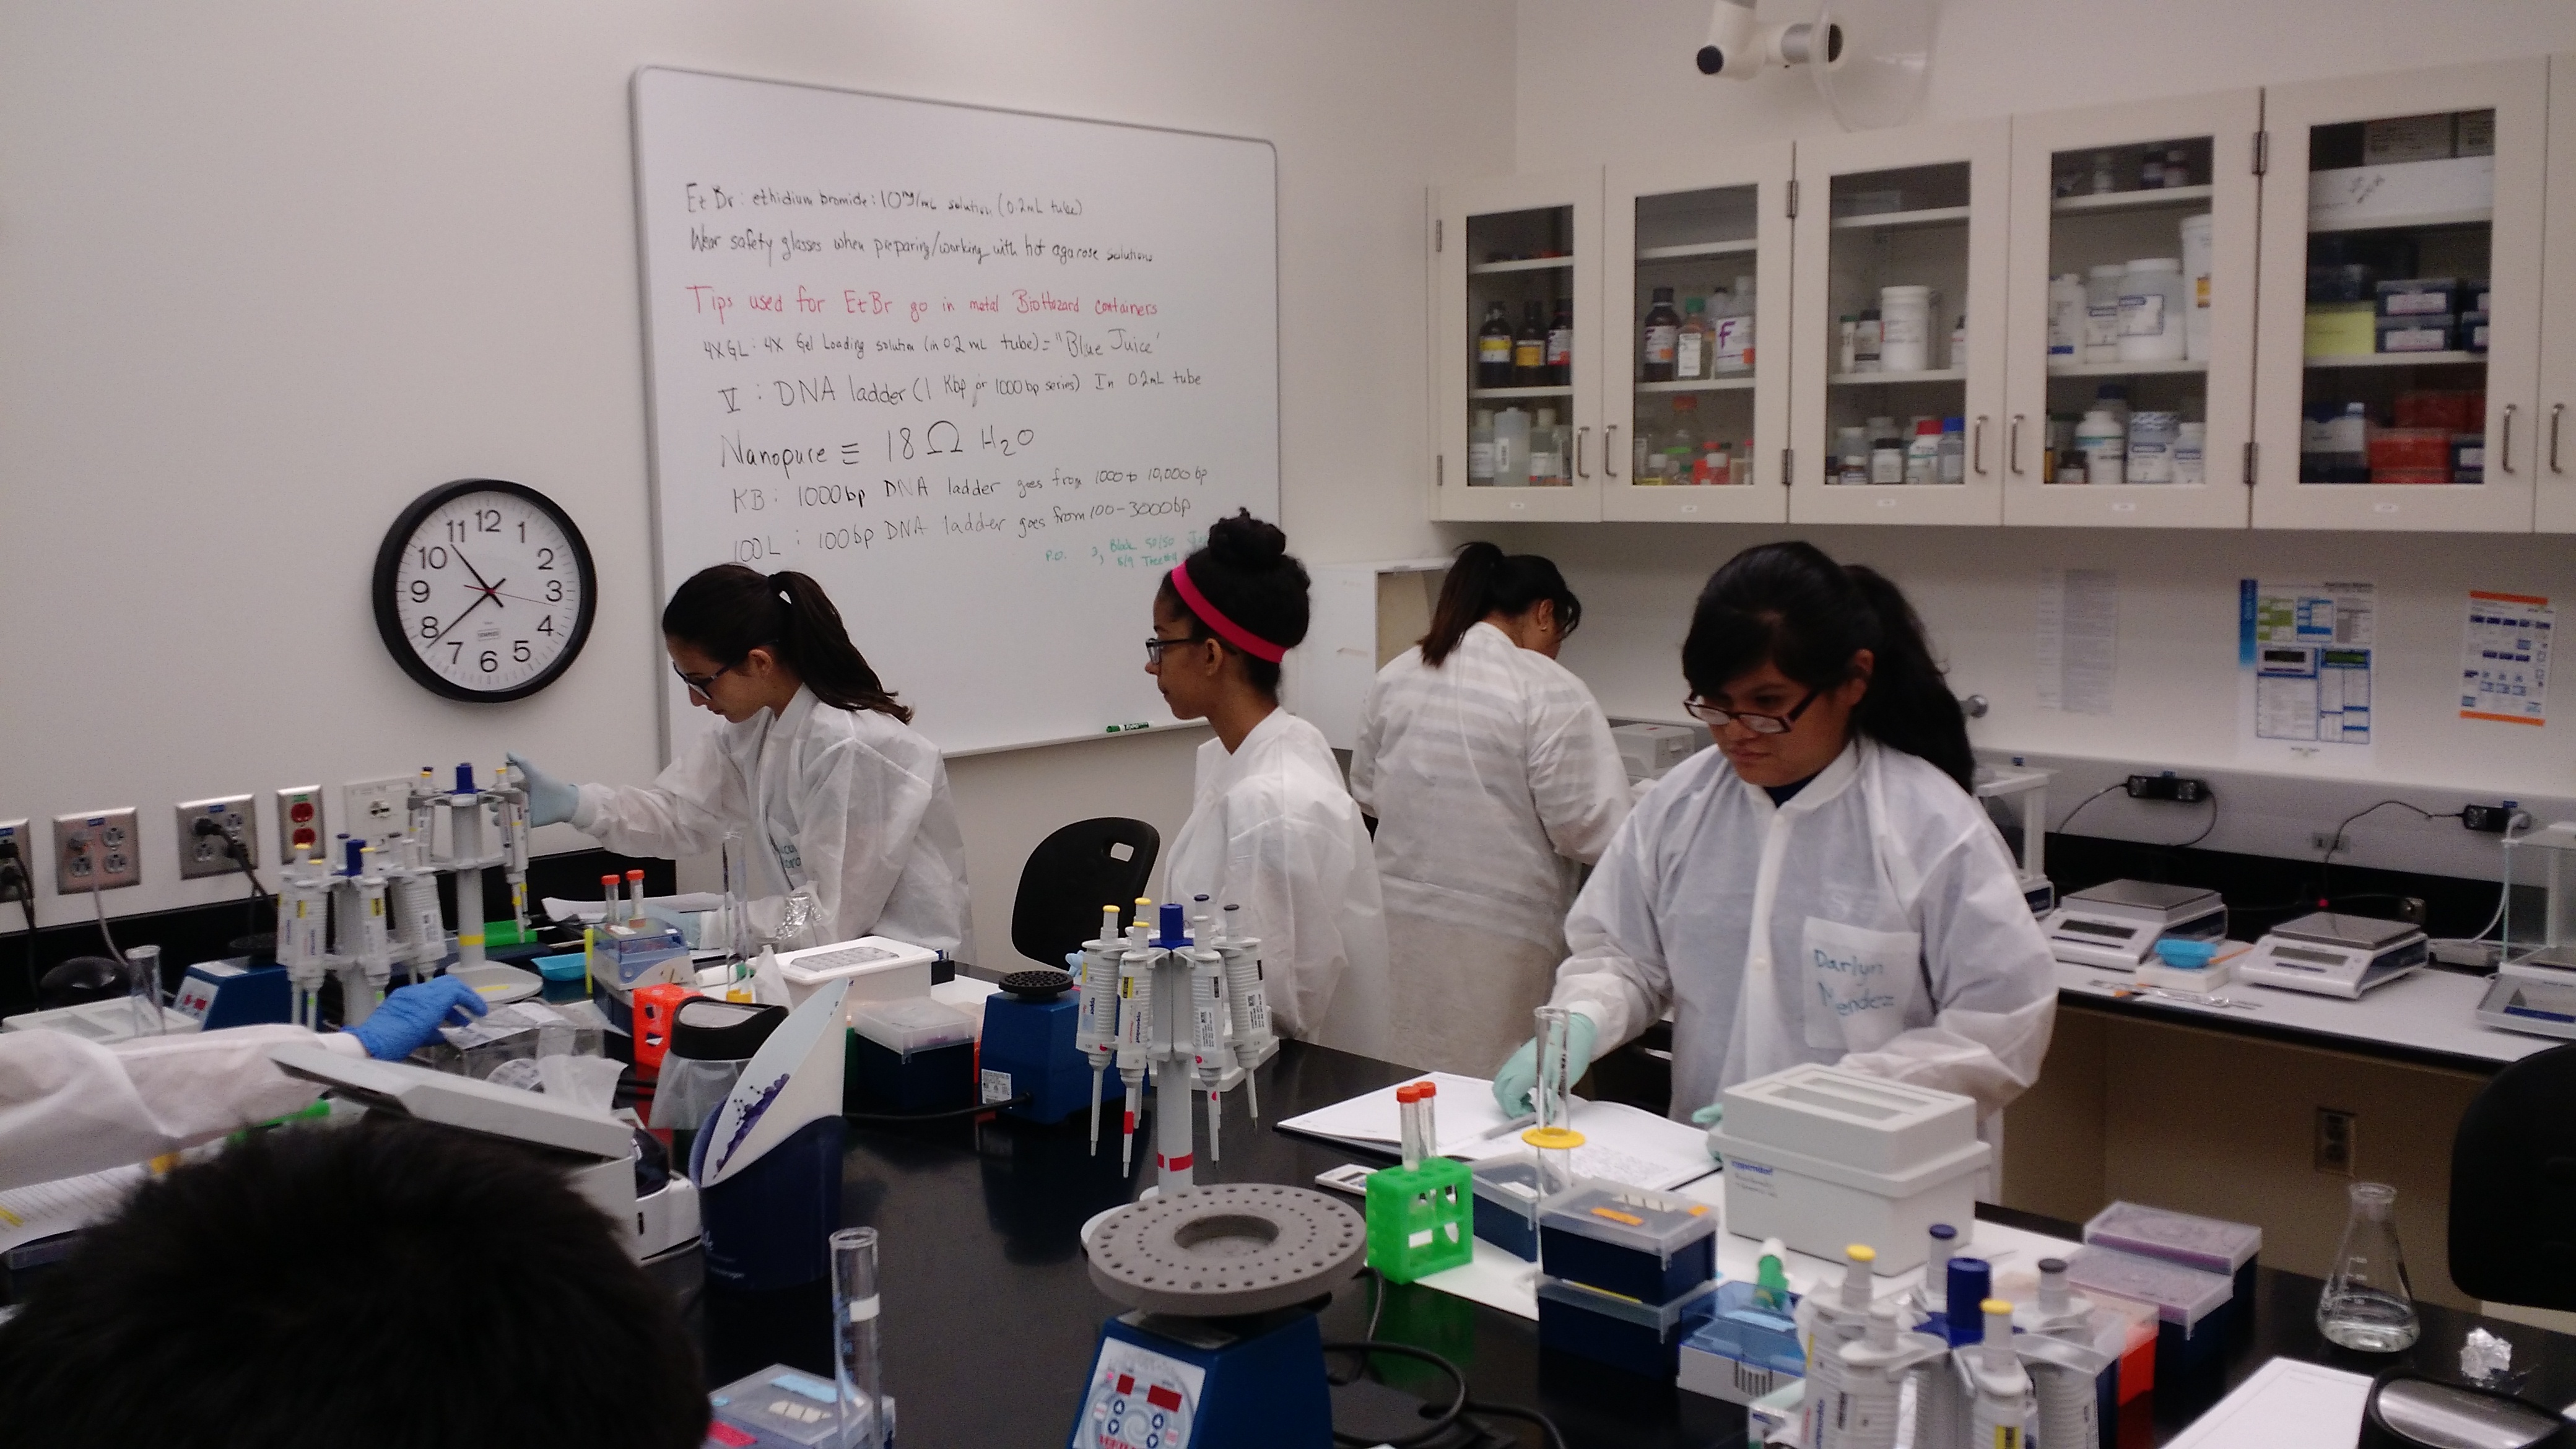
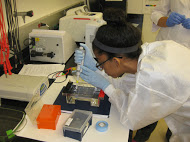
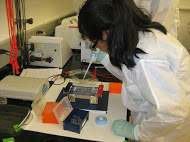
June 23 rd
Since we had an unexpected break in the lab schedule, Dr. Weller processed the samples so they would be ready for the activities at the UNC Charlotte Bioinformatics teaching lab.
The goal of todays activities is to understand how to carryout quality control on the purified DNA before we invest a lot of effort and in expensive procedures.
A spectrophotometer is used to determine how much material is present and whether certain contaminants (proteins and carbohydrates) are present in unseemly amounts.
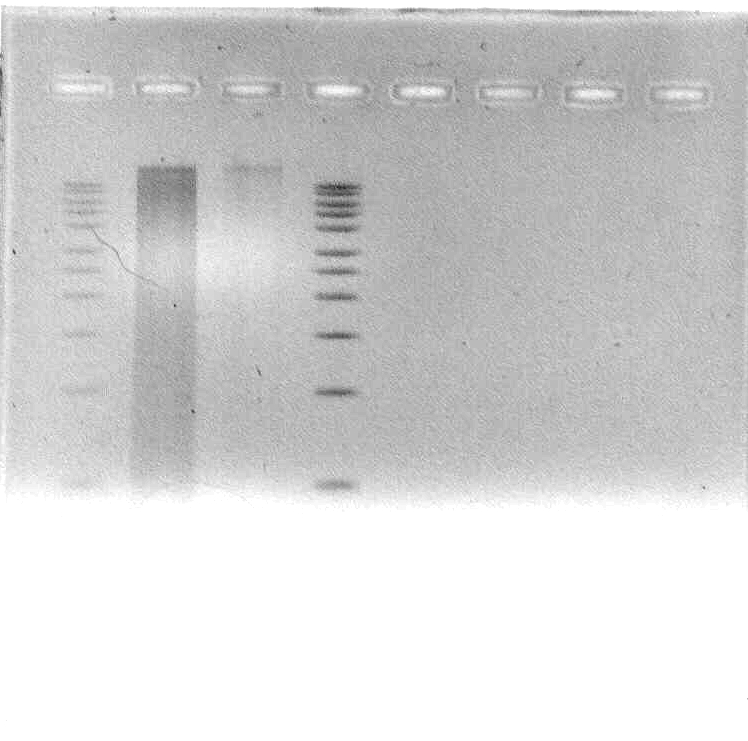
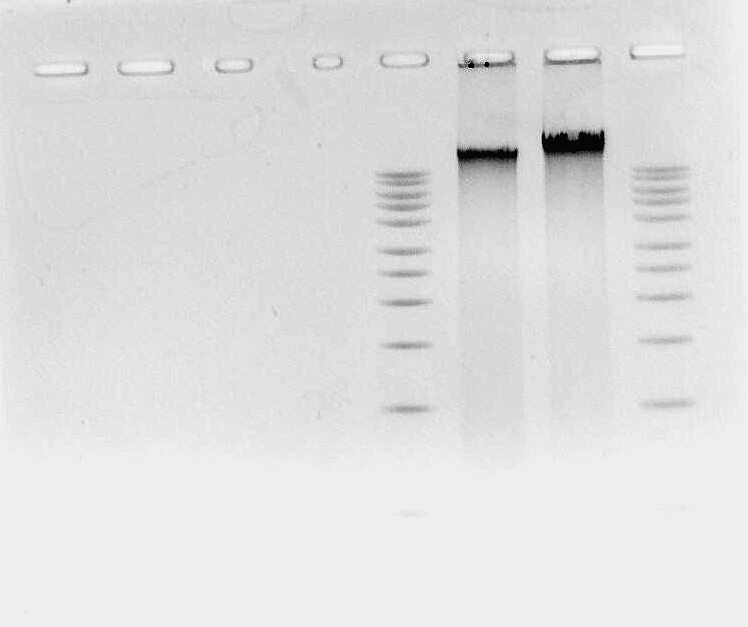
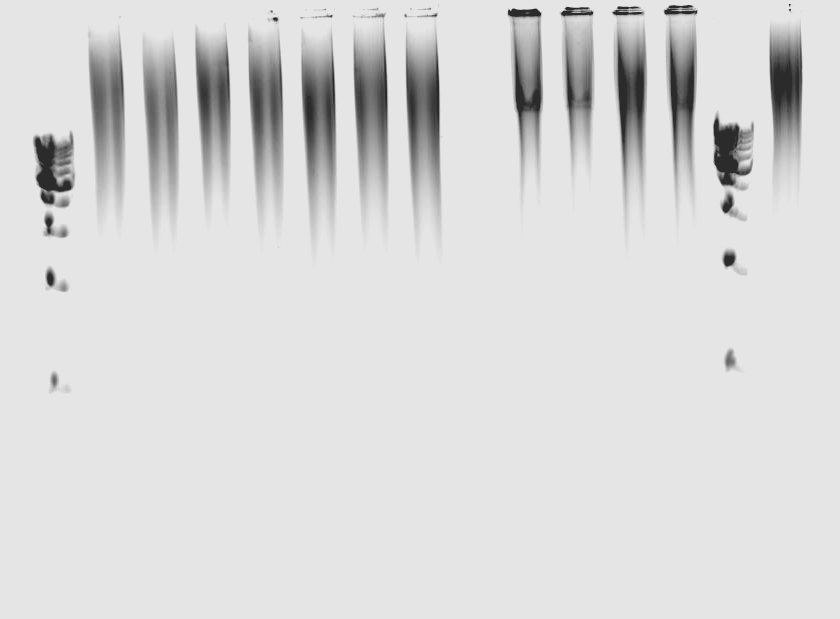
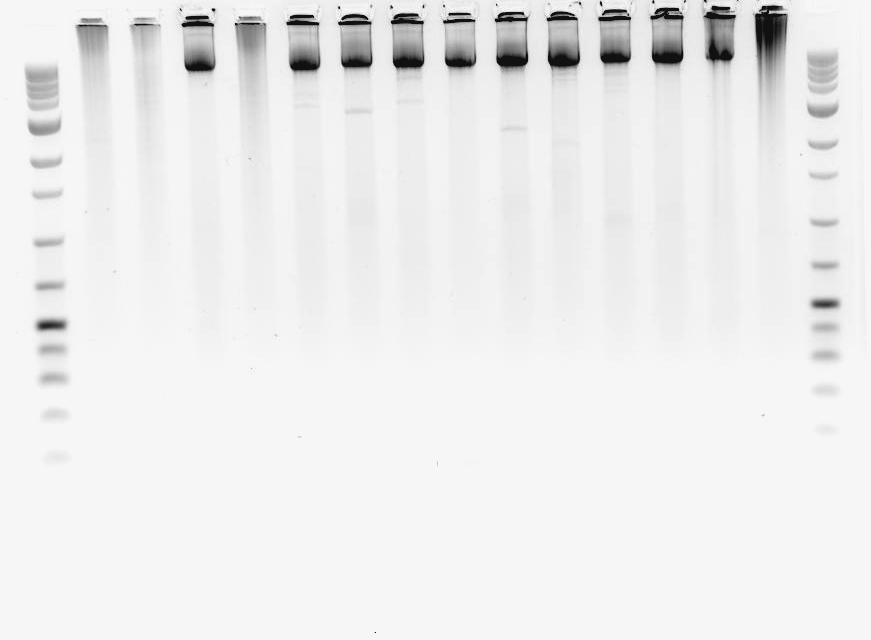
An agarose gel is prepared and used to electrophorese the DNA samples to see if the pieces are long enough, or if they are severaly degraded.
A PCR reaction is carried out to see if there are any inhibitors in the preparation that would keep our preferred method for making the sequencing library from working.
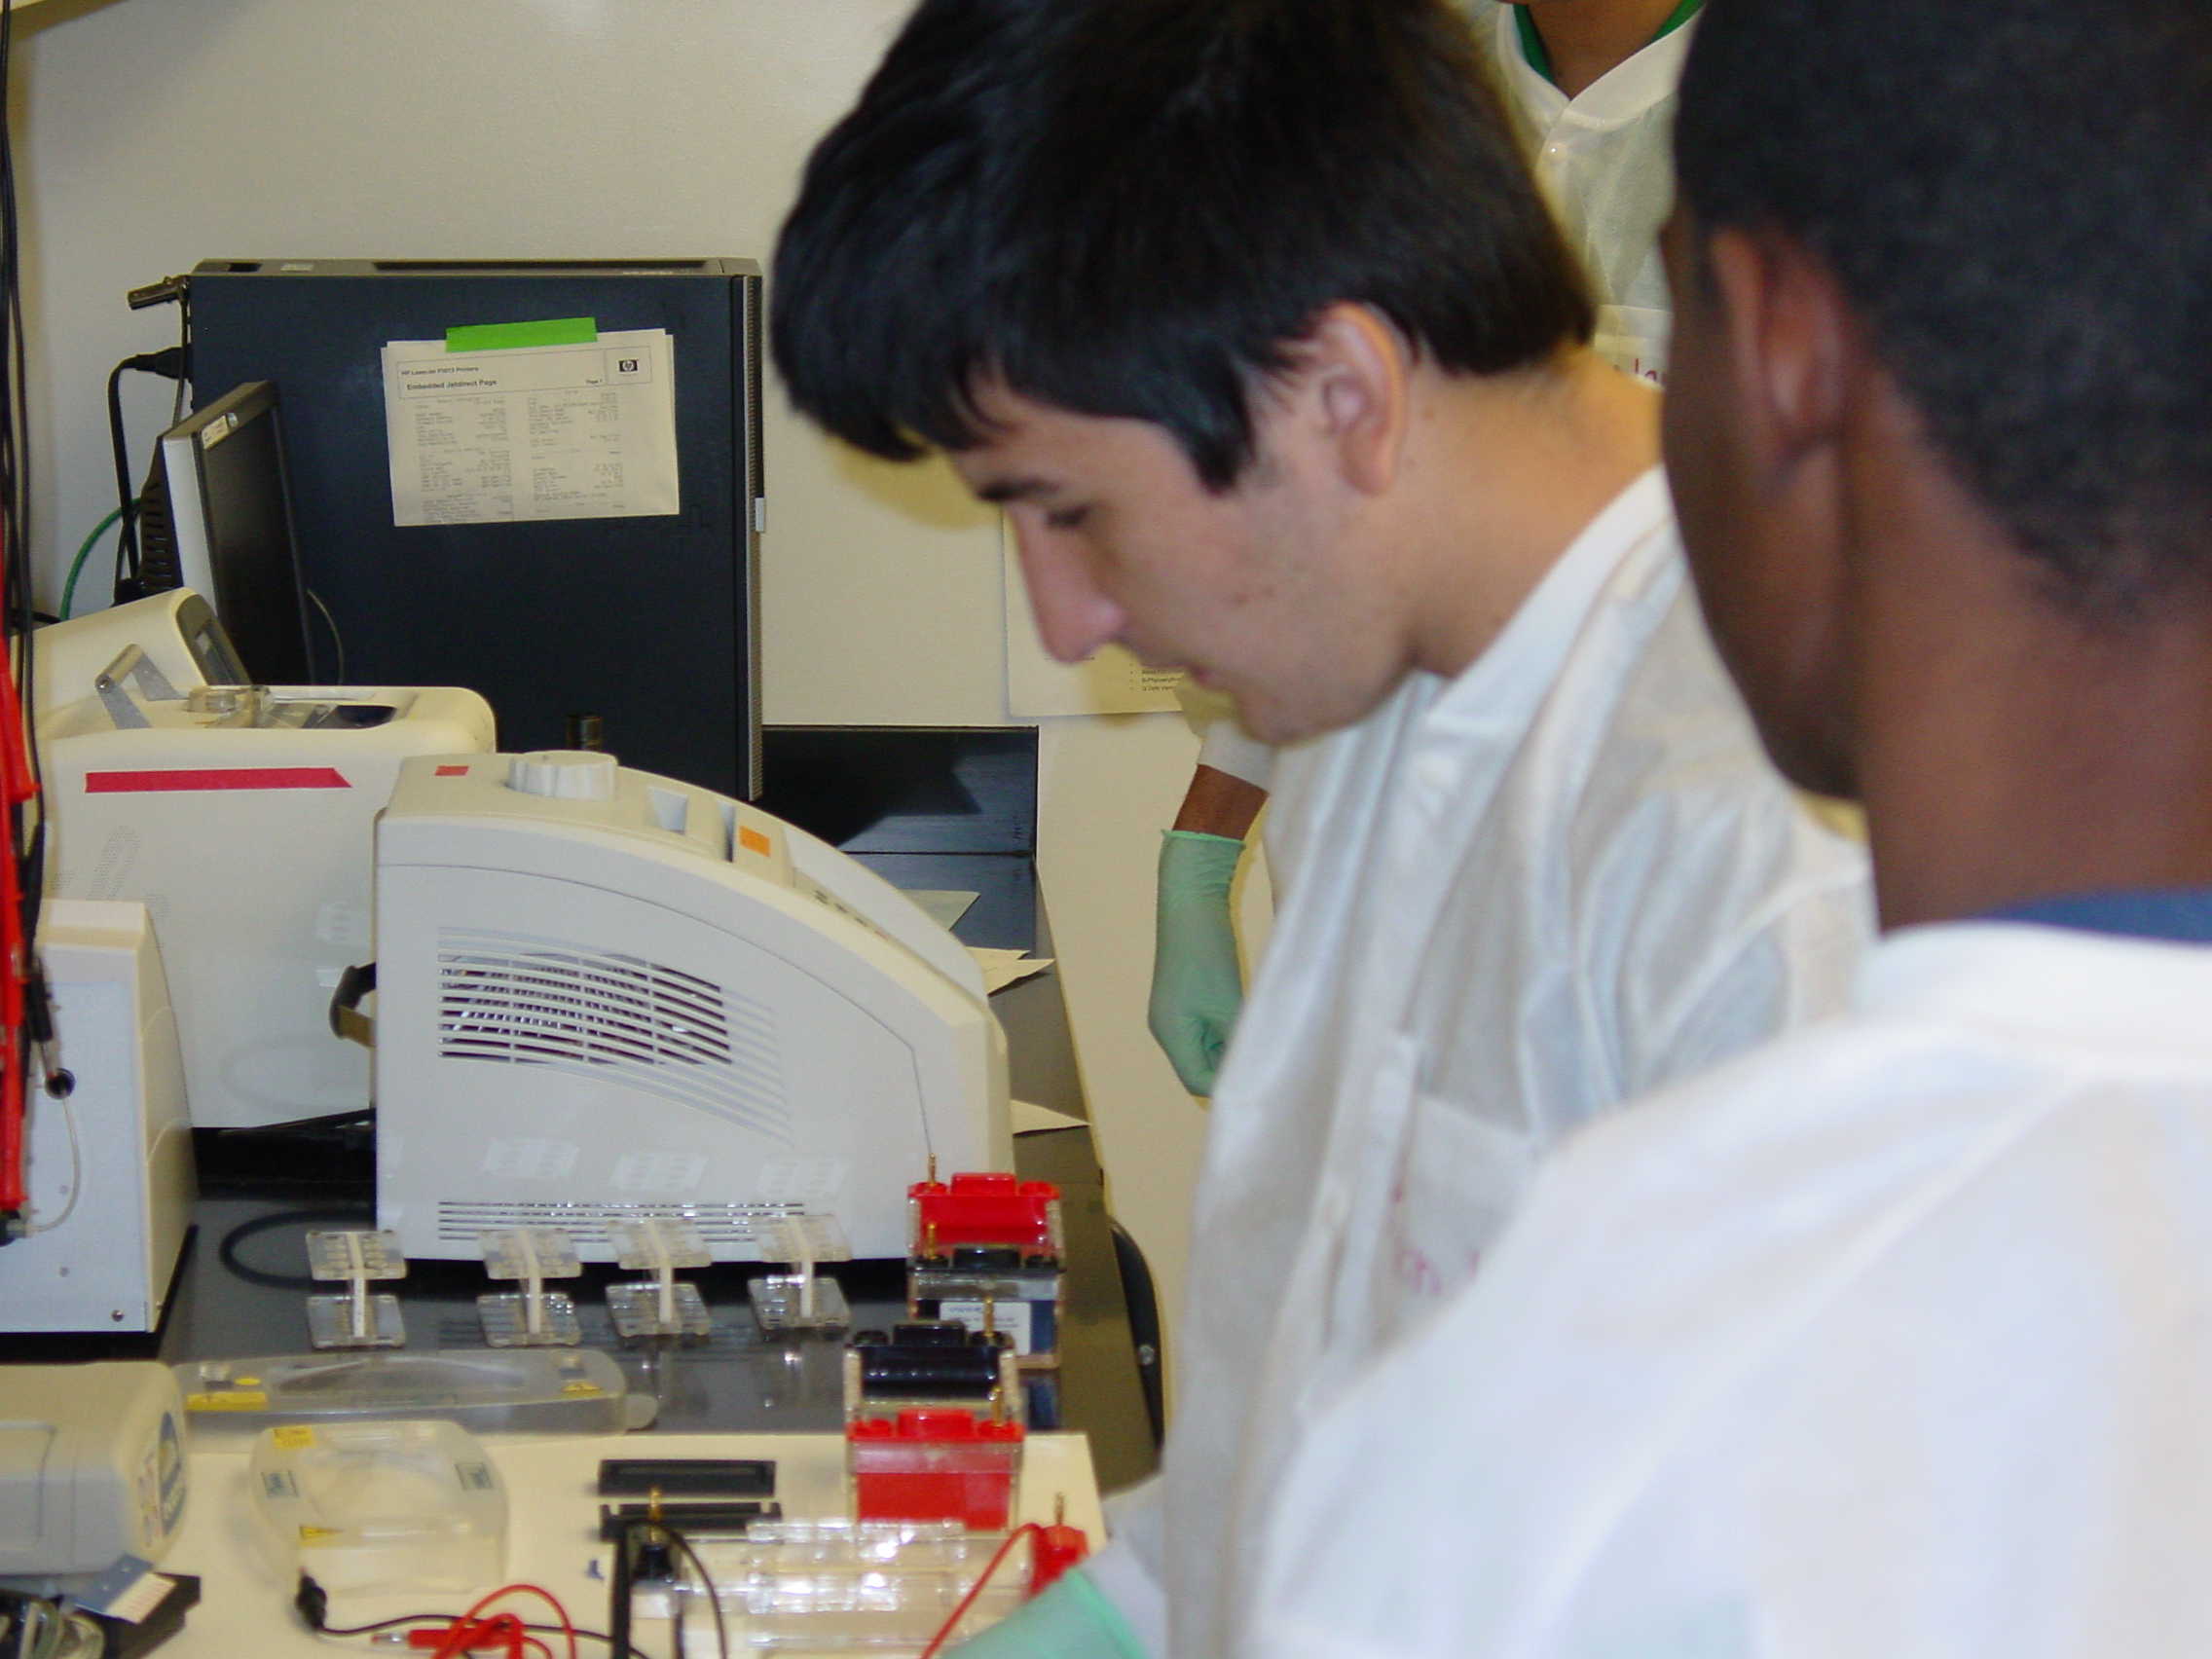
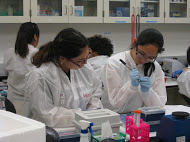
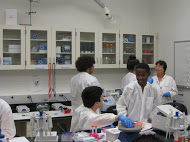
The lab got busy very quickly, the TAs circulated to make sure everyone understood the protocol.
The Nanodrop spectrophotometer lets you measure tiny volumes of sample, but some of the samples were pretty sticky and hard to handle.
Preparing agarose gels requires weighing the agarose, adding buffer in a measured volume, heating it, cooling it, adding a dye, then pouring it into a casting tray.
Students have to calculate sample dilutions and then load the gels and check that they are running properly.
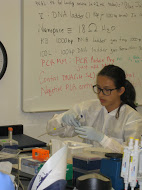
The next process is to set up PCR reactions, which also requires calculations and a careful ordering of the steps.
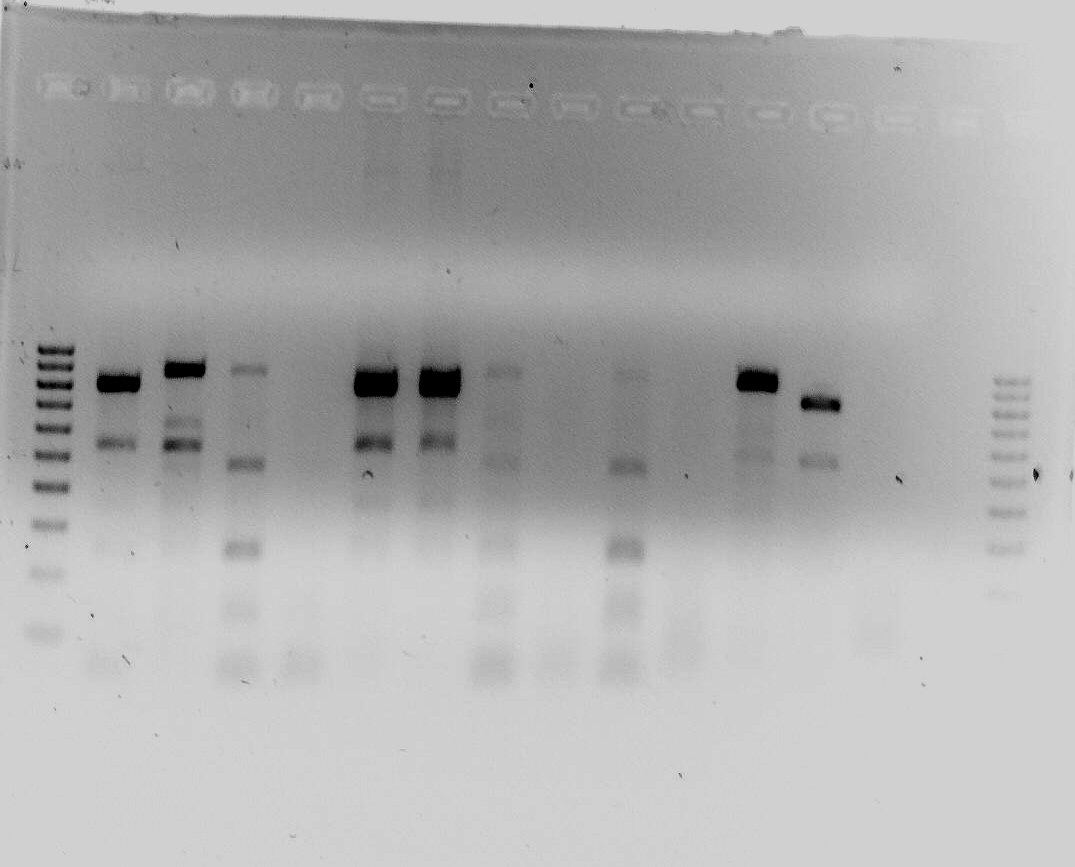
The data here is represented by 0.8% gels that have genomic DNA loaded on them - the students loaded them, so I don't have the identity of the samples in the lanes at this point (will update later). Order is (DM/NL; Kevin/Brandon; KWKJ; ML/TL; NM/GC)
June 24 th
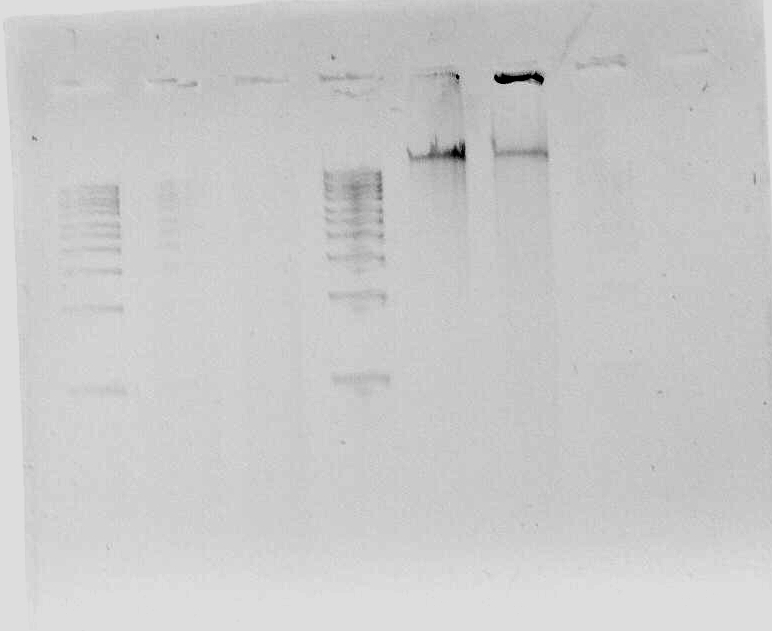
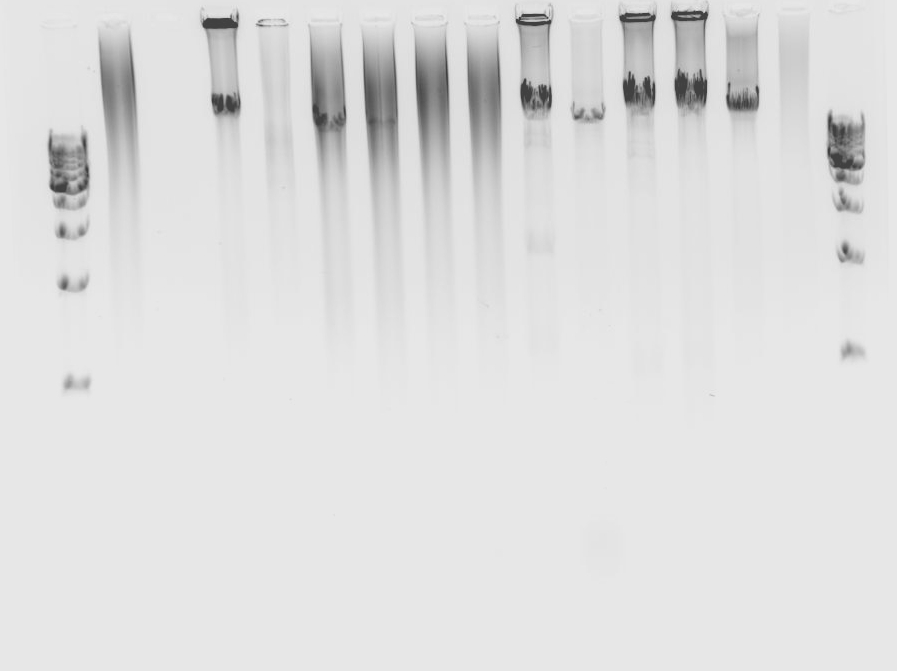
We took a tour of campus, loaded gels with the PCR products we started yesterday, then went to see Dr. Moore talk about the sequencing facility. After lunch the students set up long-range PCR to see if their samples could support long PCR amplification.
The goal of the tour was just to get comfortable with the local campus.
The long PCR reactions take careful calculations.
The tour of the sequencing facility was mostly to familiarize students with the equipment.
The goal of the long PCR reactions is to cover the entire chloroplast genome with overlapping 15,000bp fragments that can then be pooled and sequenced. Bioinfomratics analyses will tell us where the differences and similarities in the genes and structure are located.
Group pictures from the campus tour, including some of the greenhouse we visited.
Calculations and gel loading happened
Listening to Dr. Moore explain how the sequencing facility works.
Setting up the final PCR reactions for the week.
The next process is to set up PCR reactions, which also requires calculations and a careful ordering of the steps.
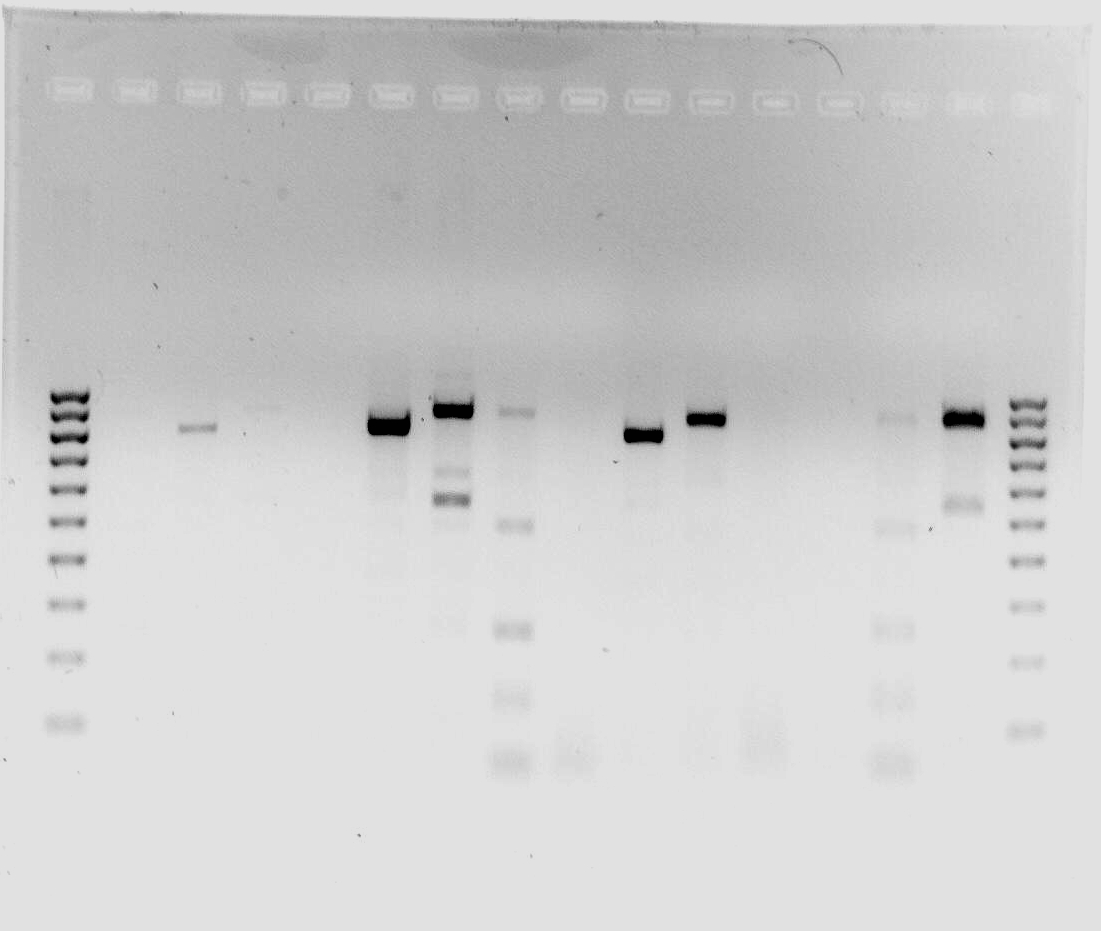
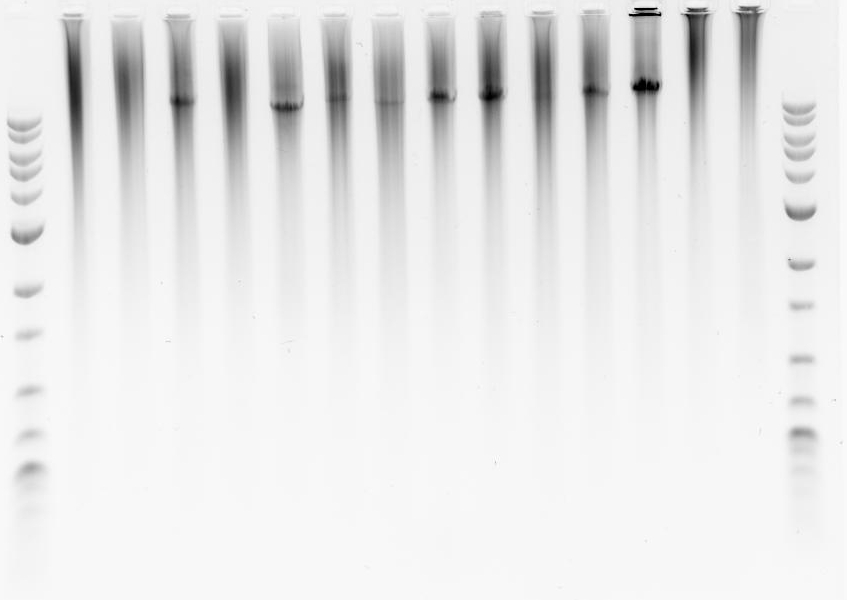
The data here is represented by two 1.5% gels (1 and 2, left to right as loaded and run) on which Thursdays samples were run and two 0.8% gels on which Friday's samples were run - the students loaded them, so I don't have the identity of the samples in the lanes at this point (will update later). Order is (DM/NL; Kevin/Brandon; KWKJ; ML/TL; NM/GC)
Here is the list of the primers we are using in these experiments (provided as a Word document) Primer list
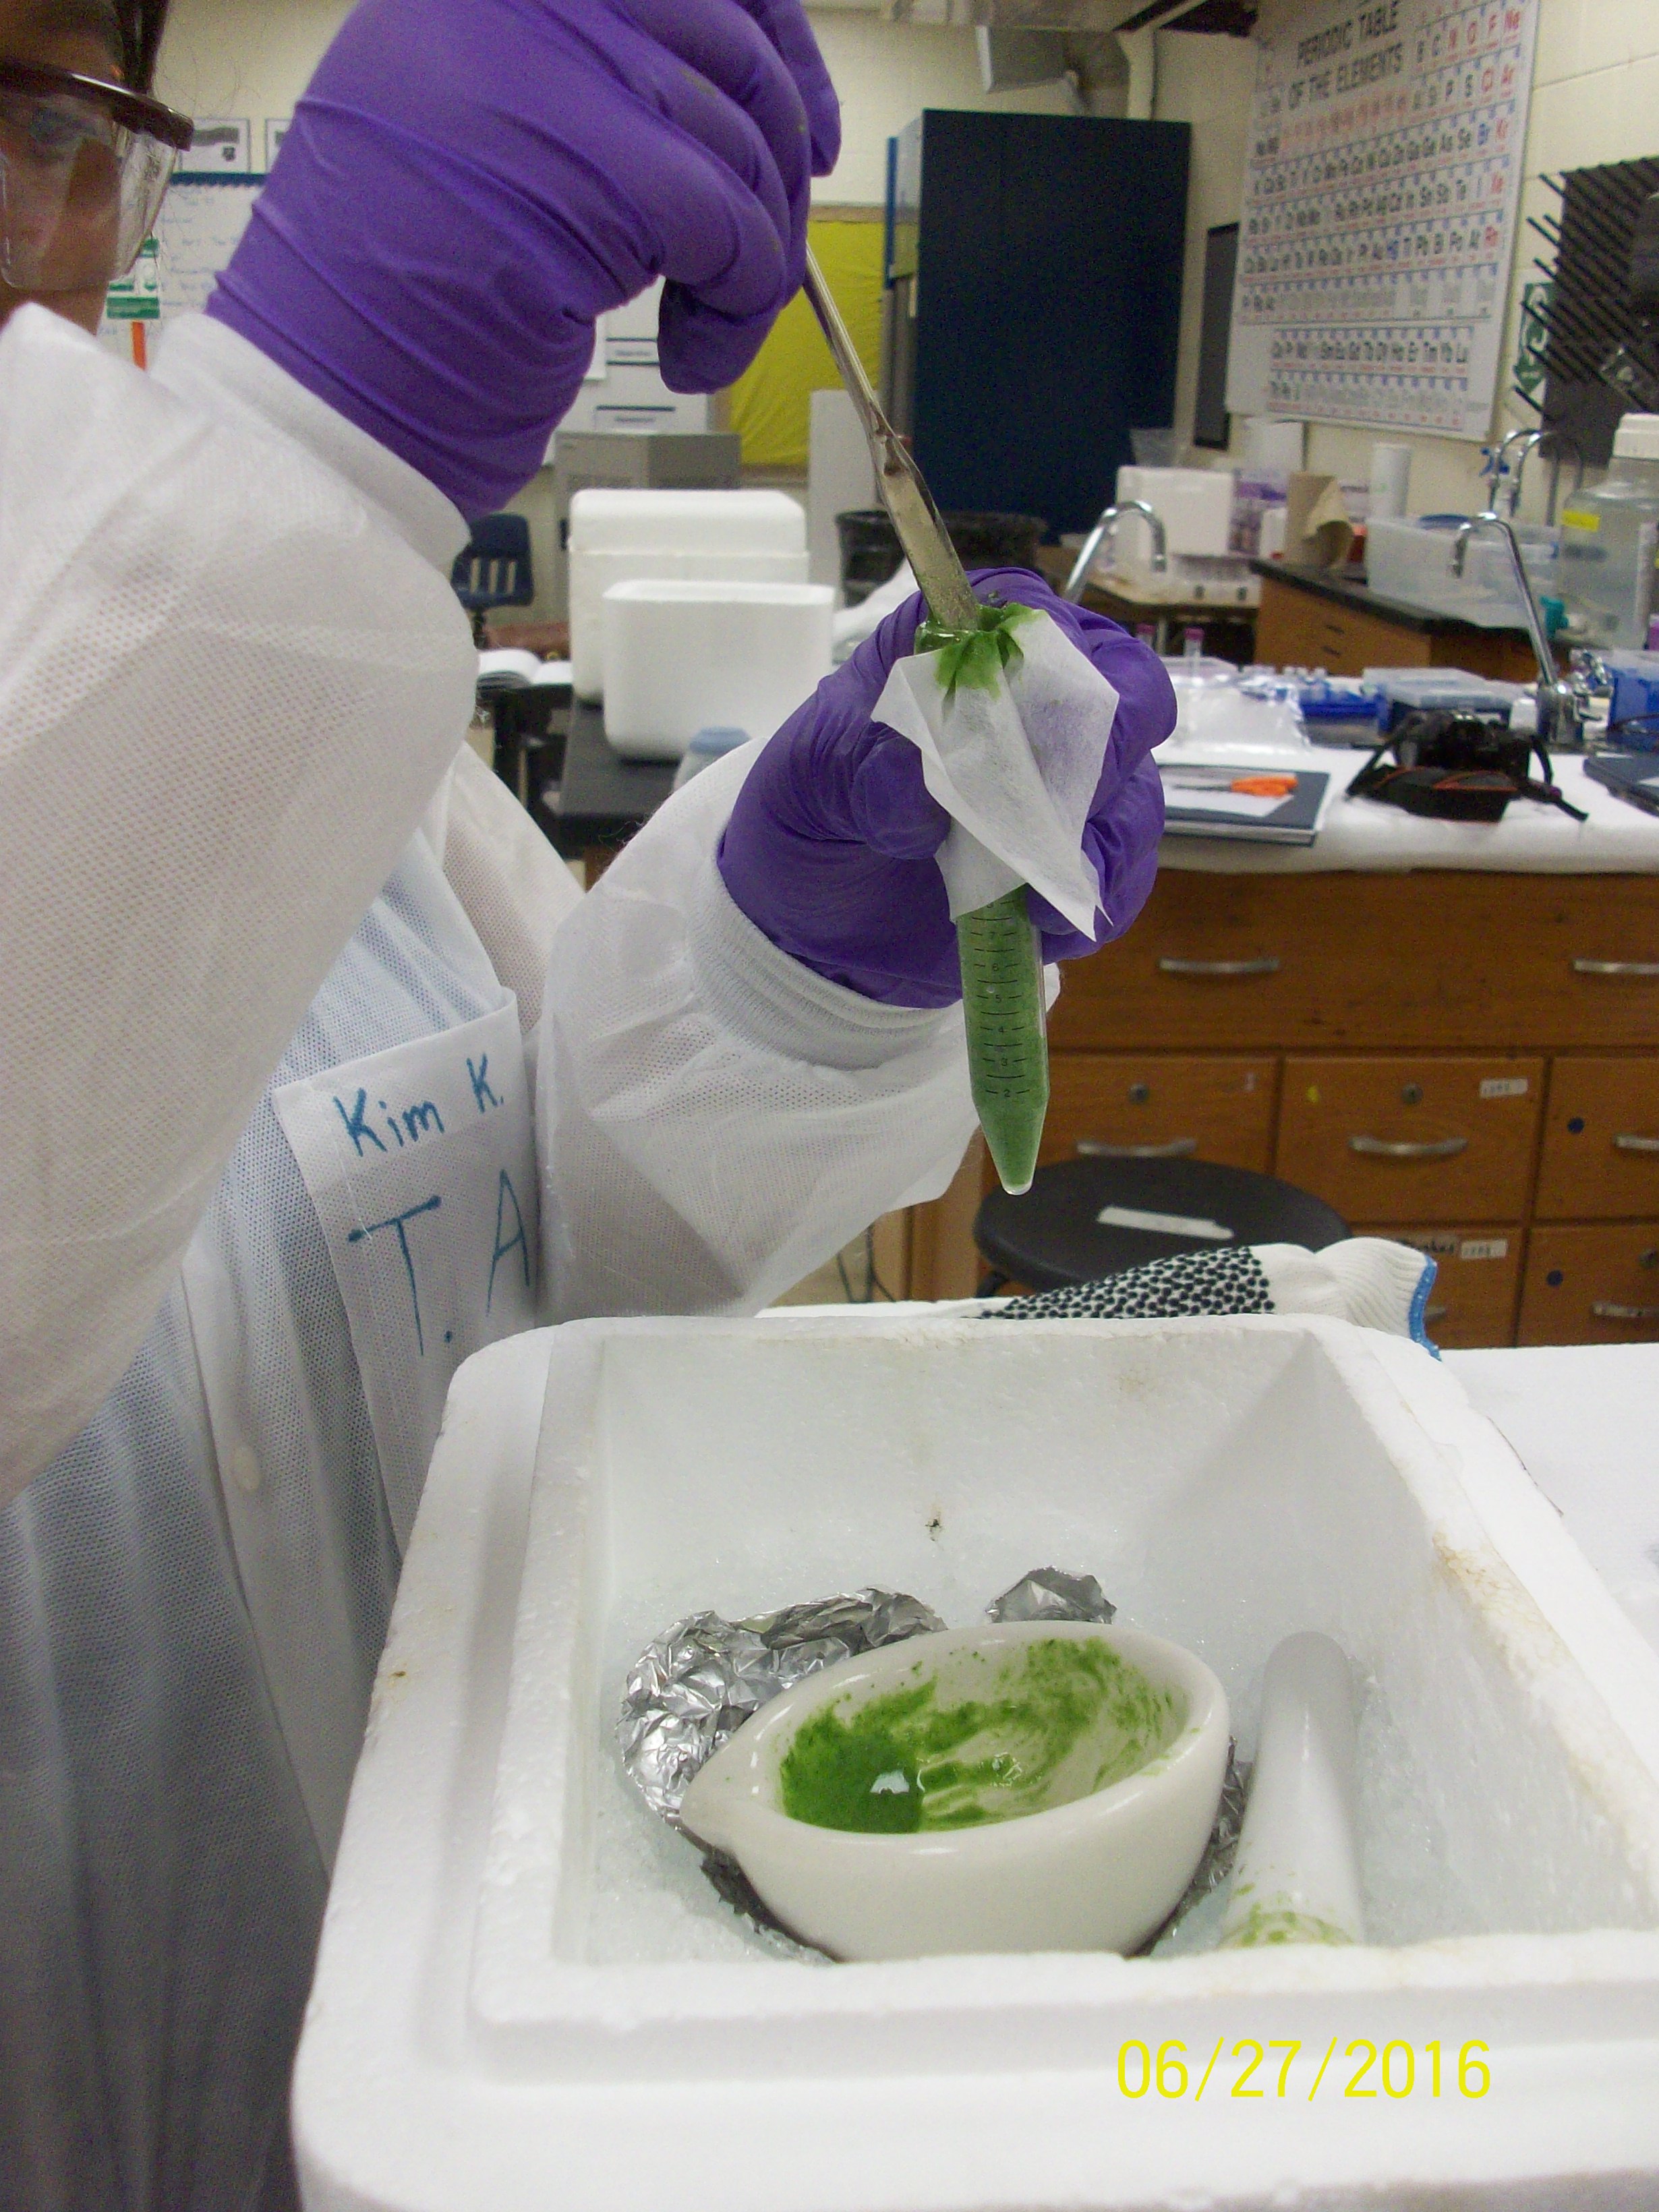
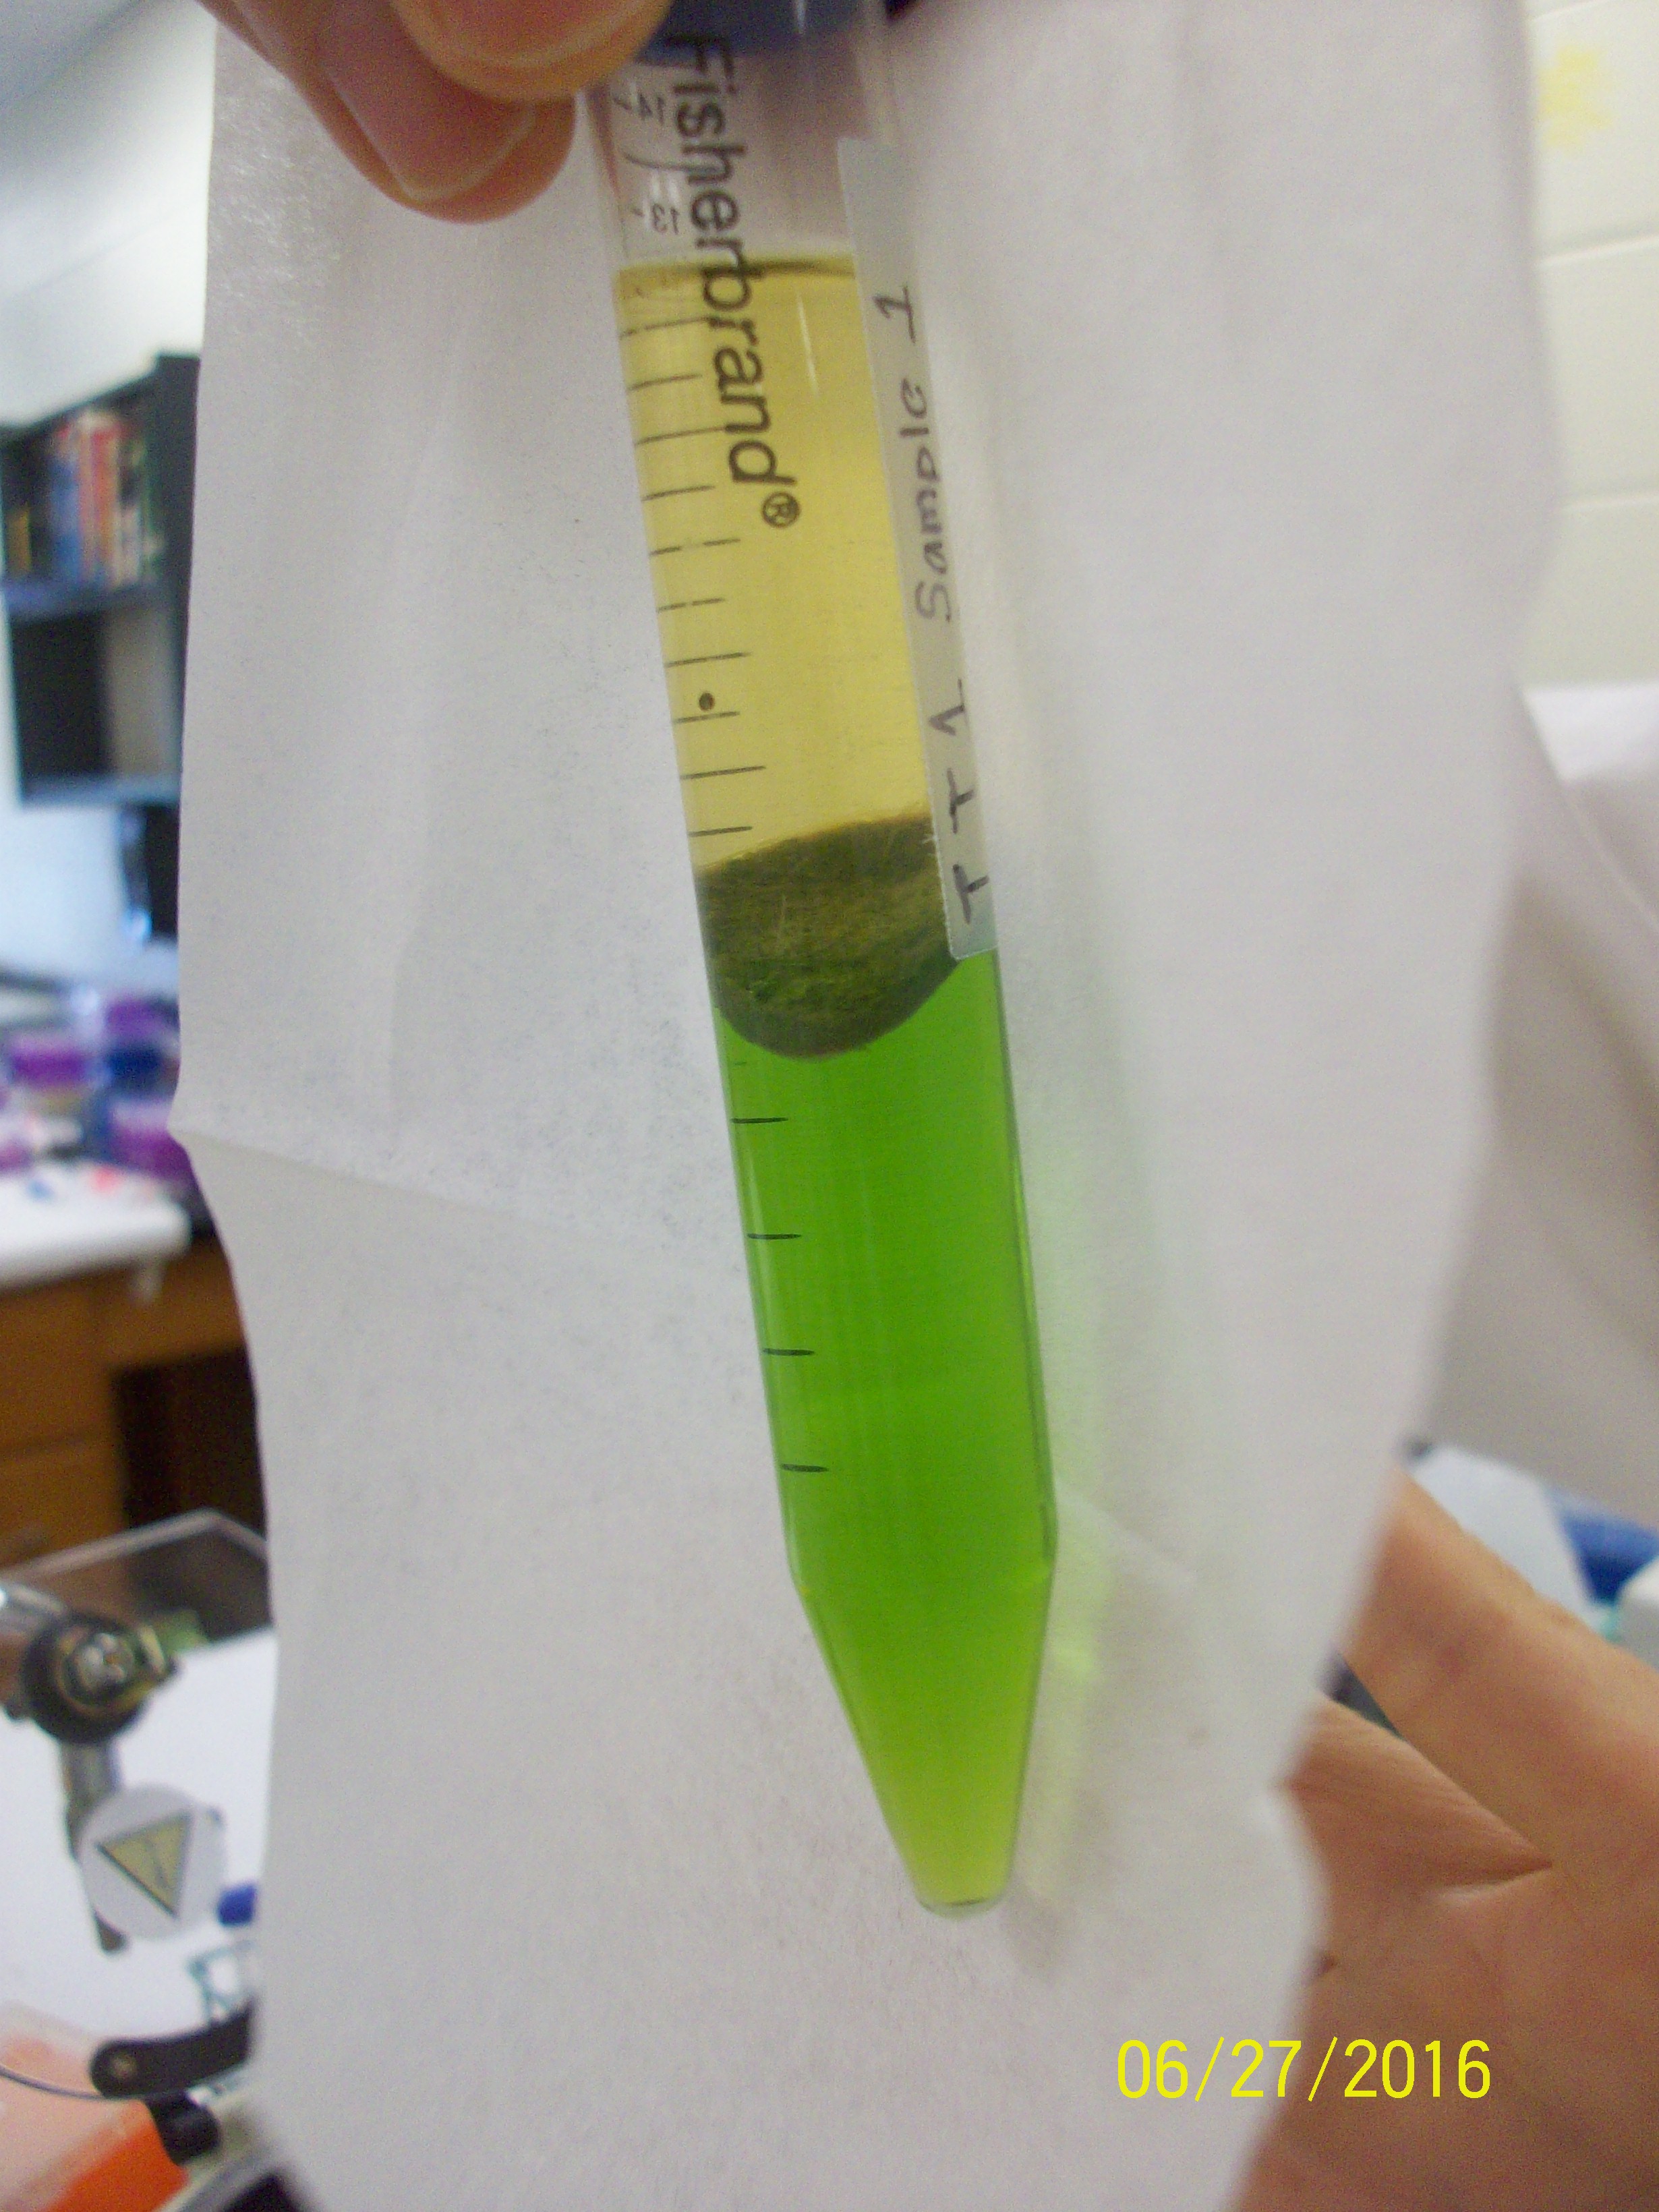
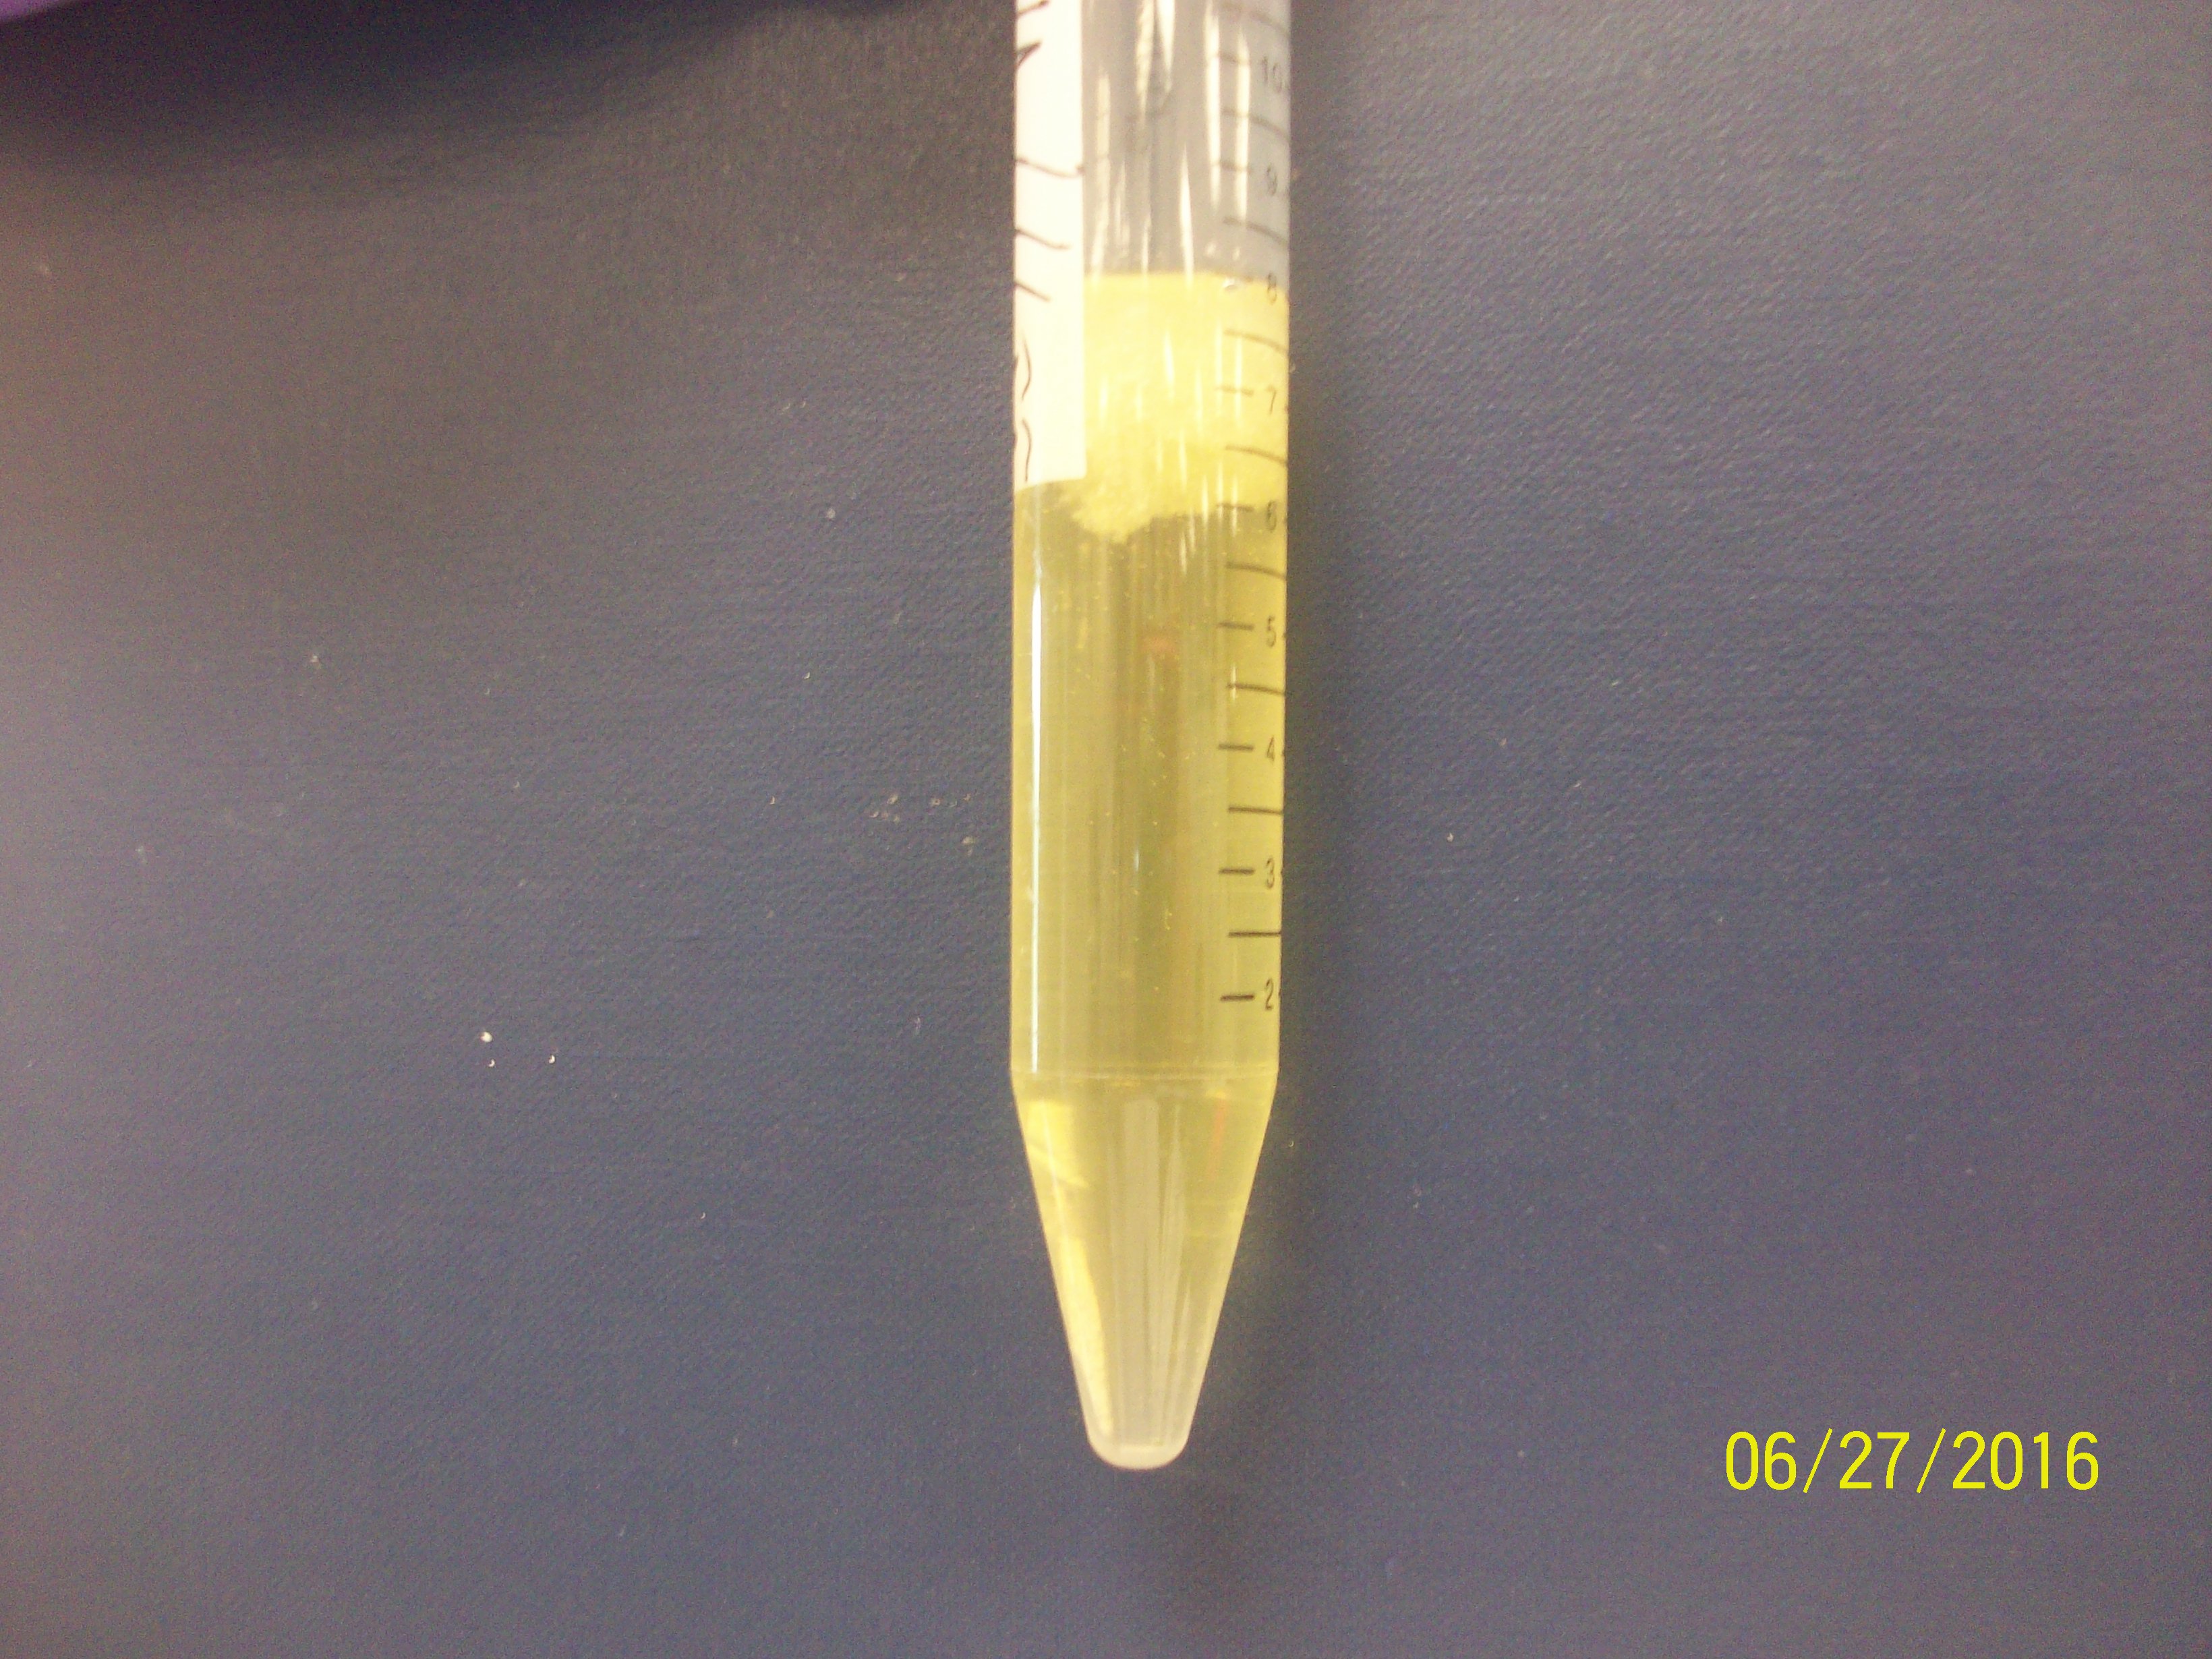
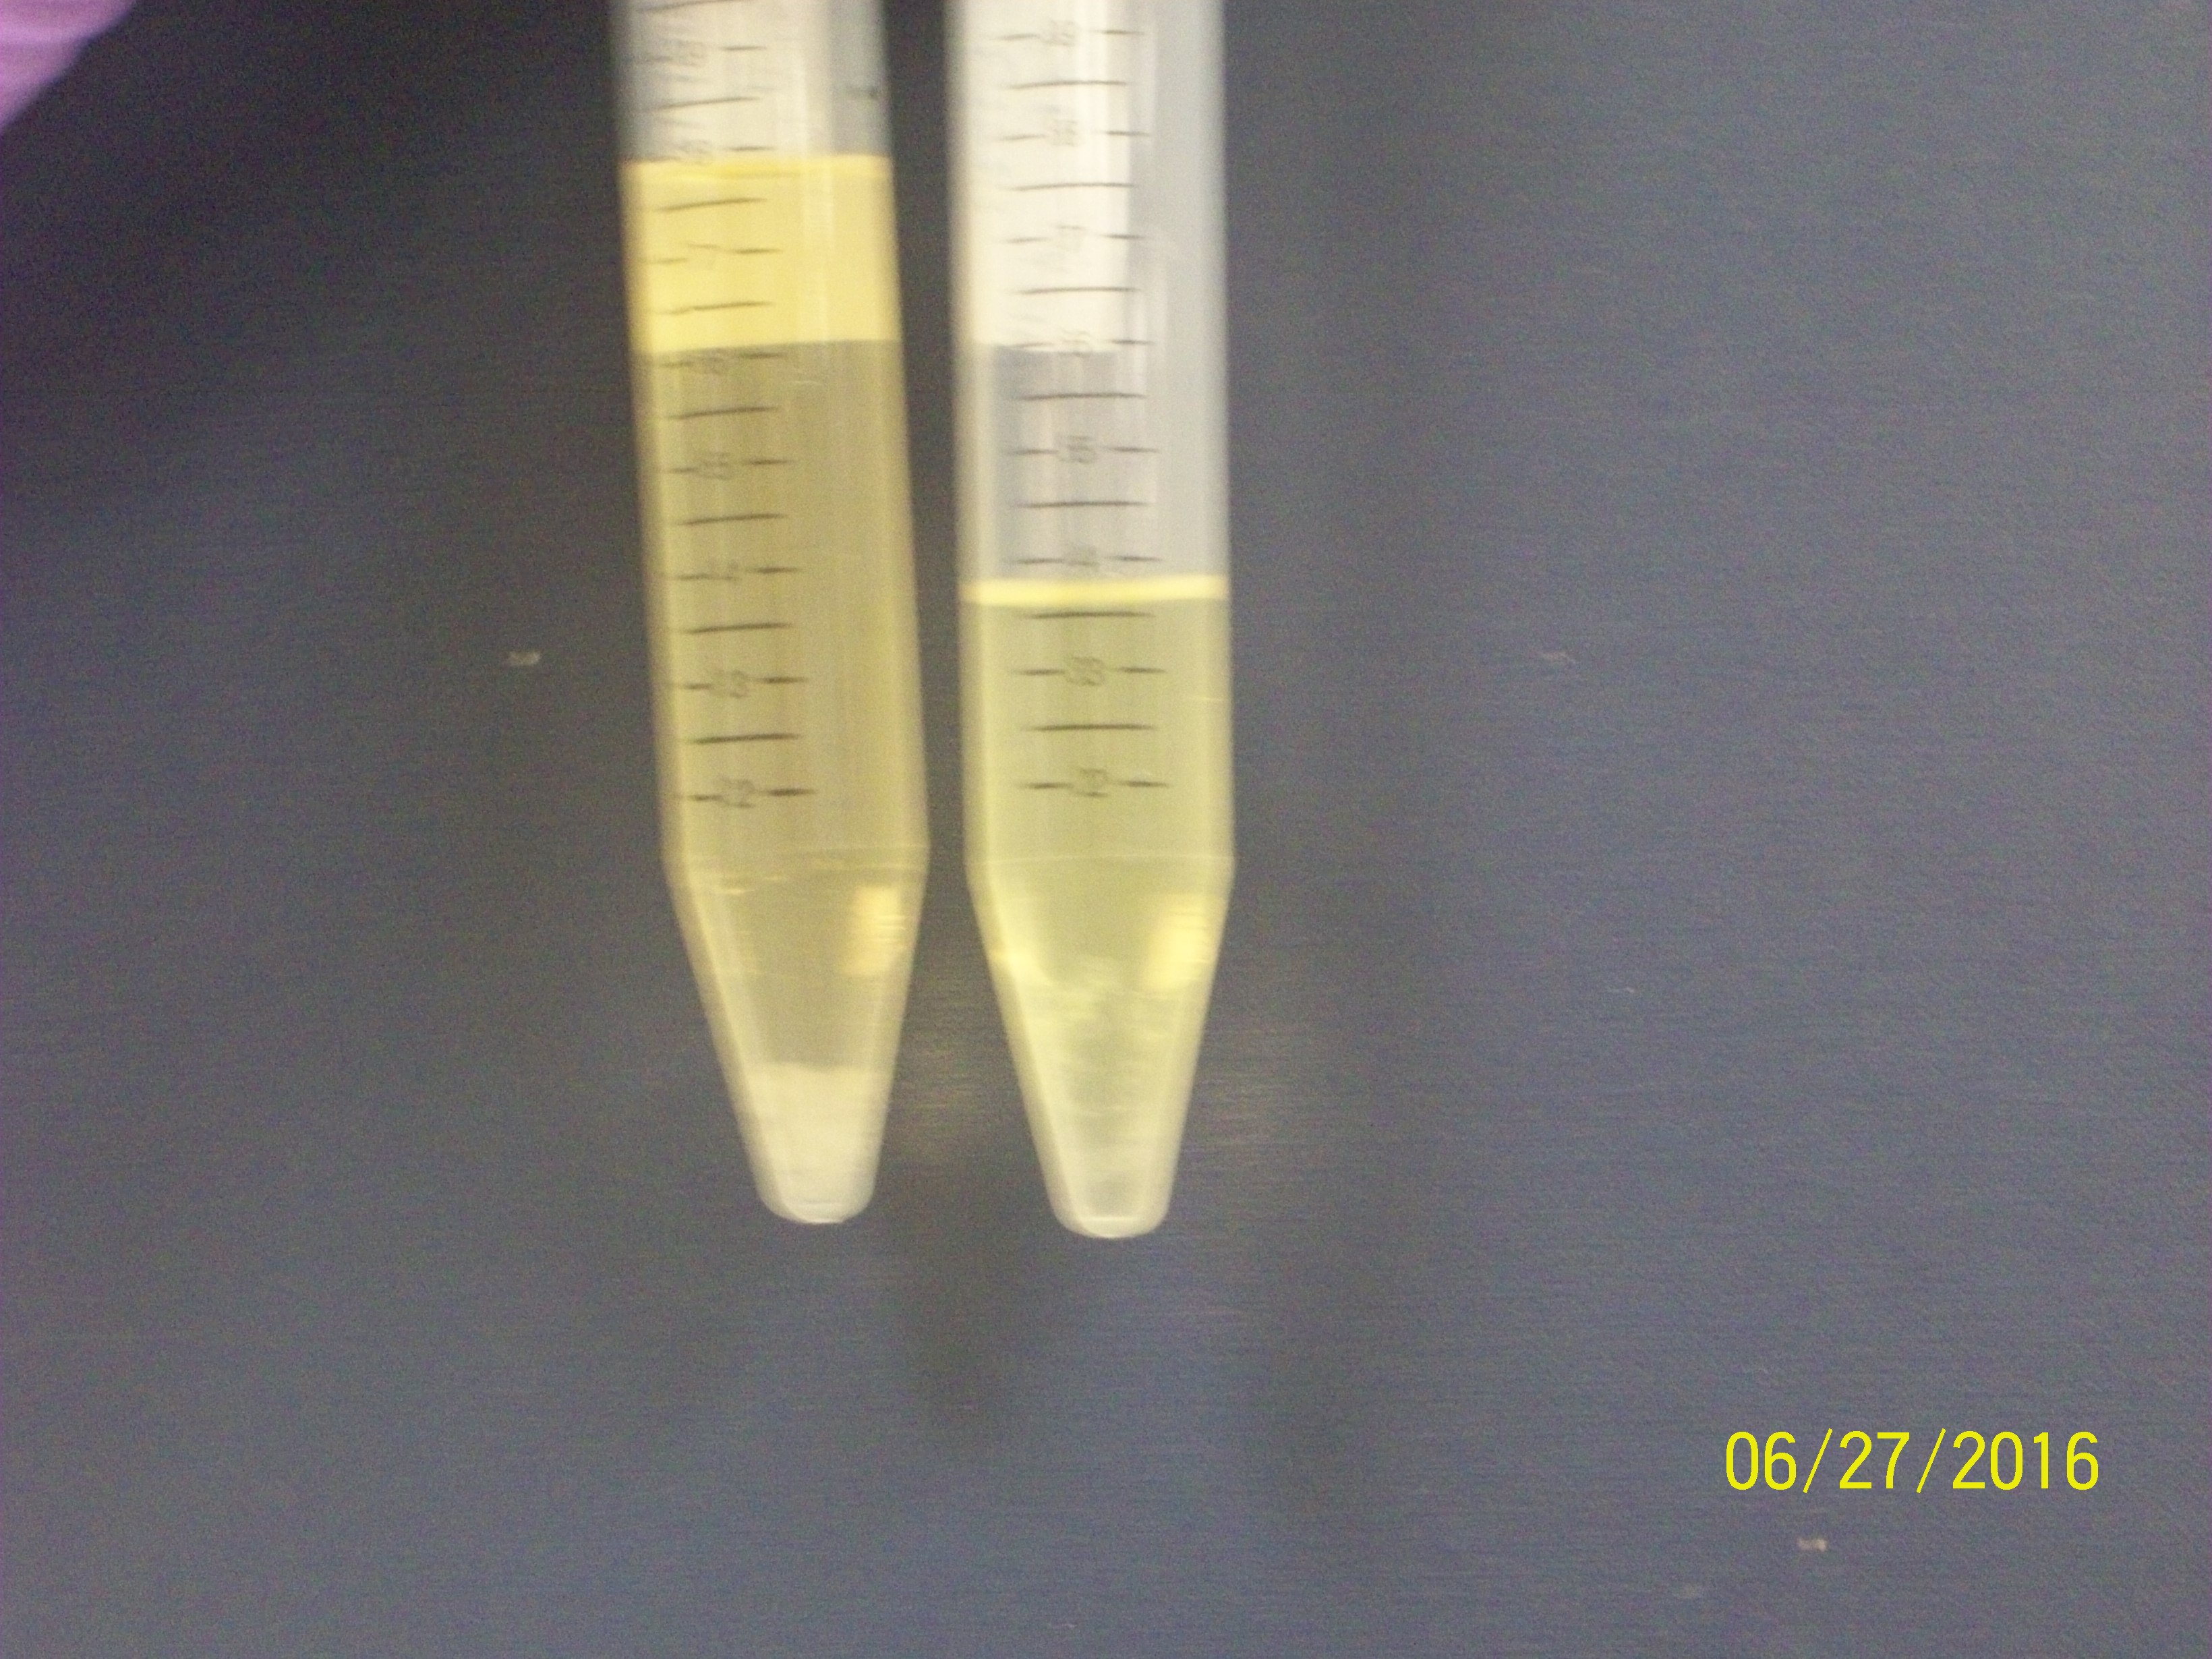
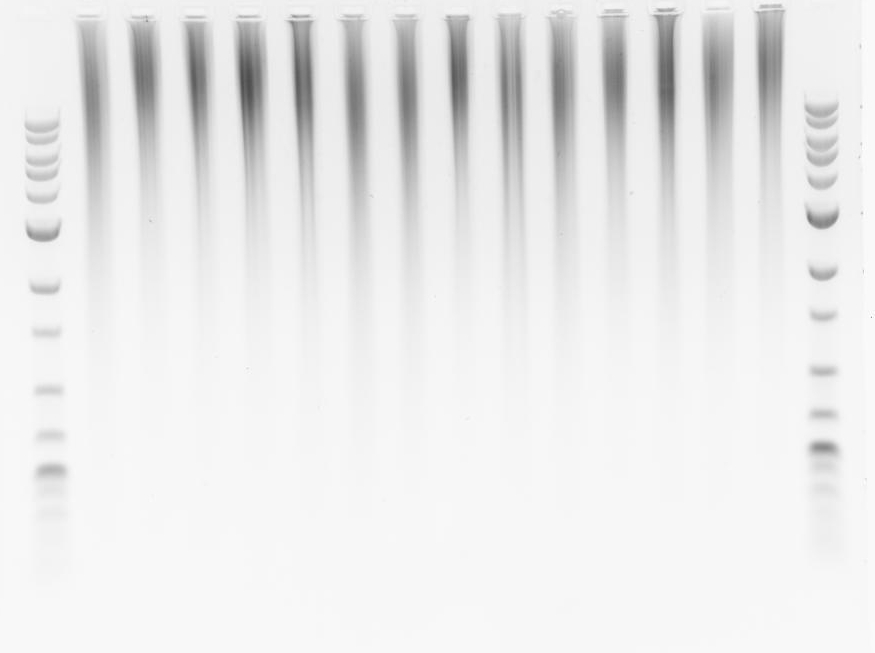
June 27 th
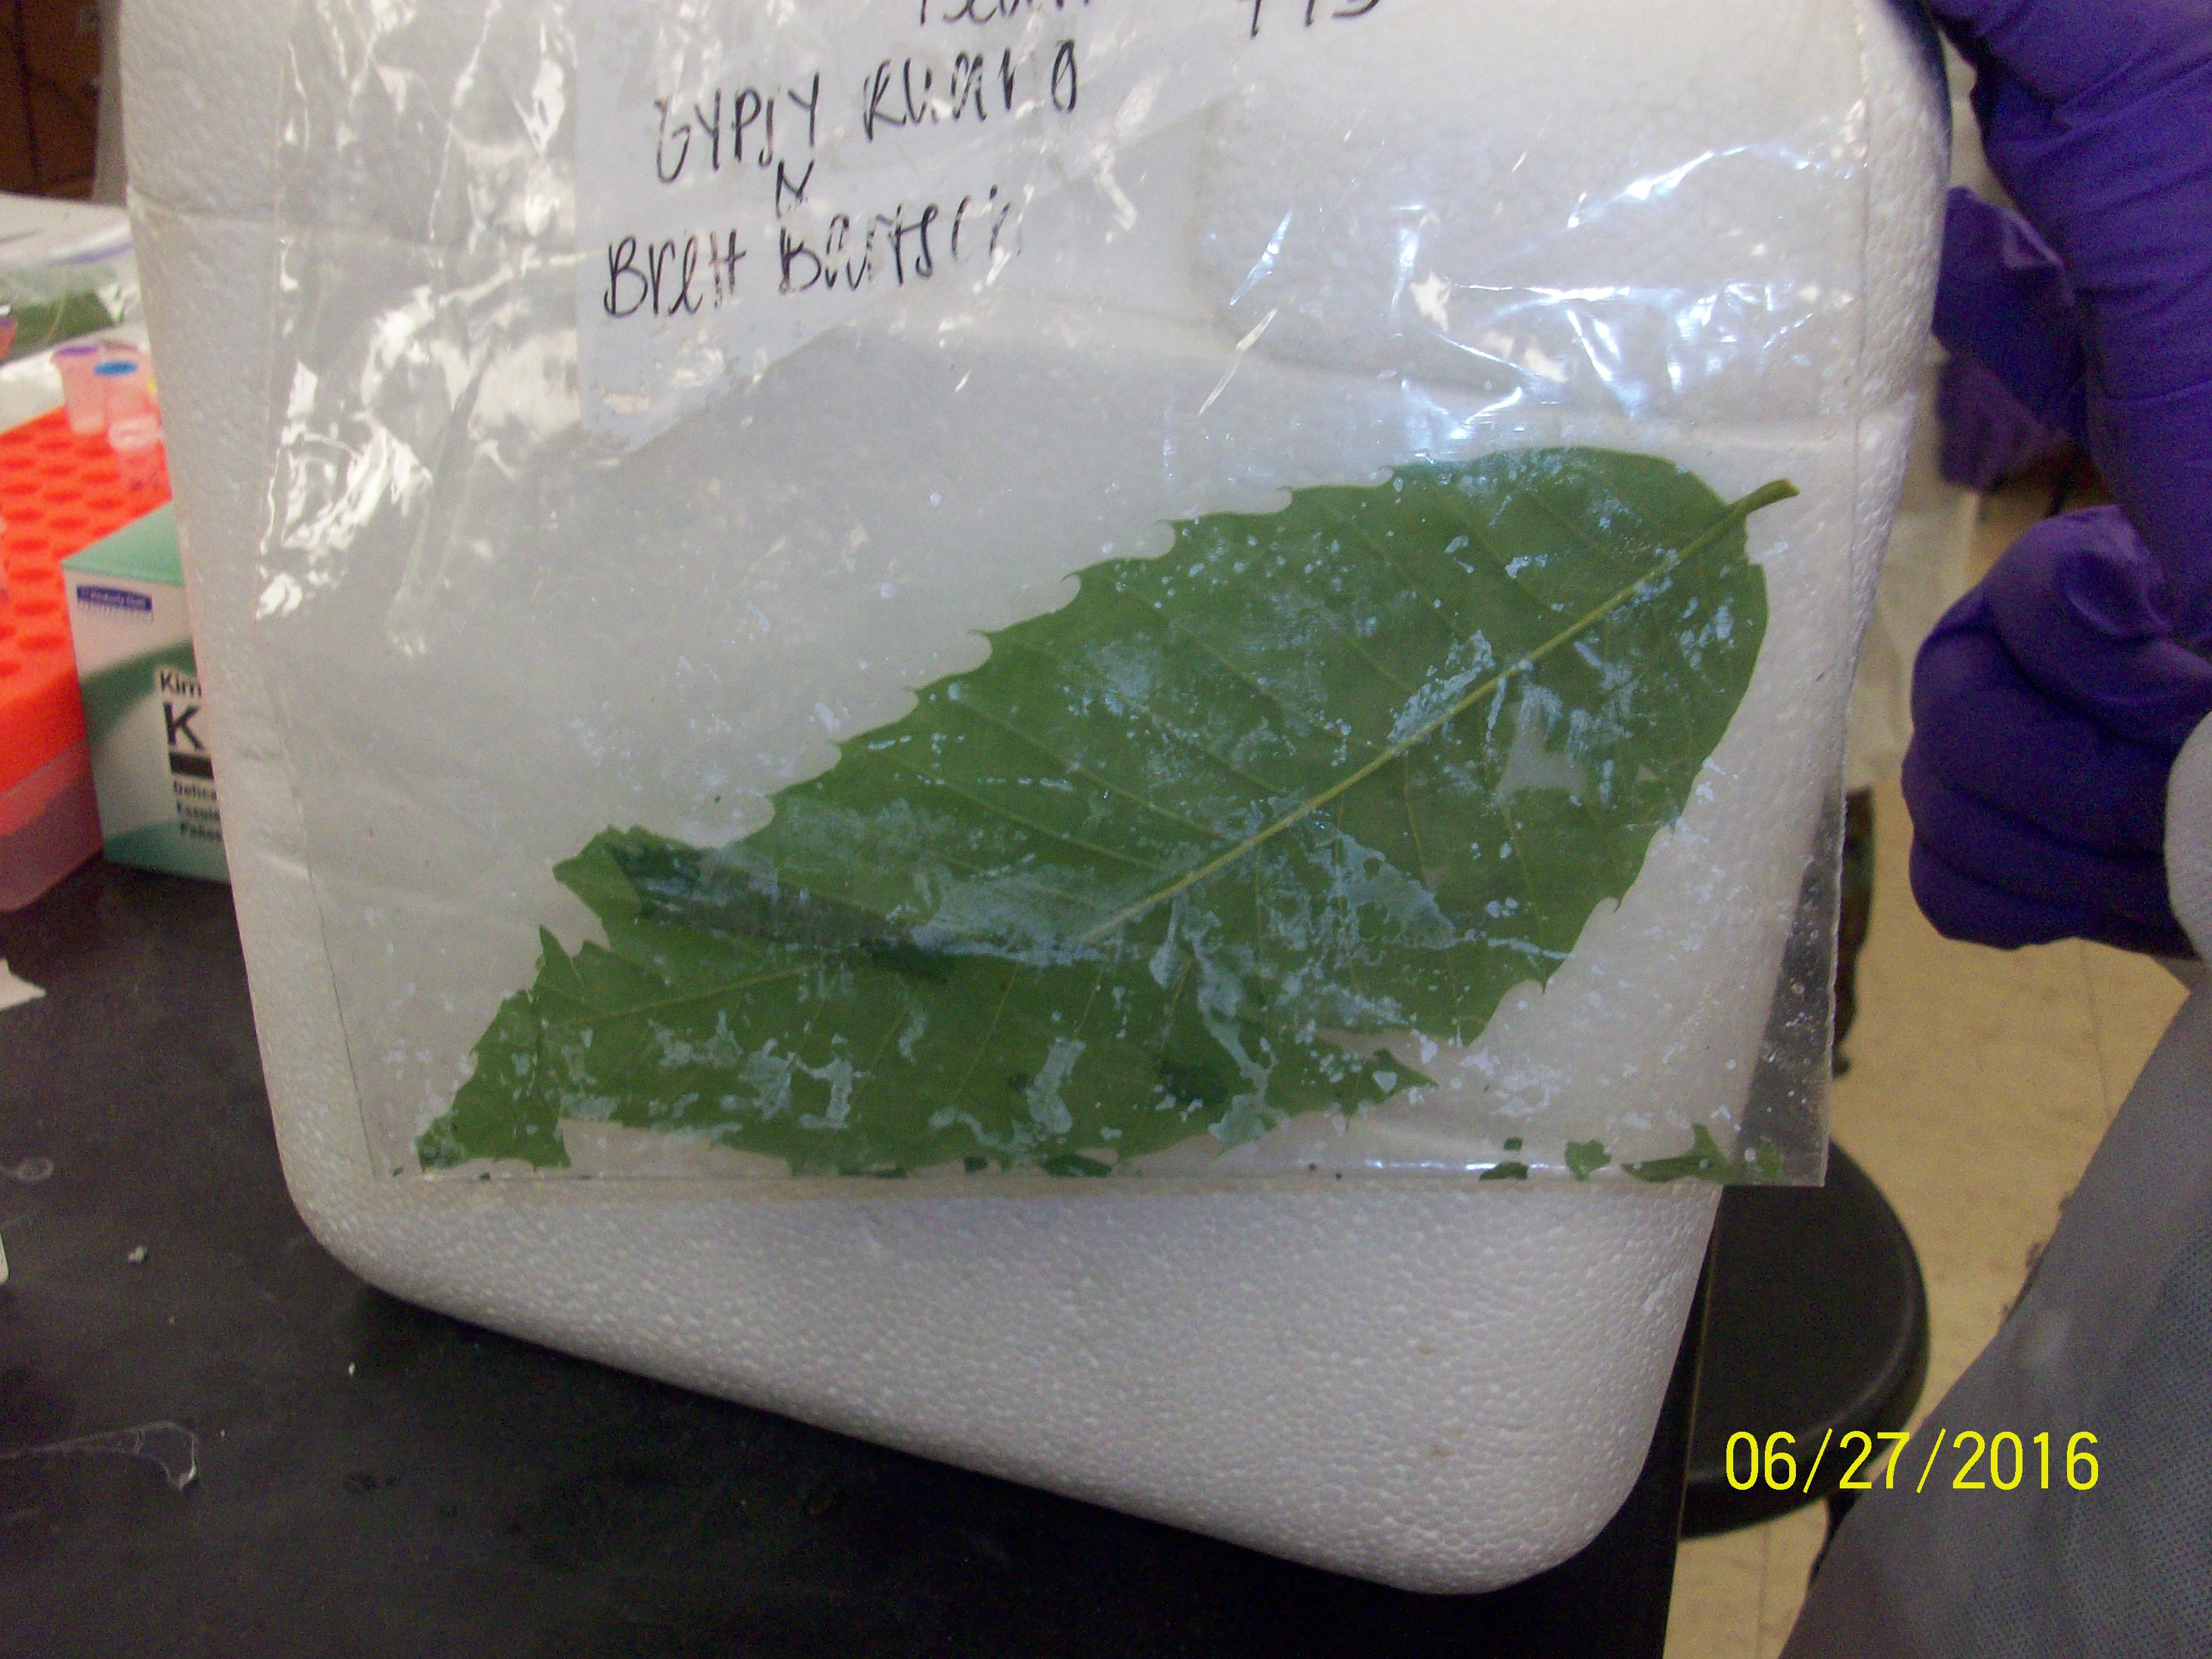
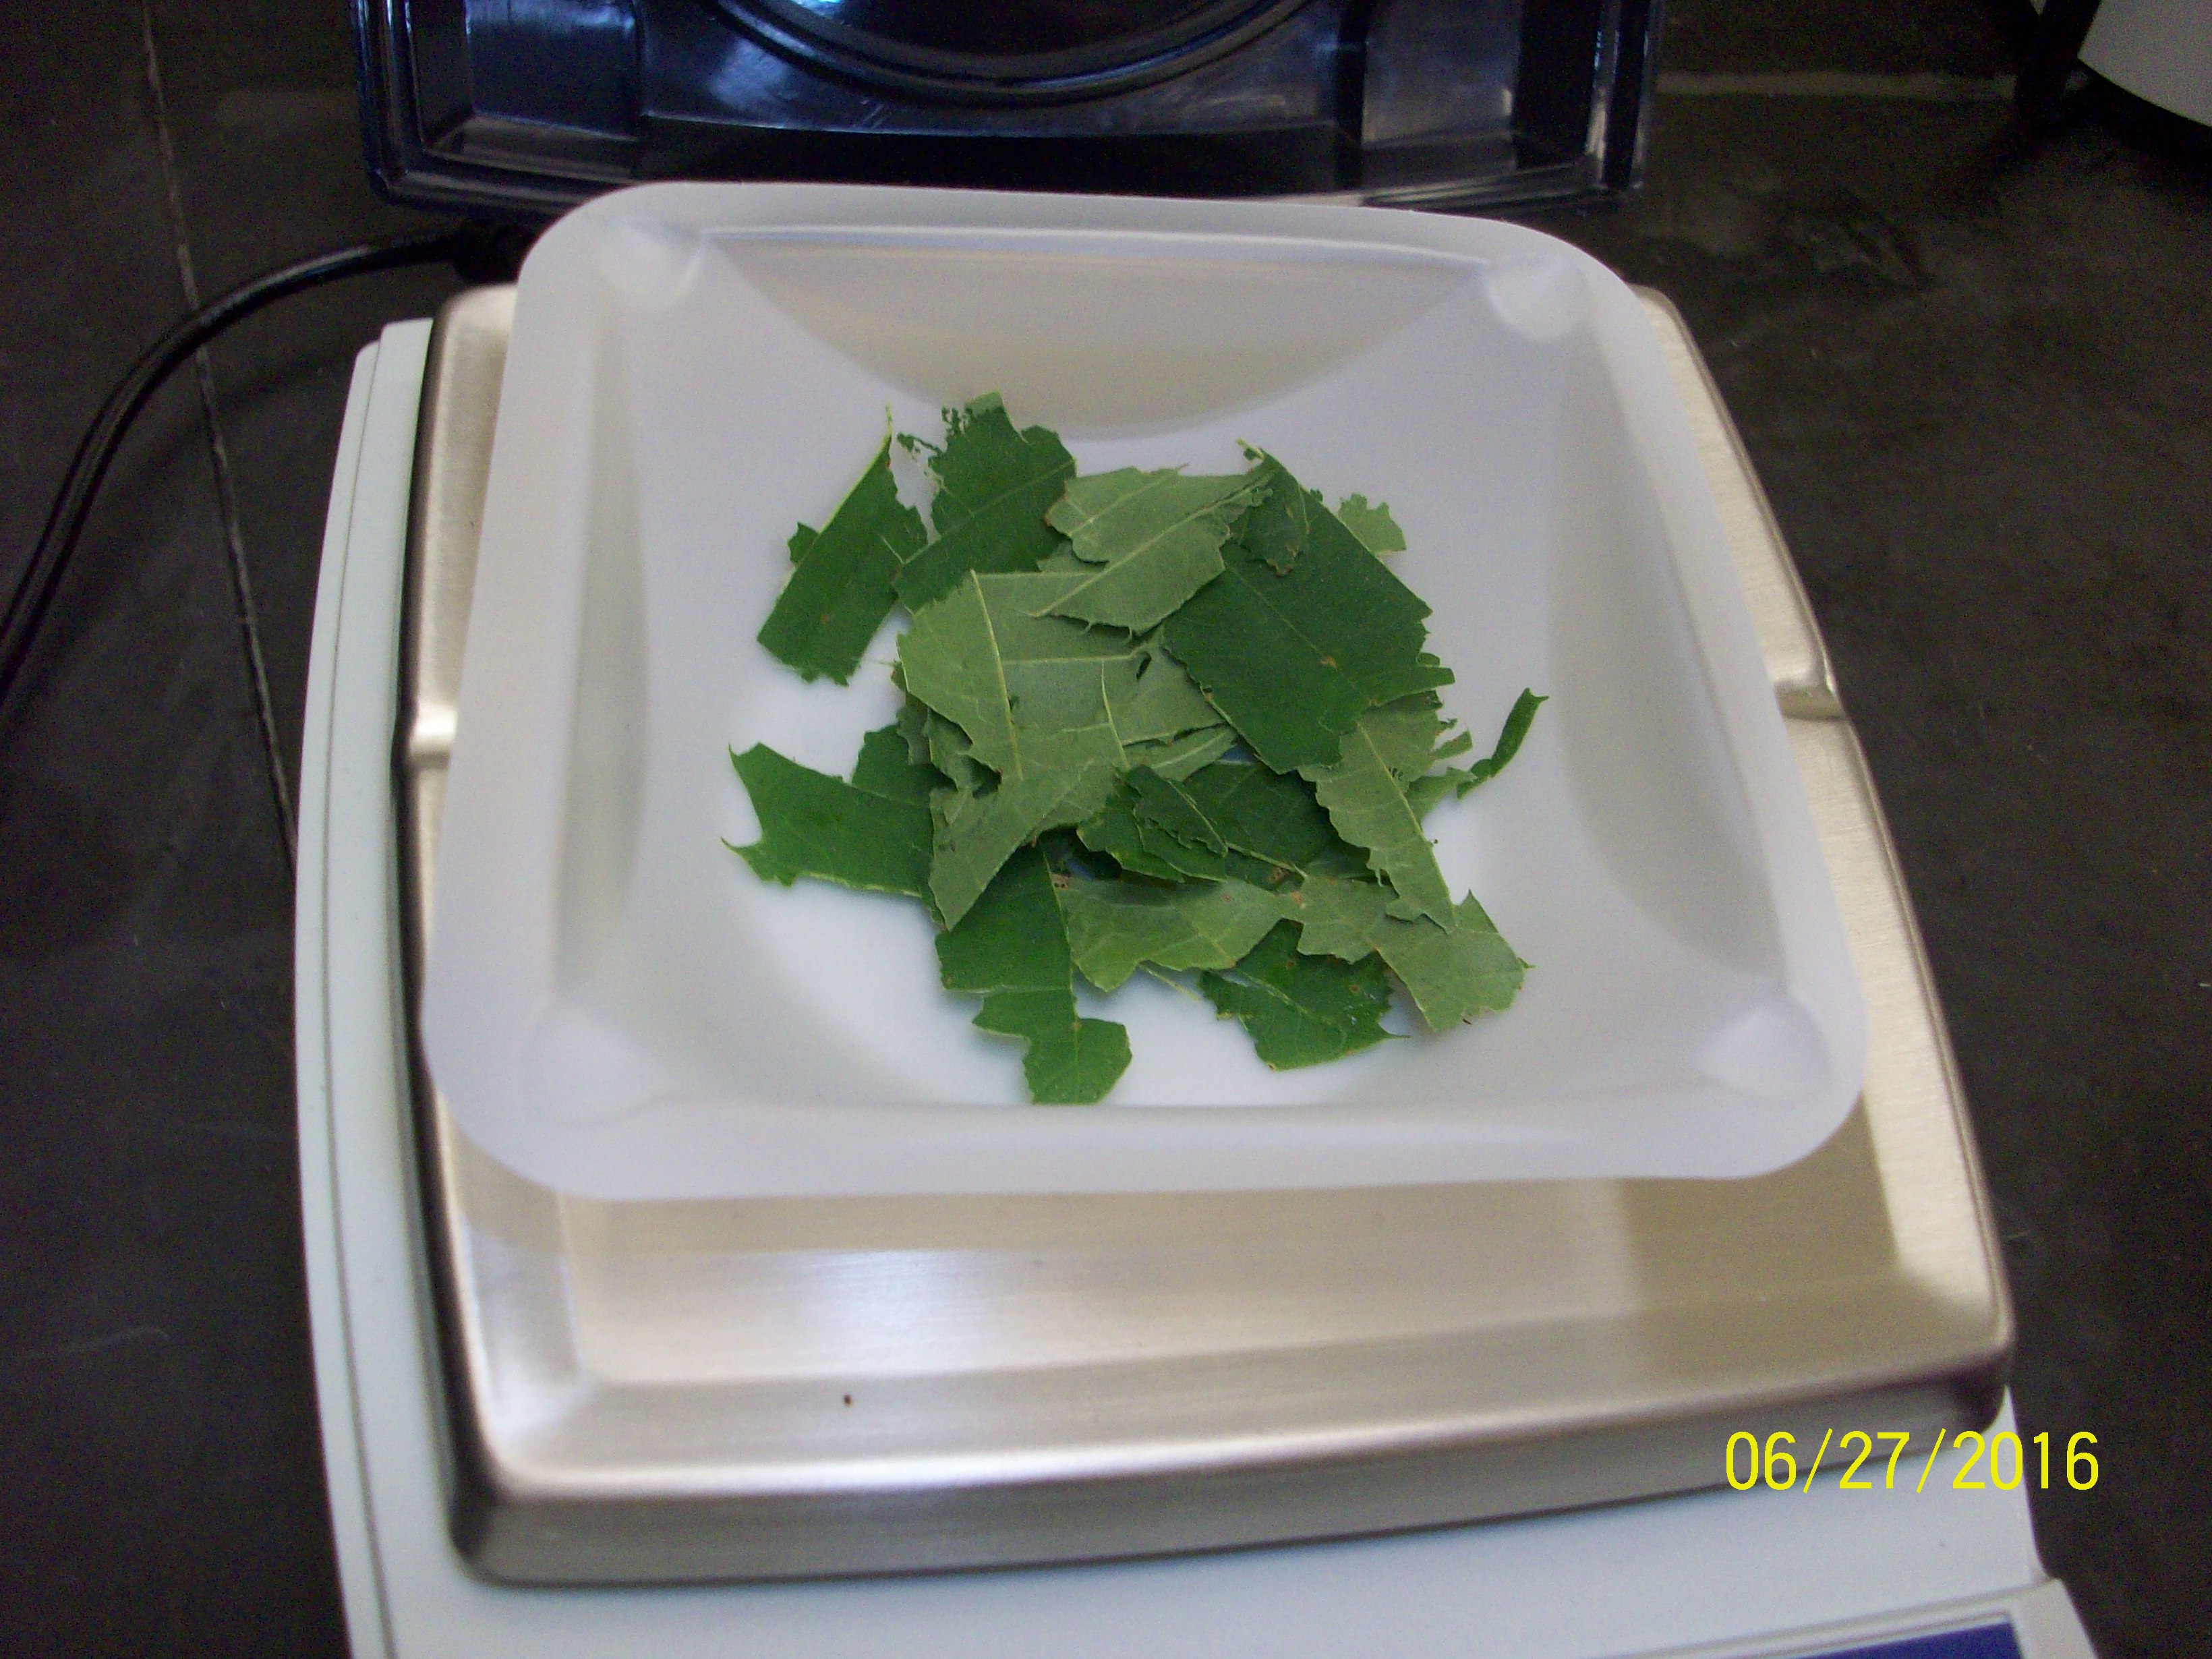
Practice makes perfect, and also, the sample processing was interrupted last week by the water shut down. So students again purified DNA from lveaves- the image today focus on the processes rather than the students.
The goal of the day was to gain experience and confidence in carrying out the steps, and ask more detailed questions about why each step is carried out. .
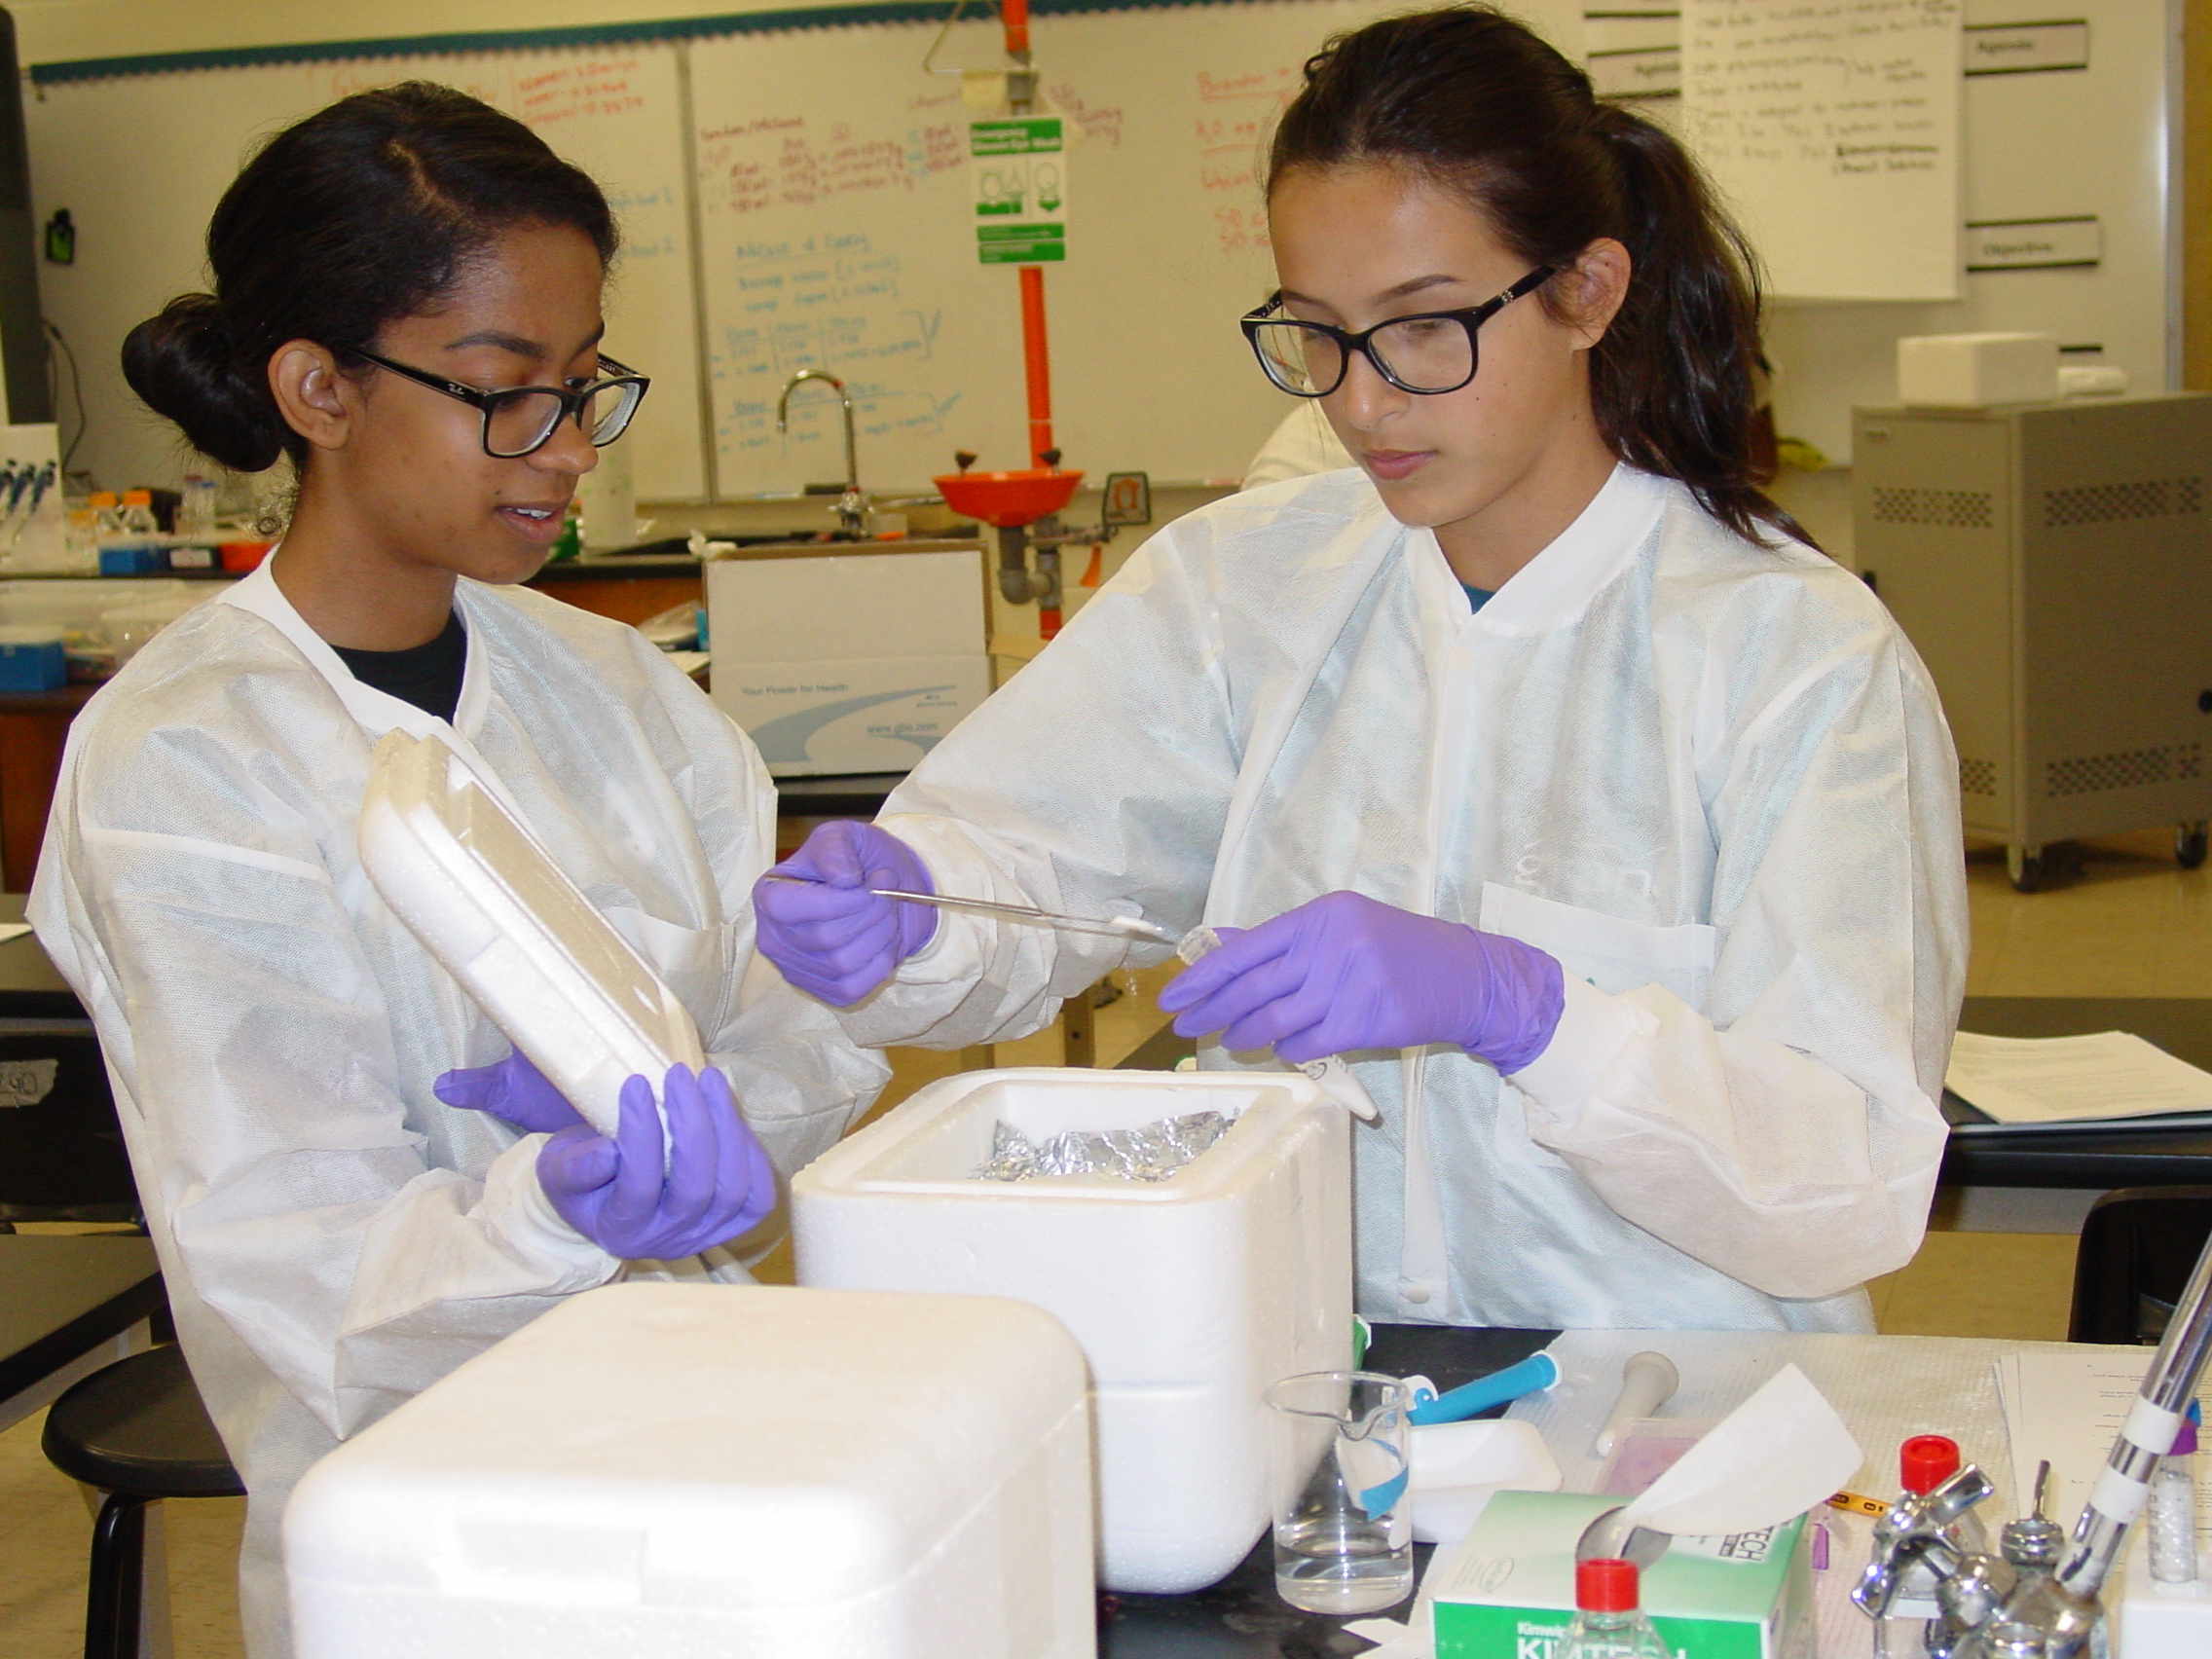
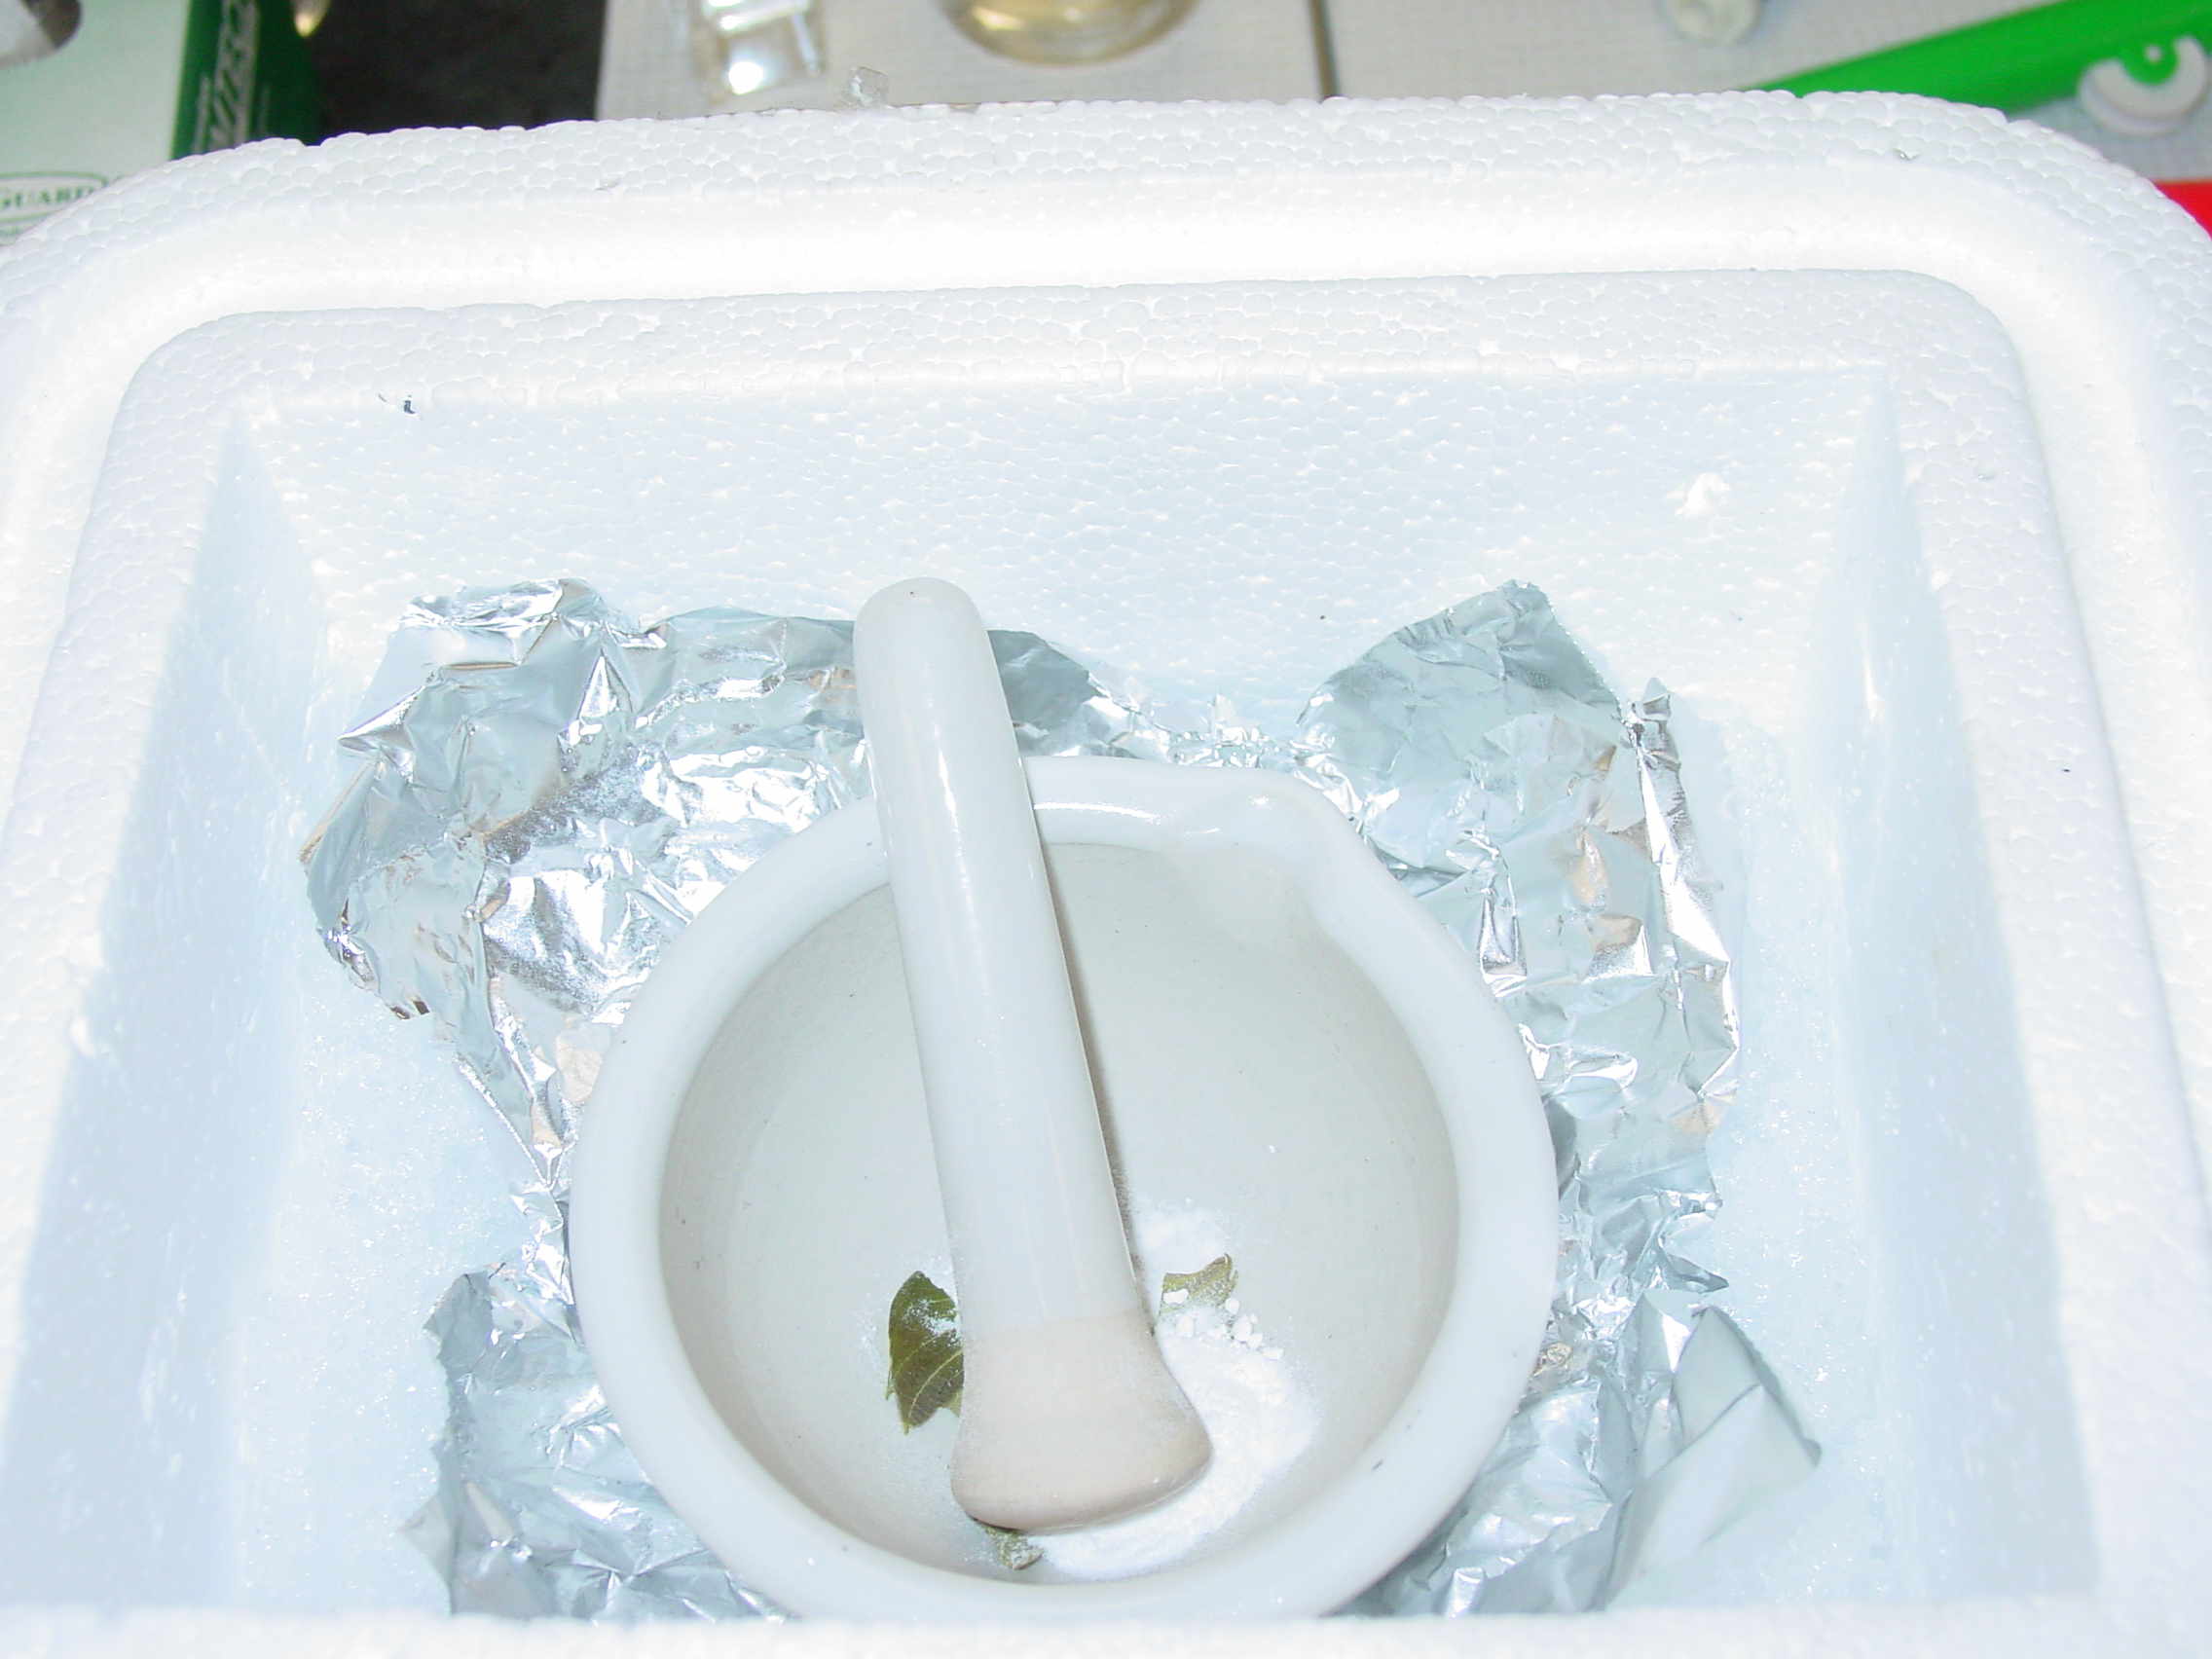
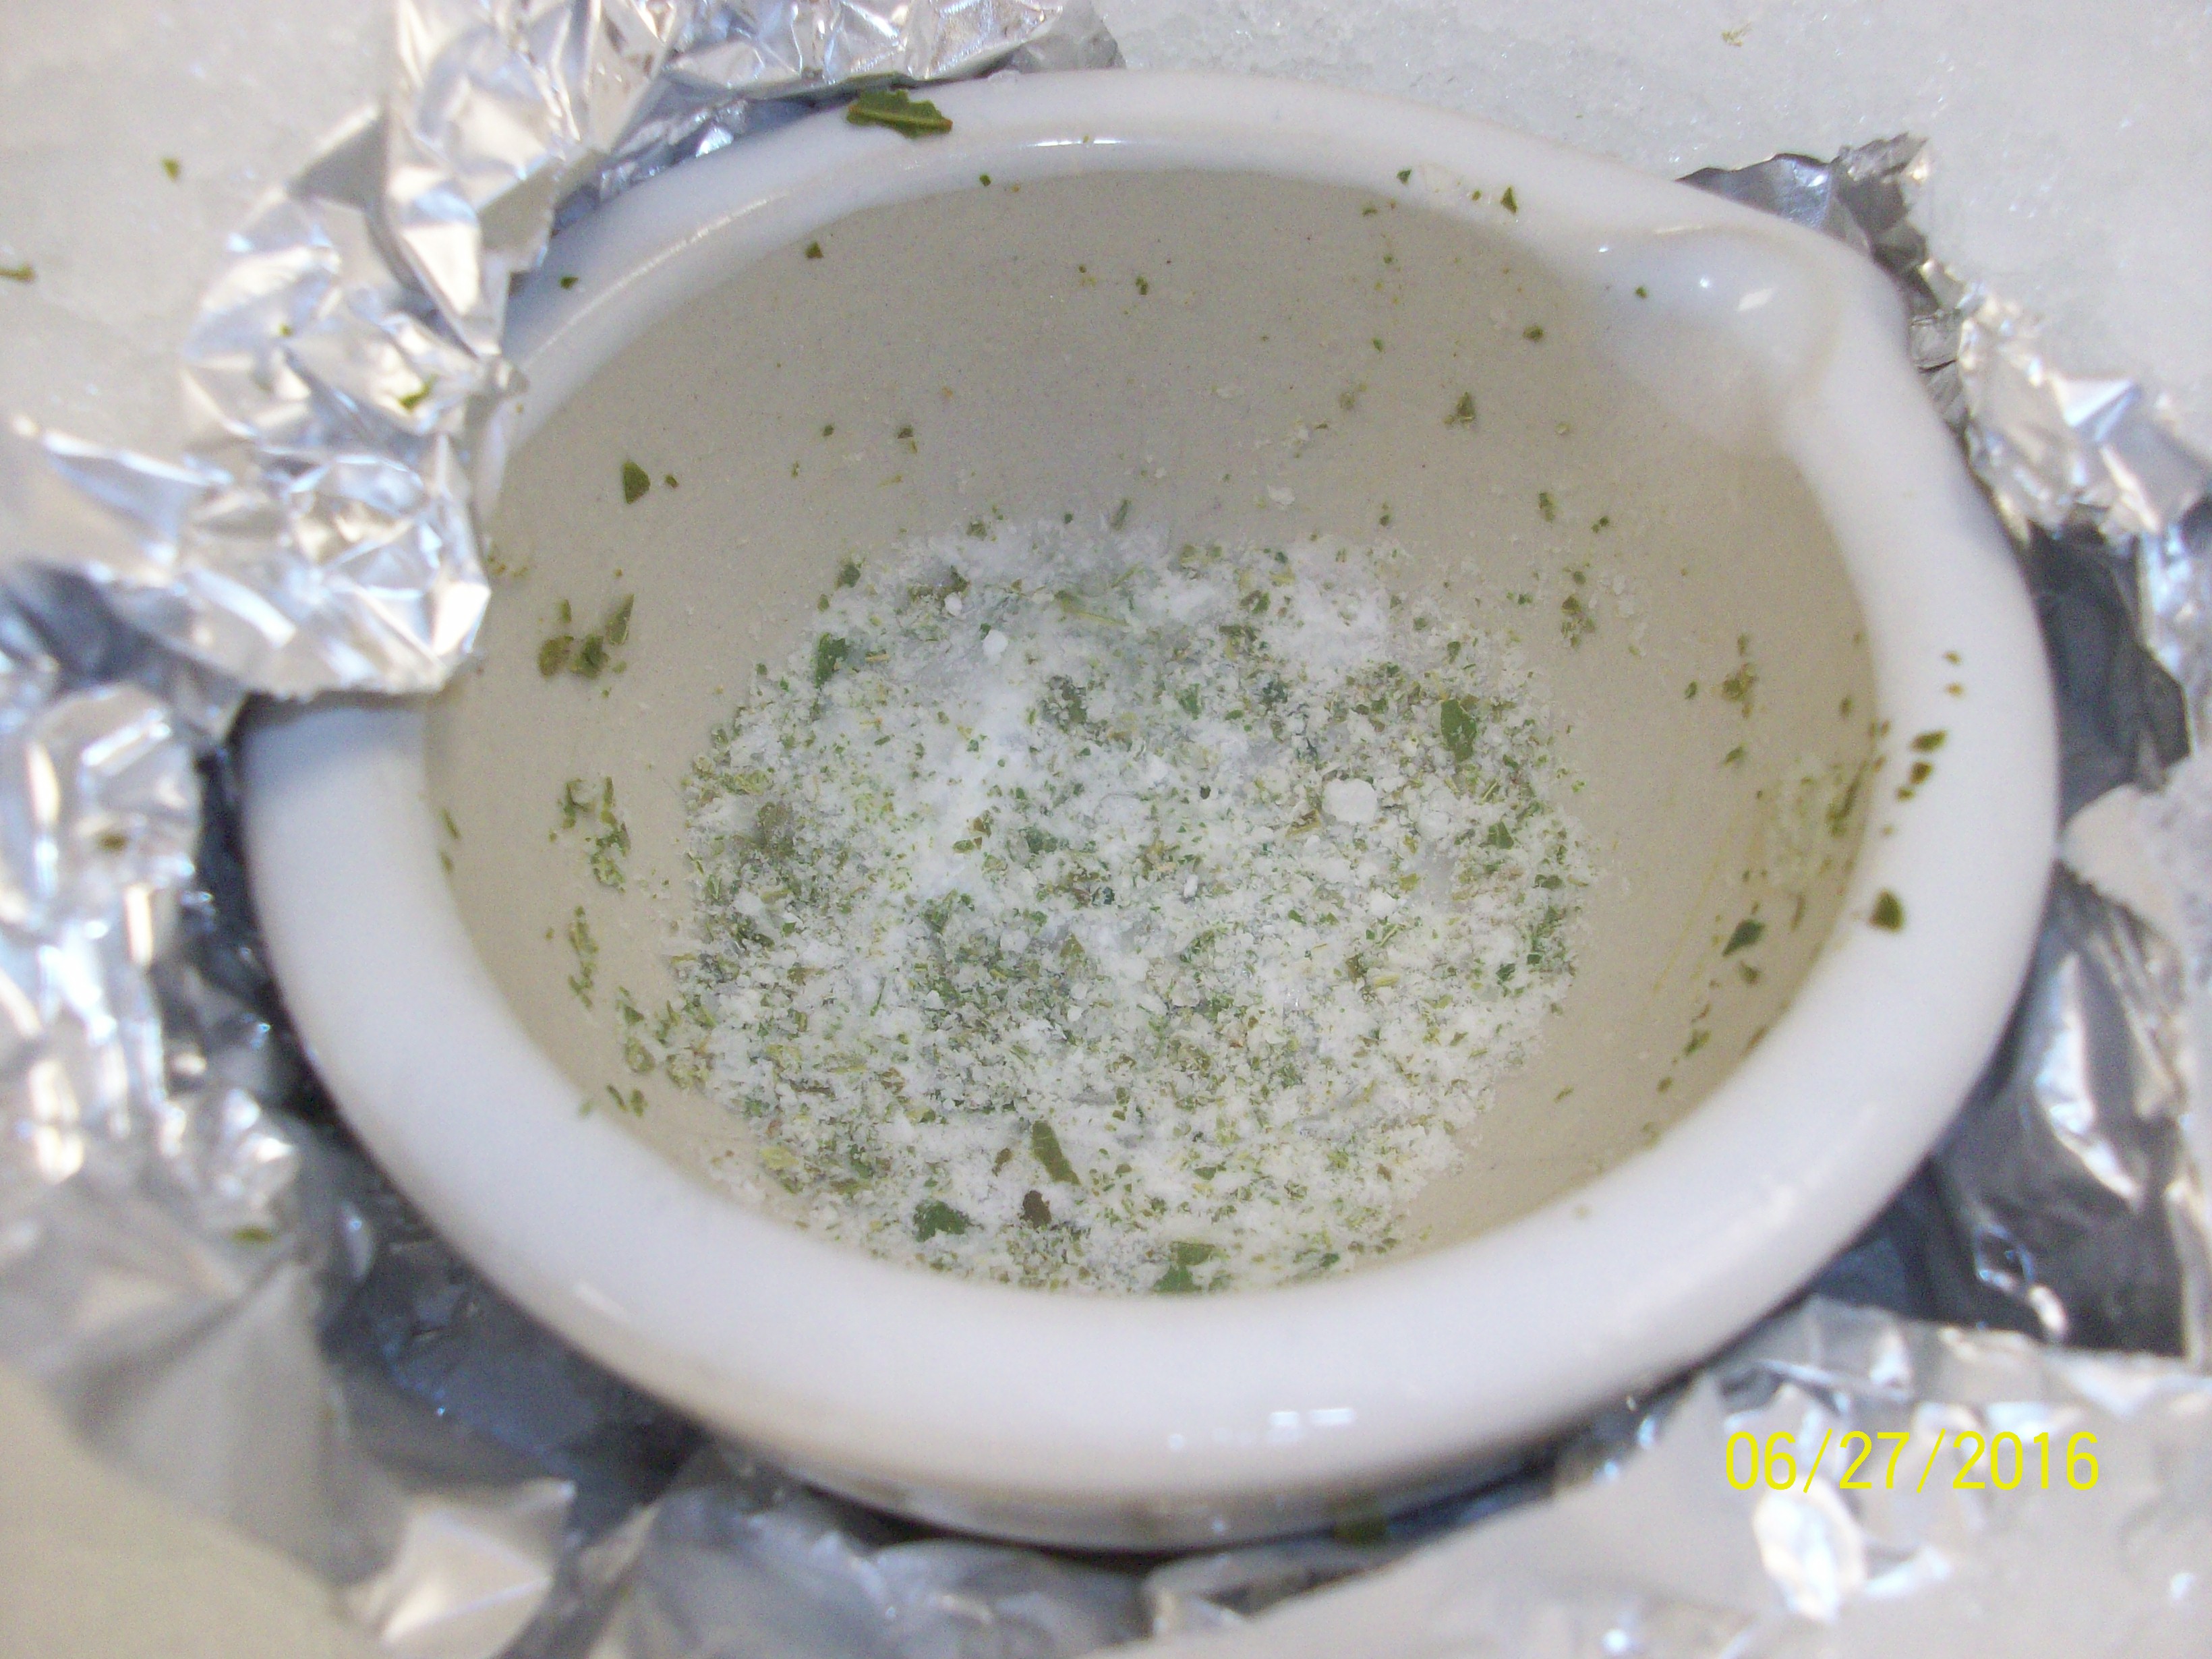
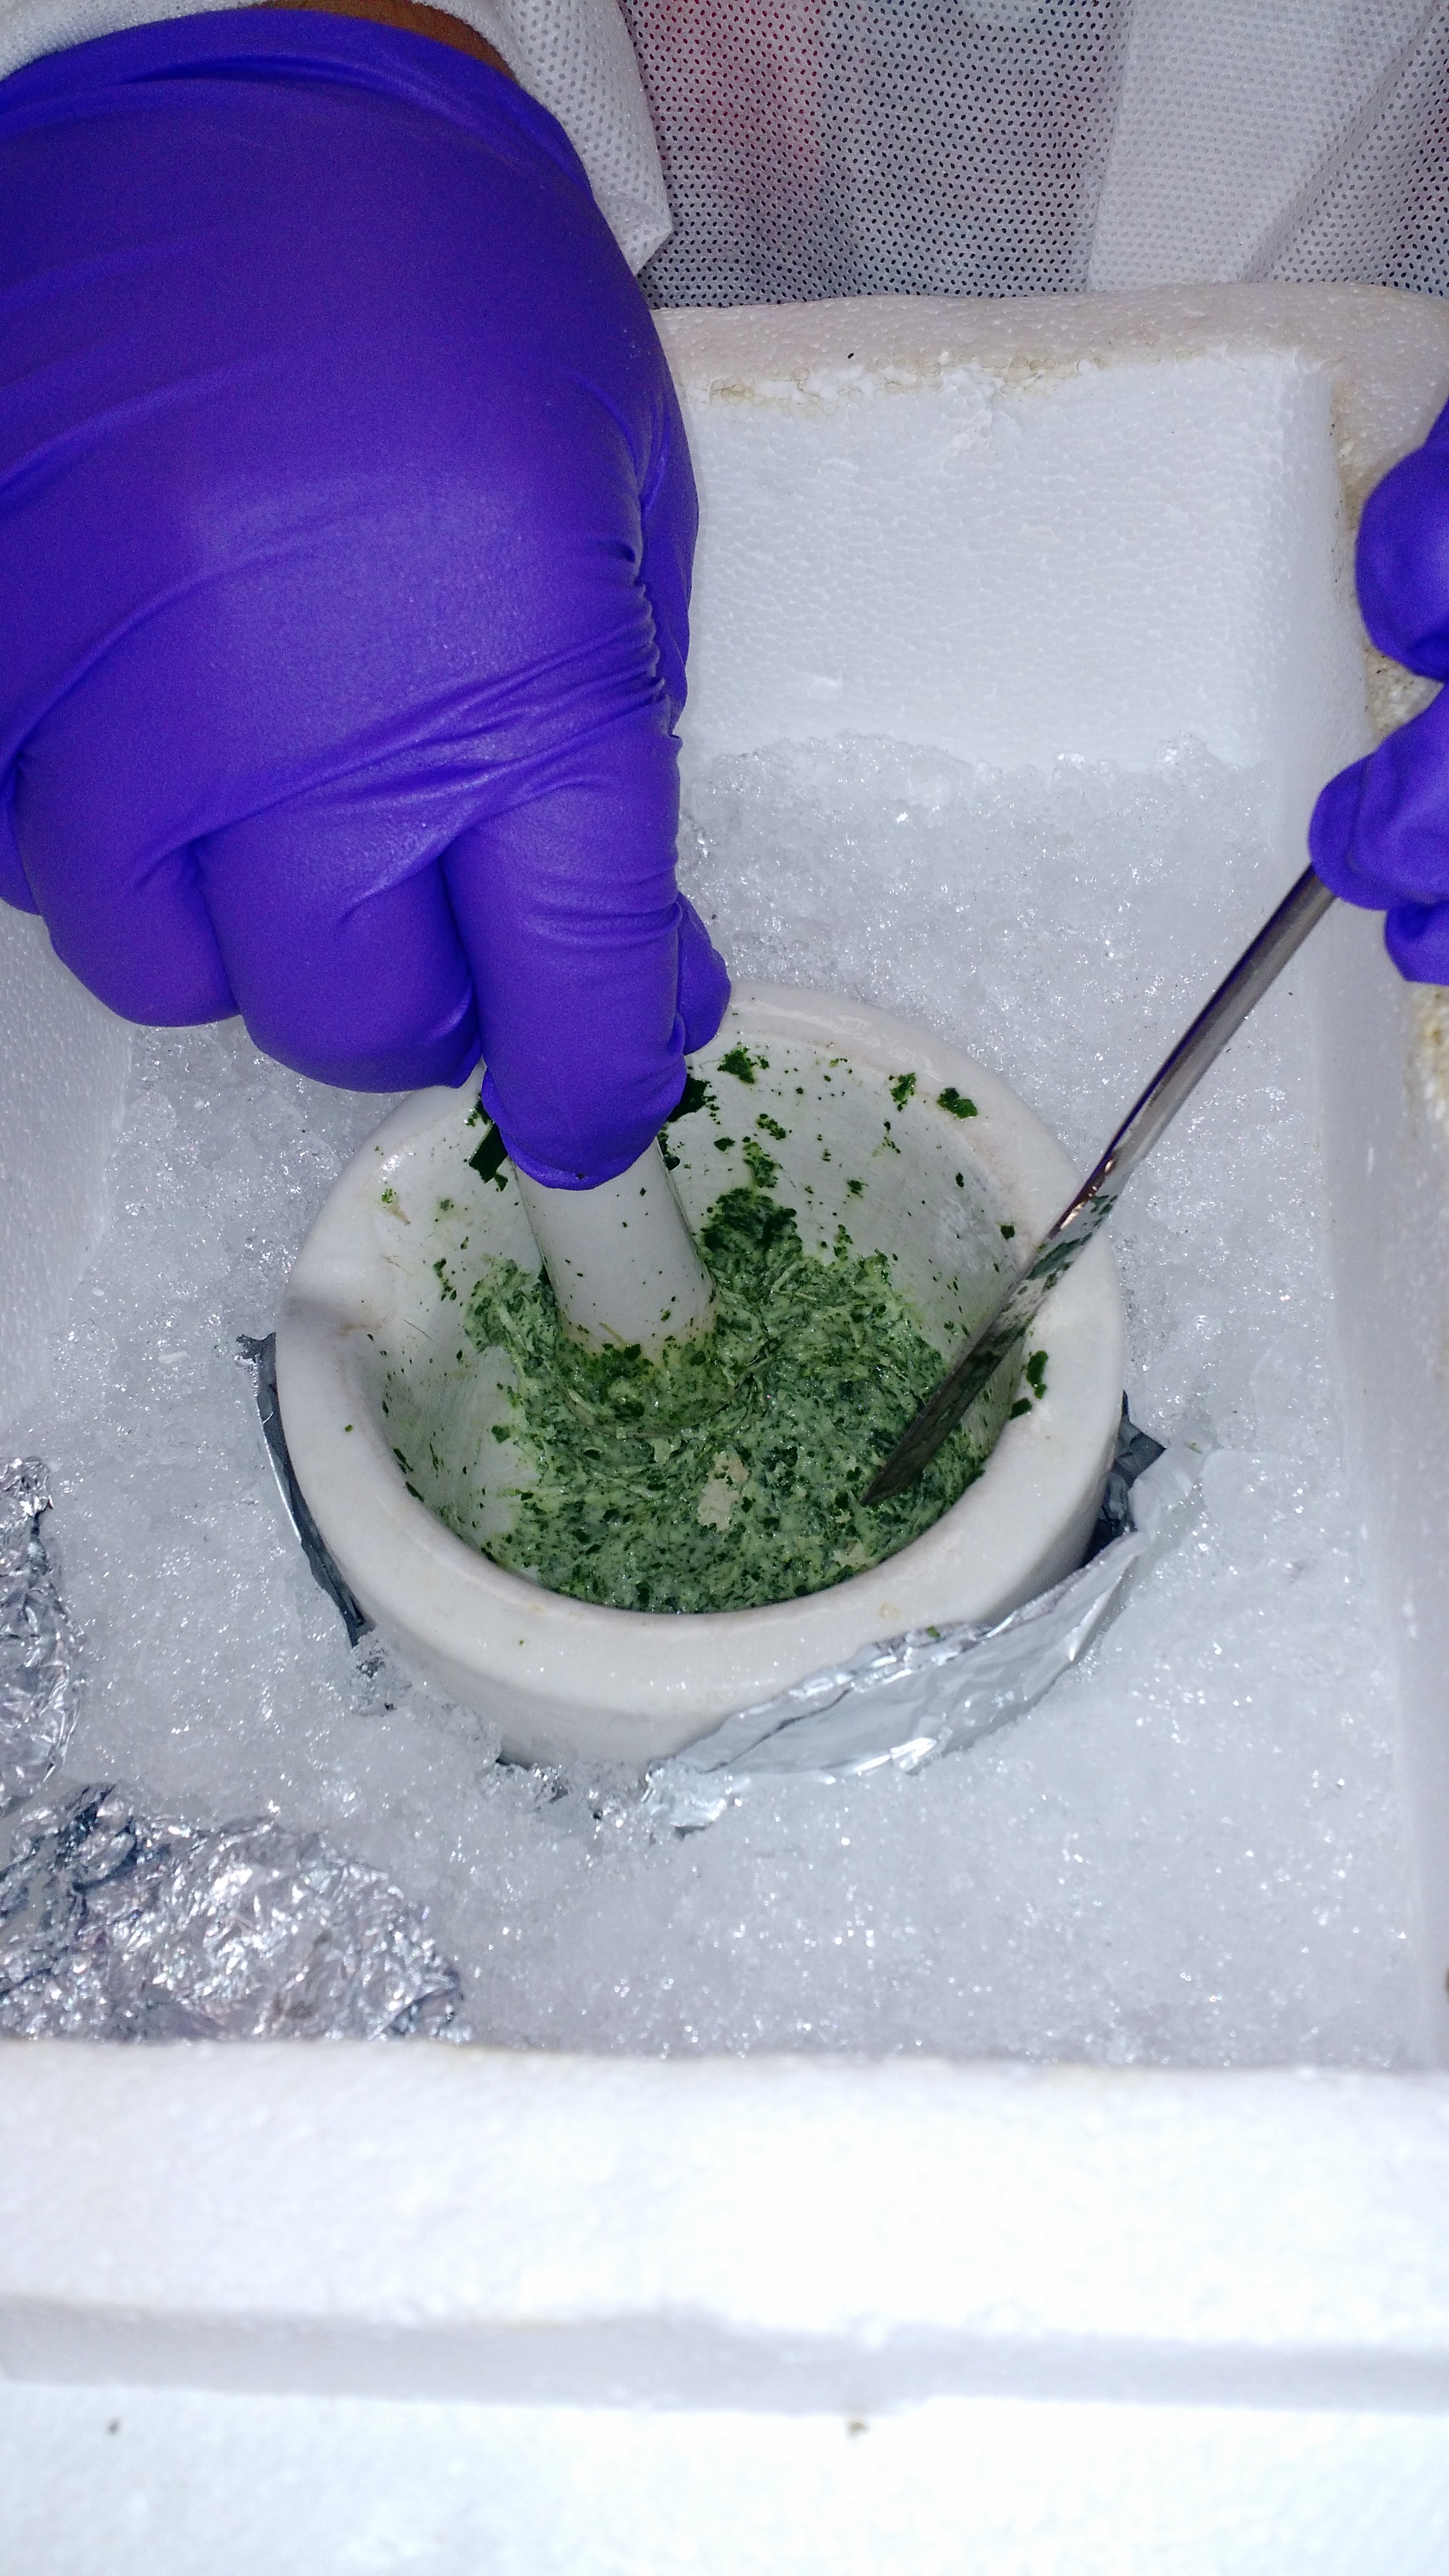
Leaf samples are removed from storage baggies, weighed, and put in mortars on ice.
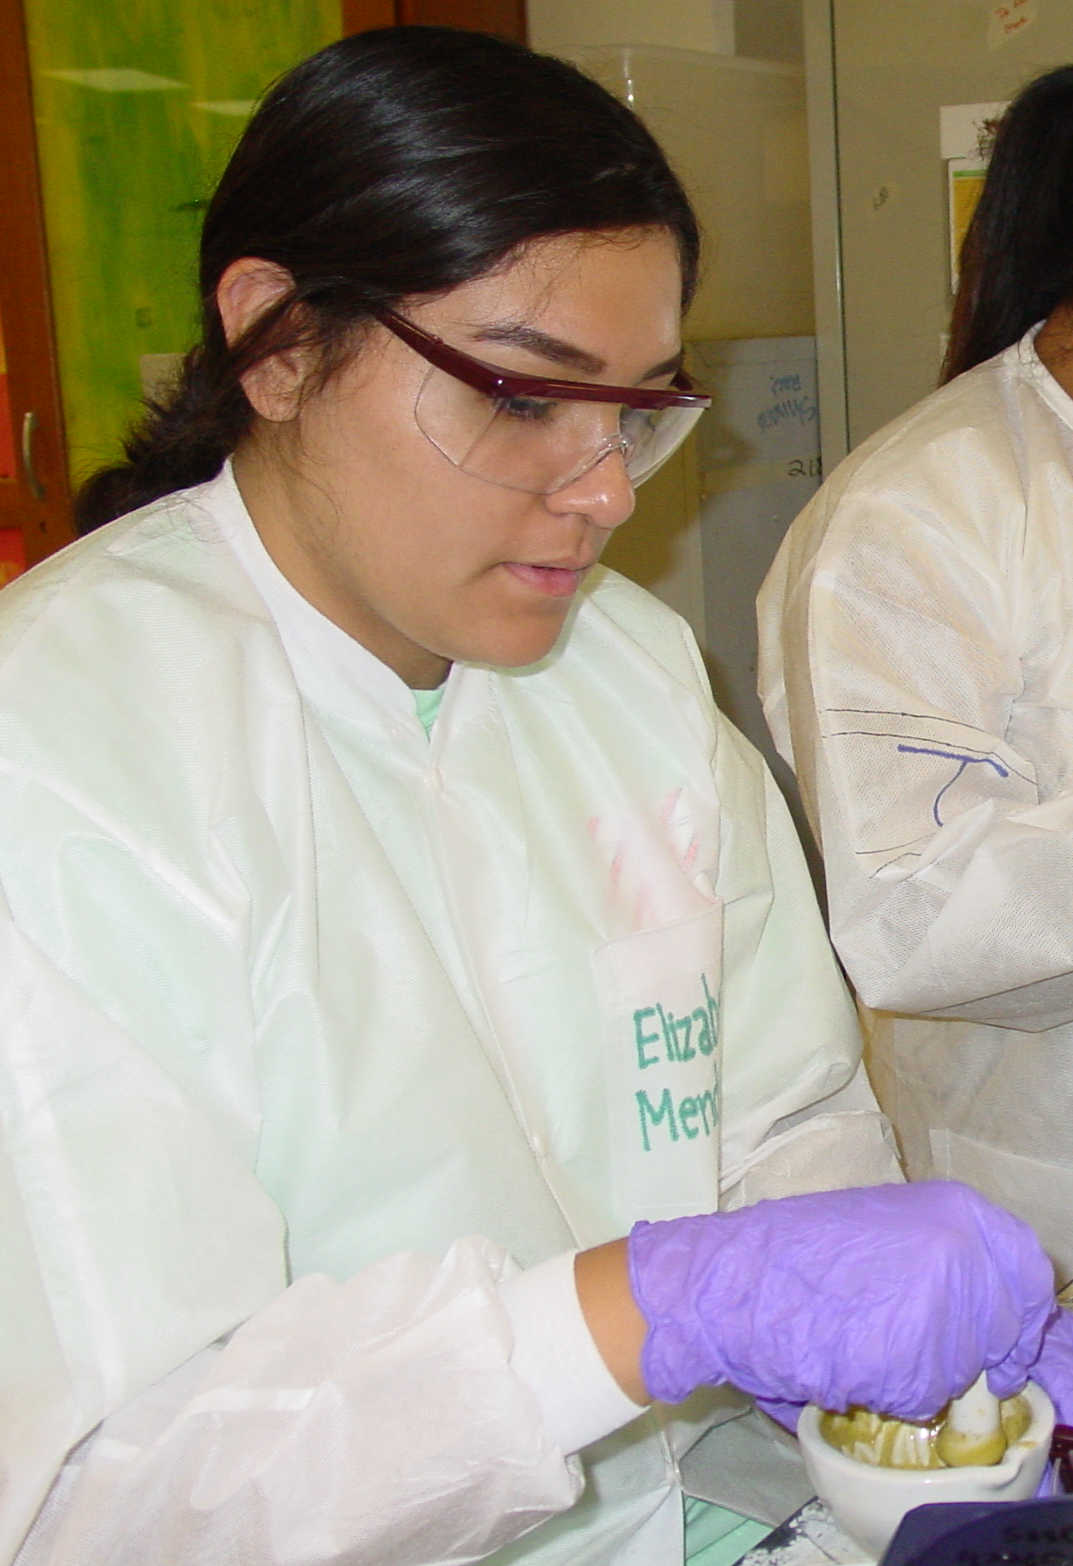
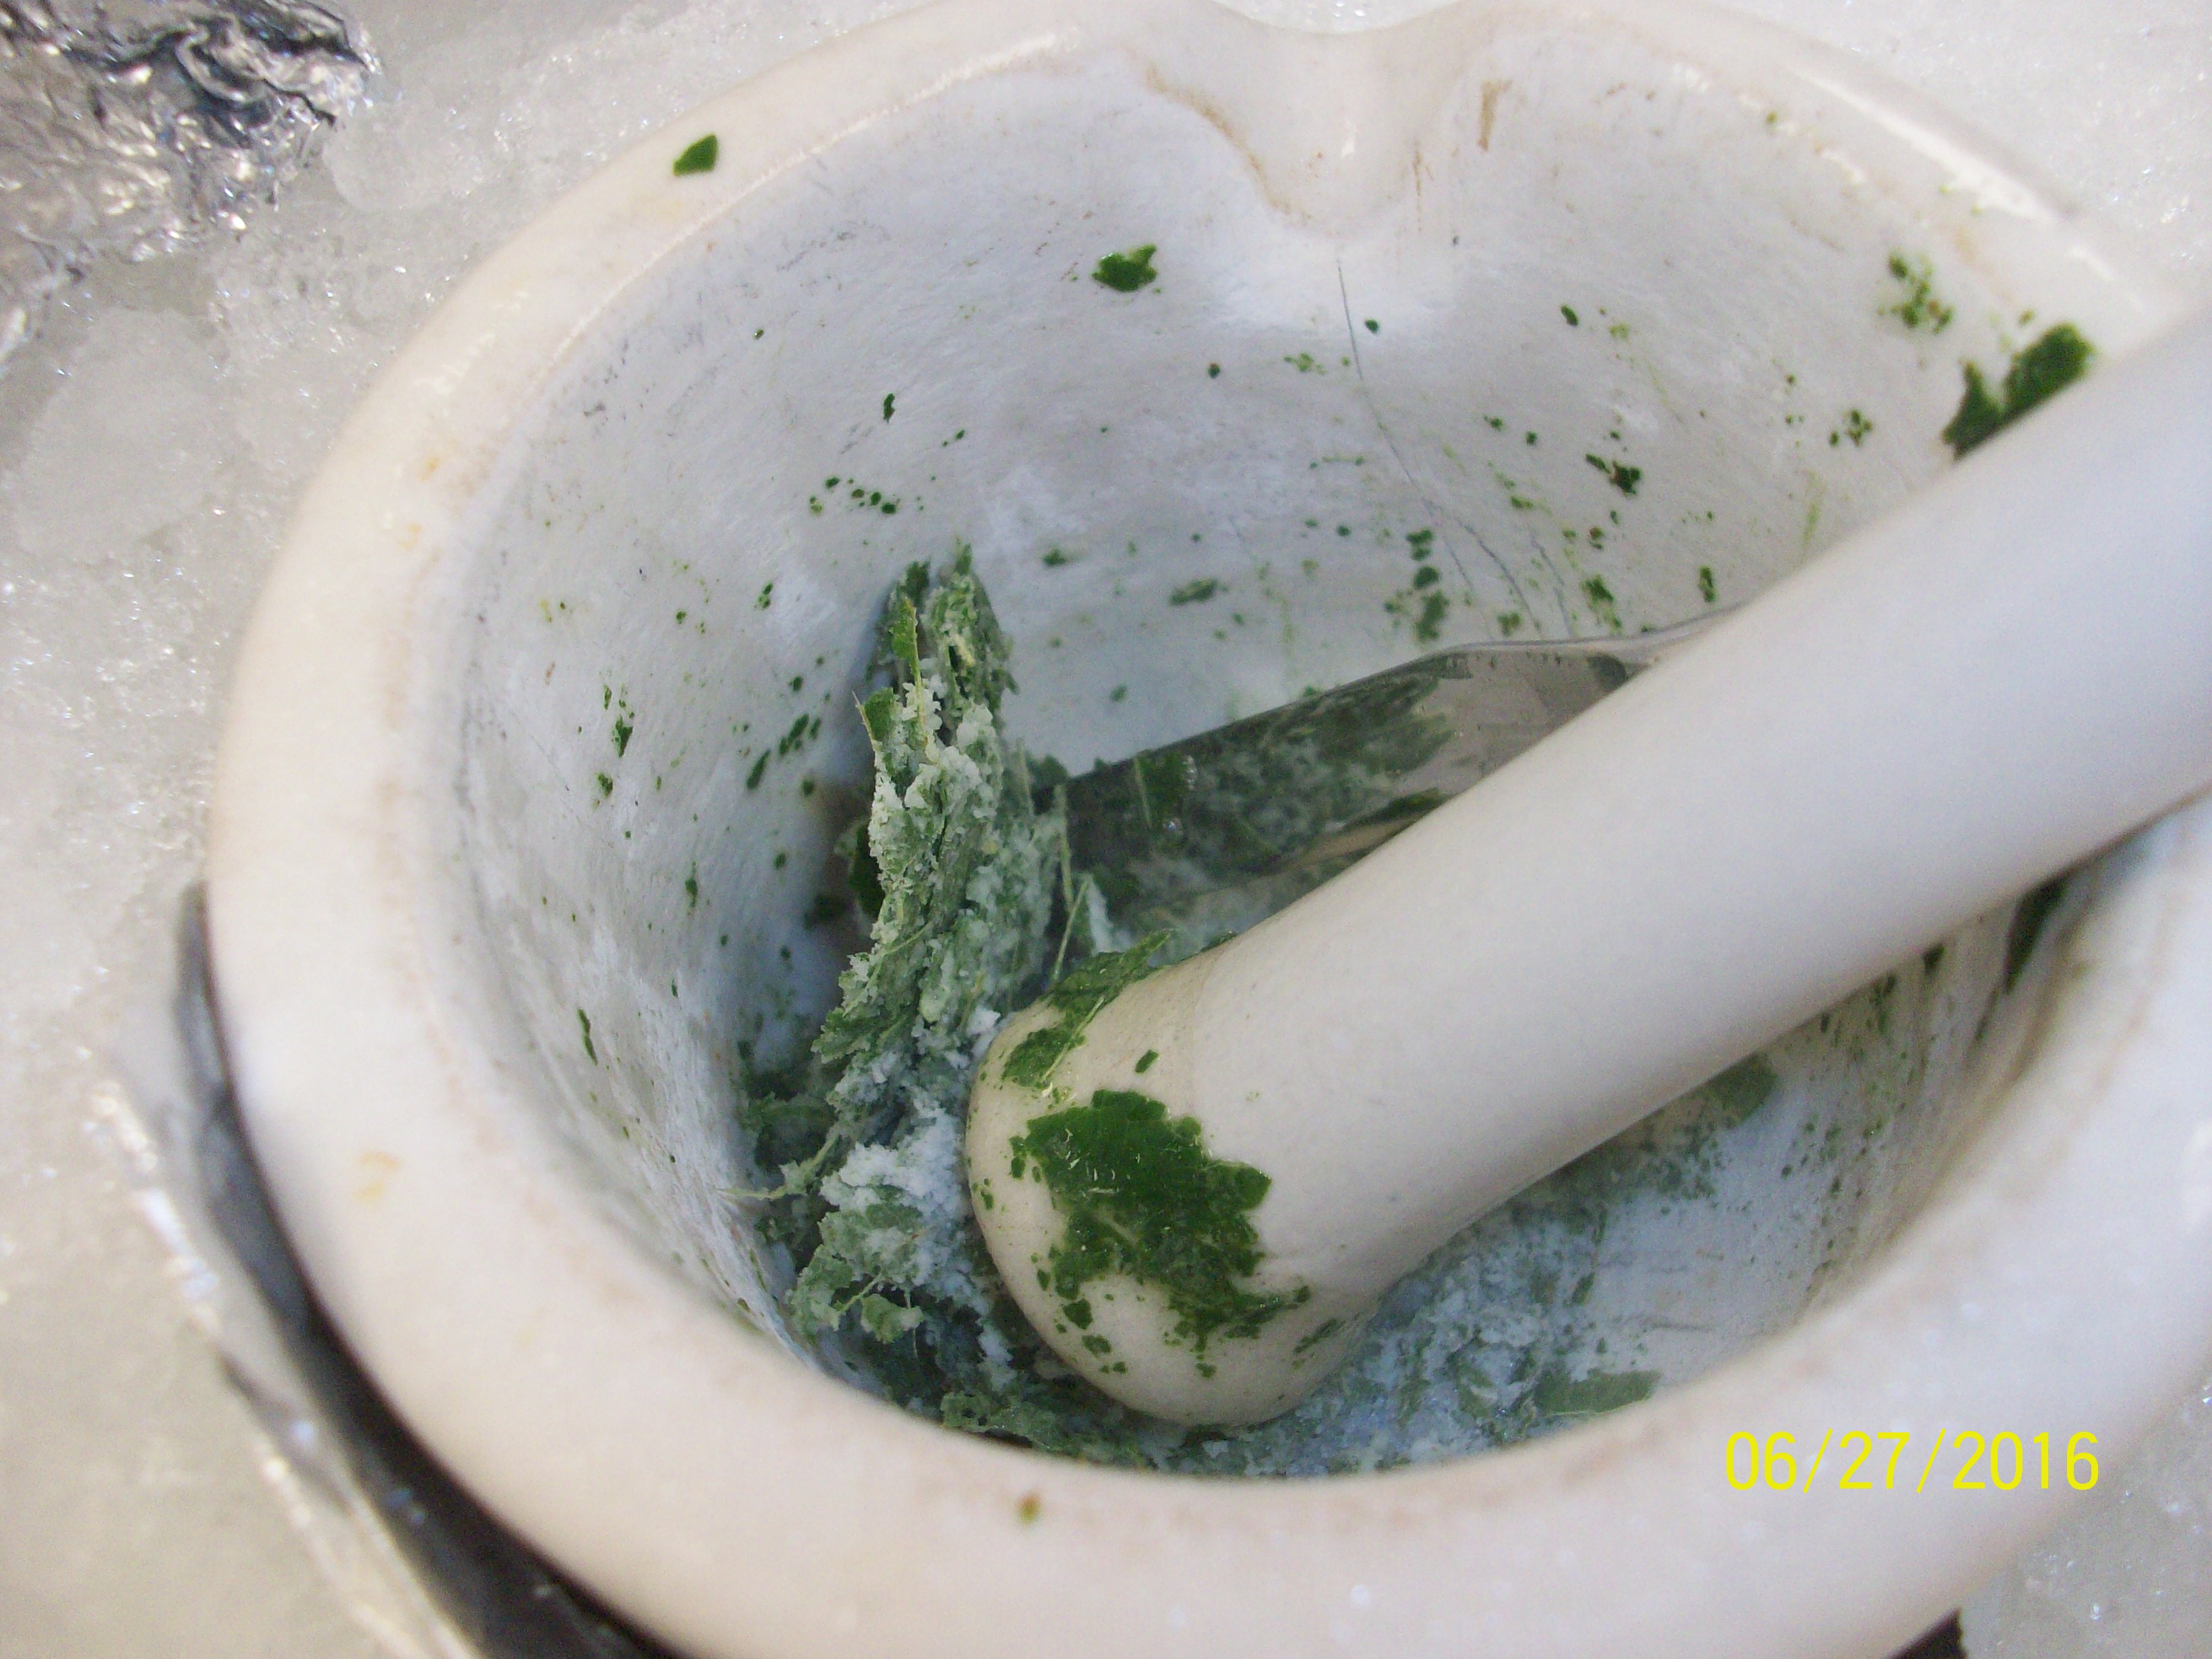
Chemicals and dry ice are added to the mortar and the leaves are first crushed and then ground to a paste, which is then allowed to become somewhat liquid.
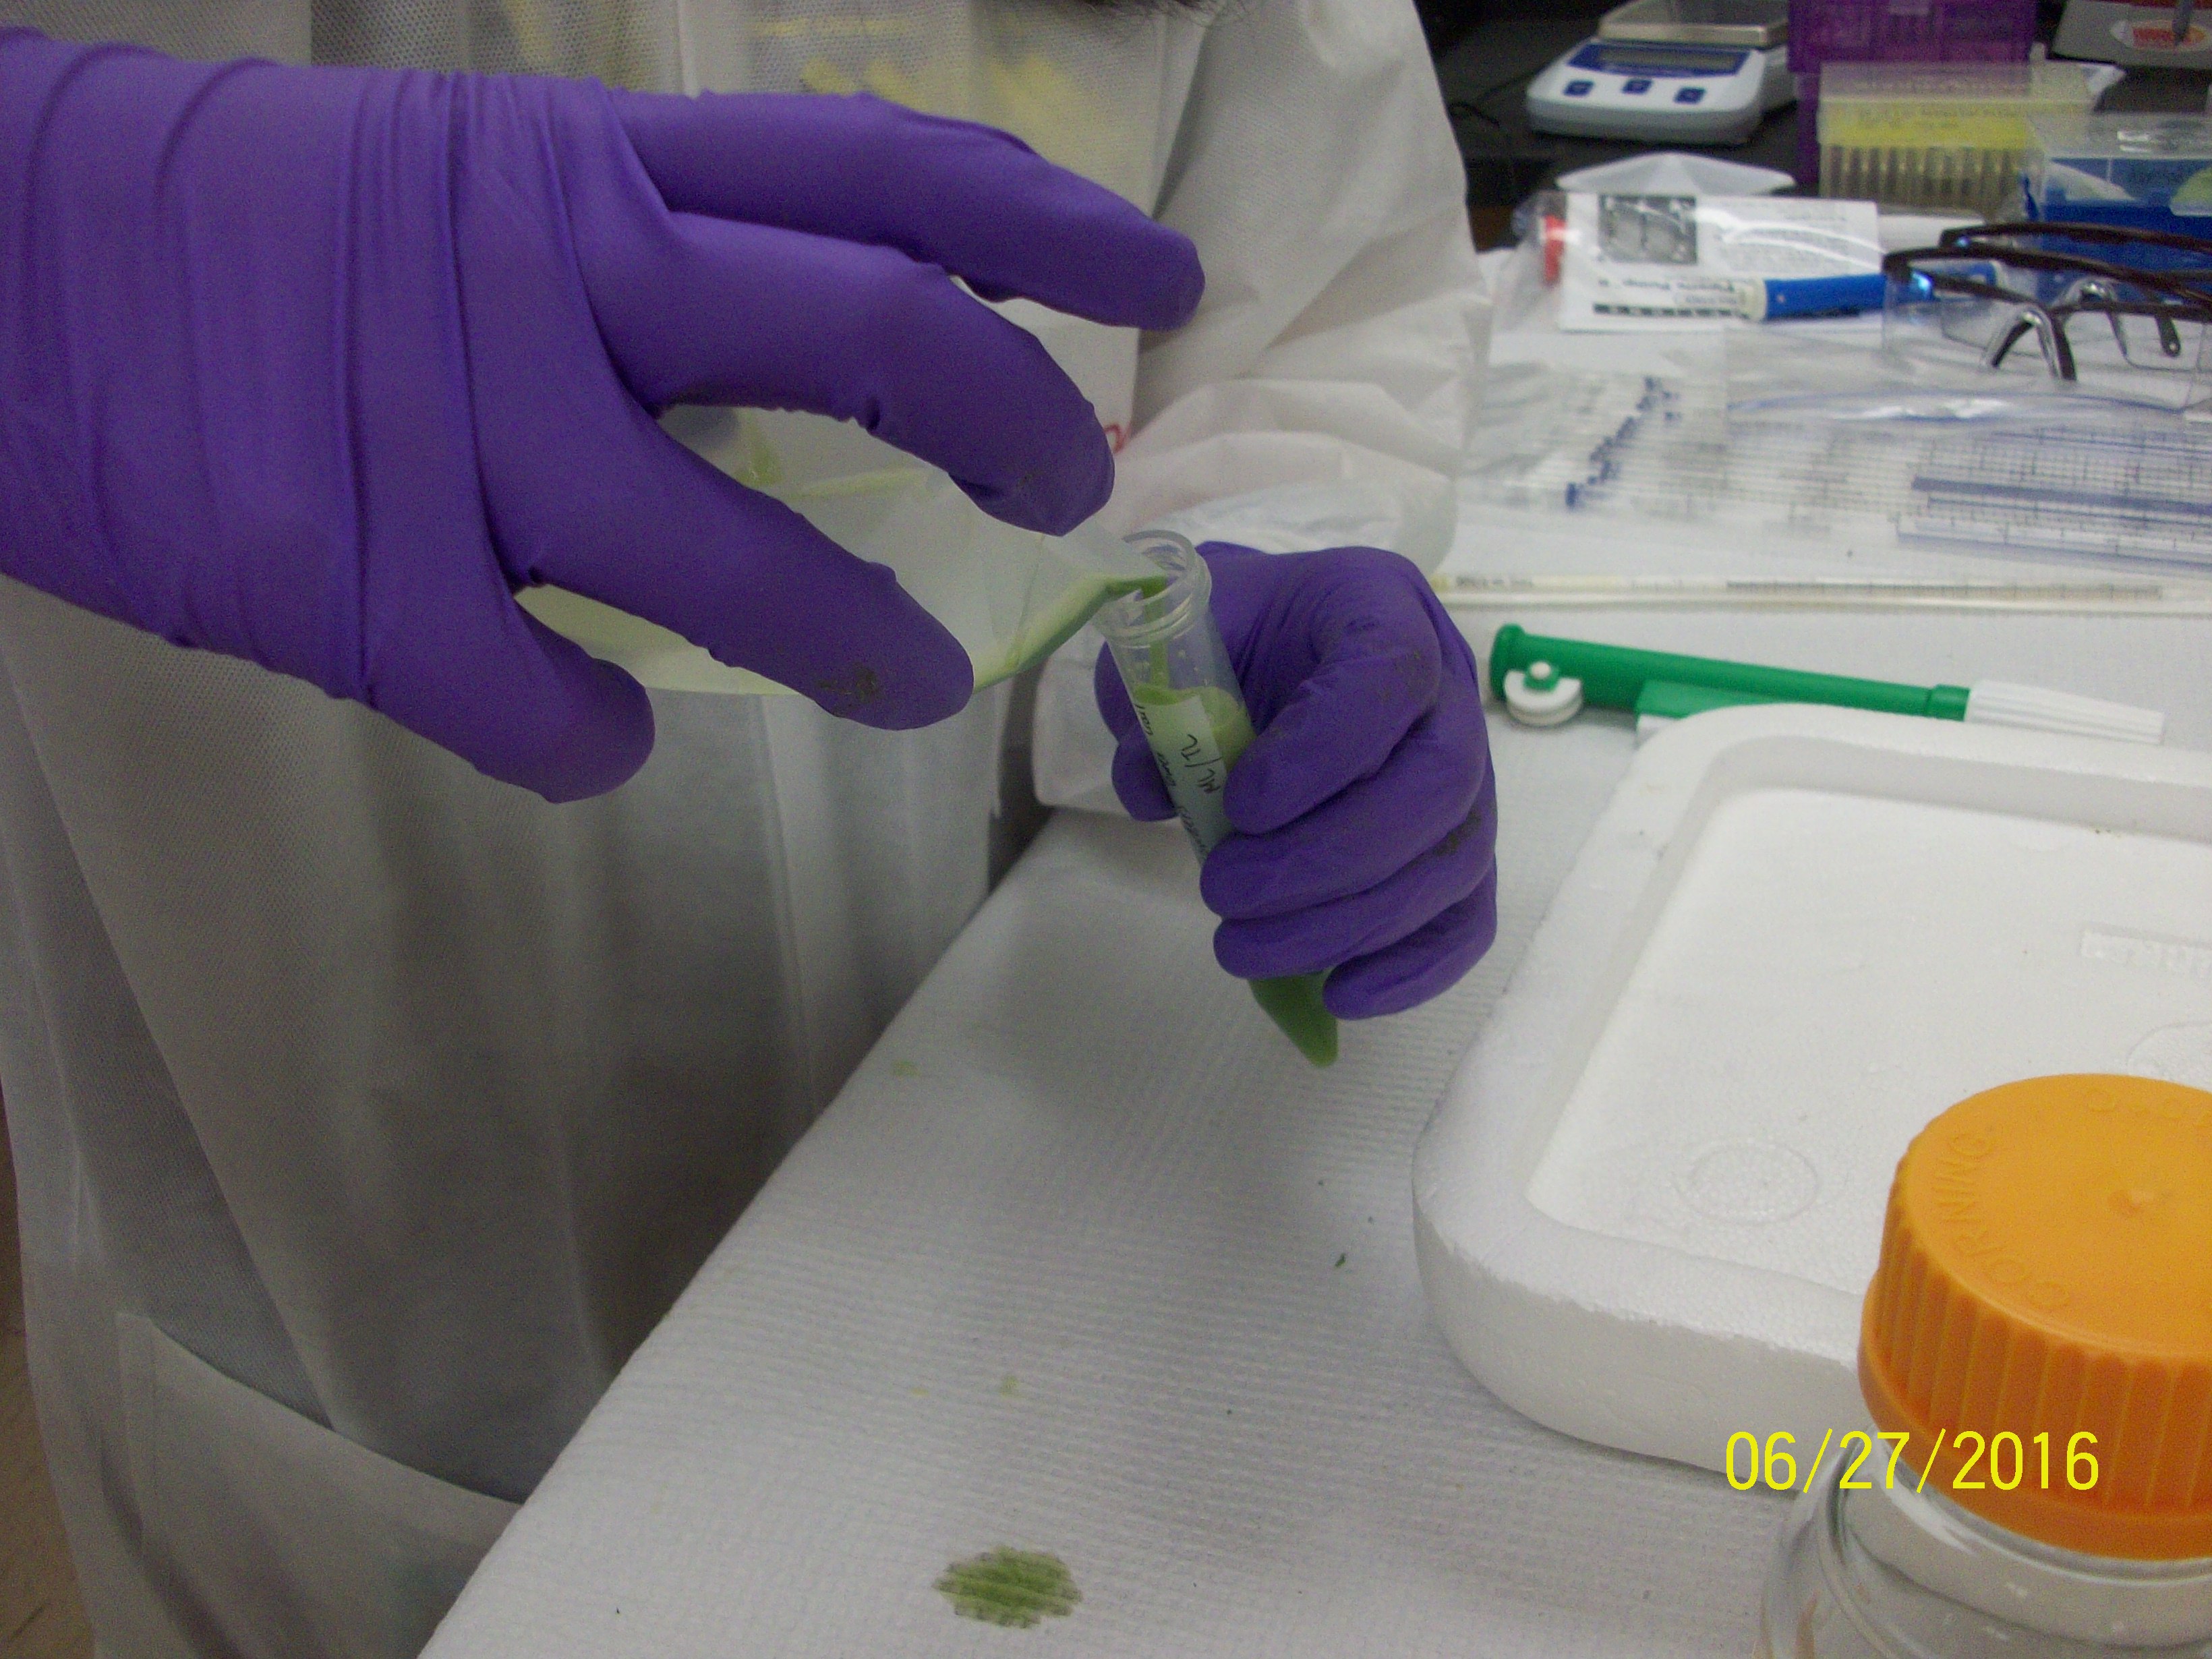
The liquid is fiiltered through Miracloth to remove chunks, either directly scraping it into a tube covered with the cloth, or first into a weigh boat which is then used as a funnel to add to a tube.
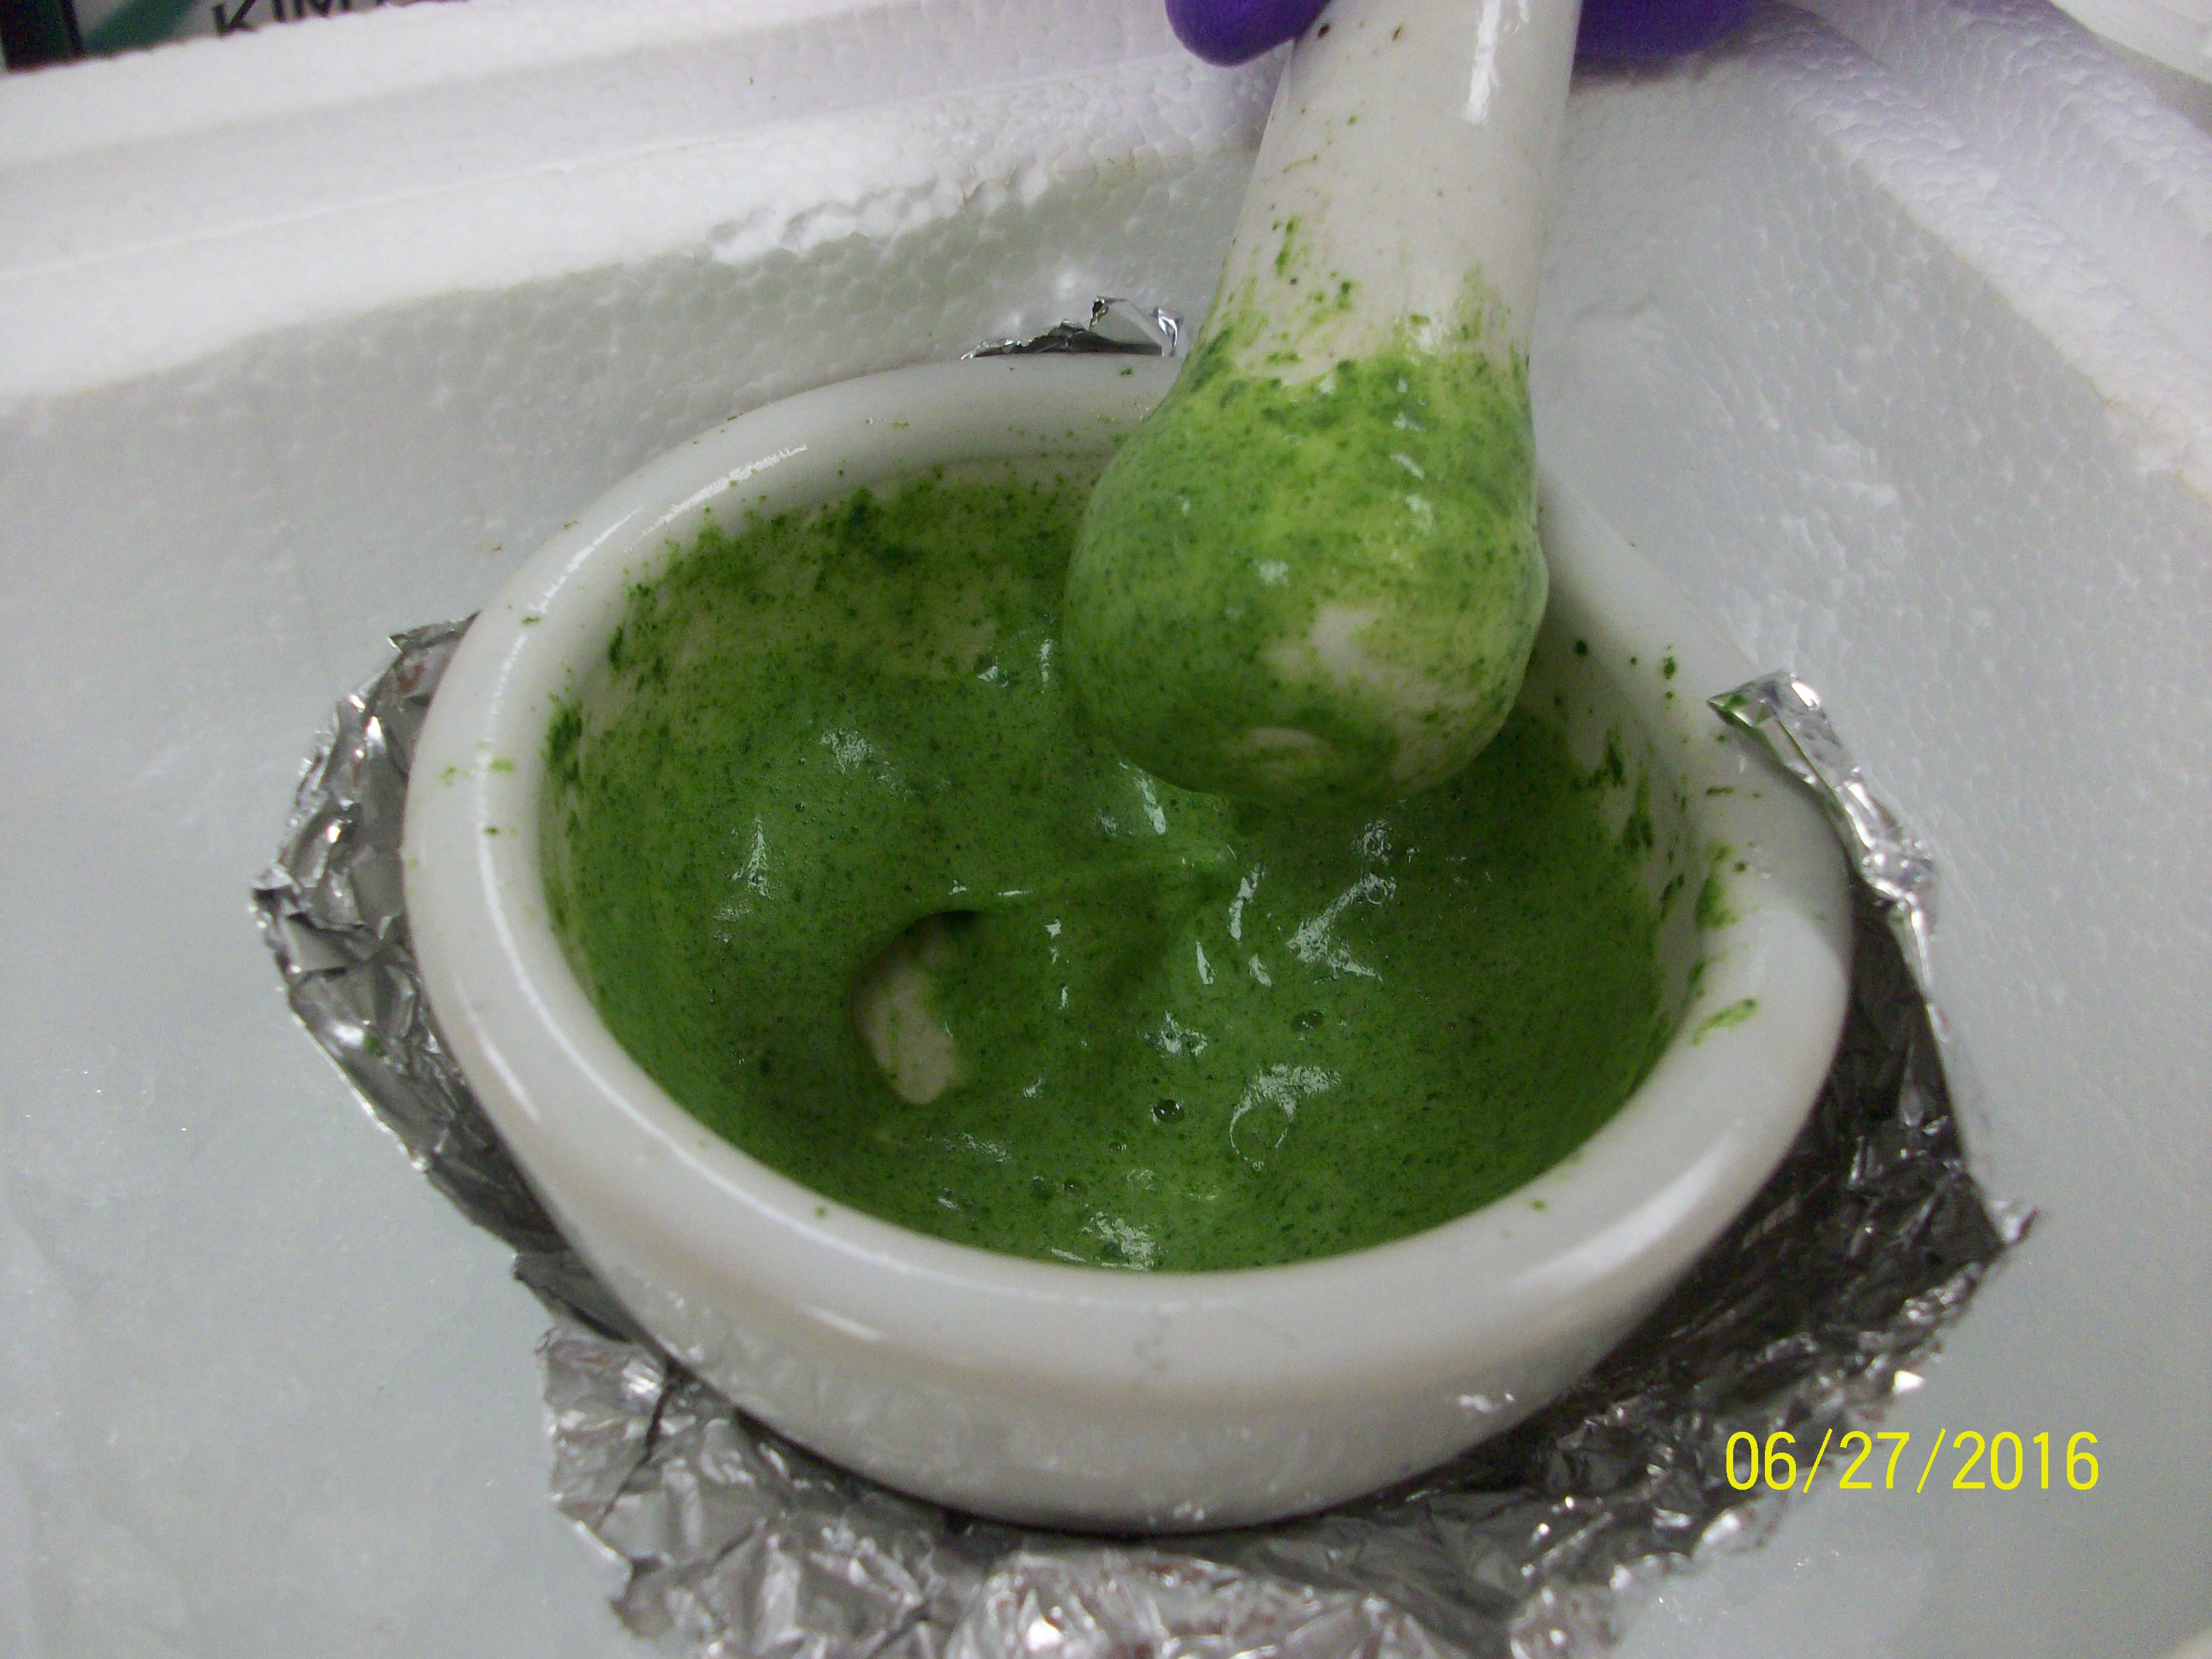
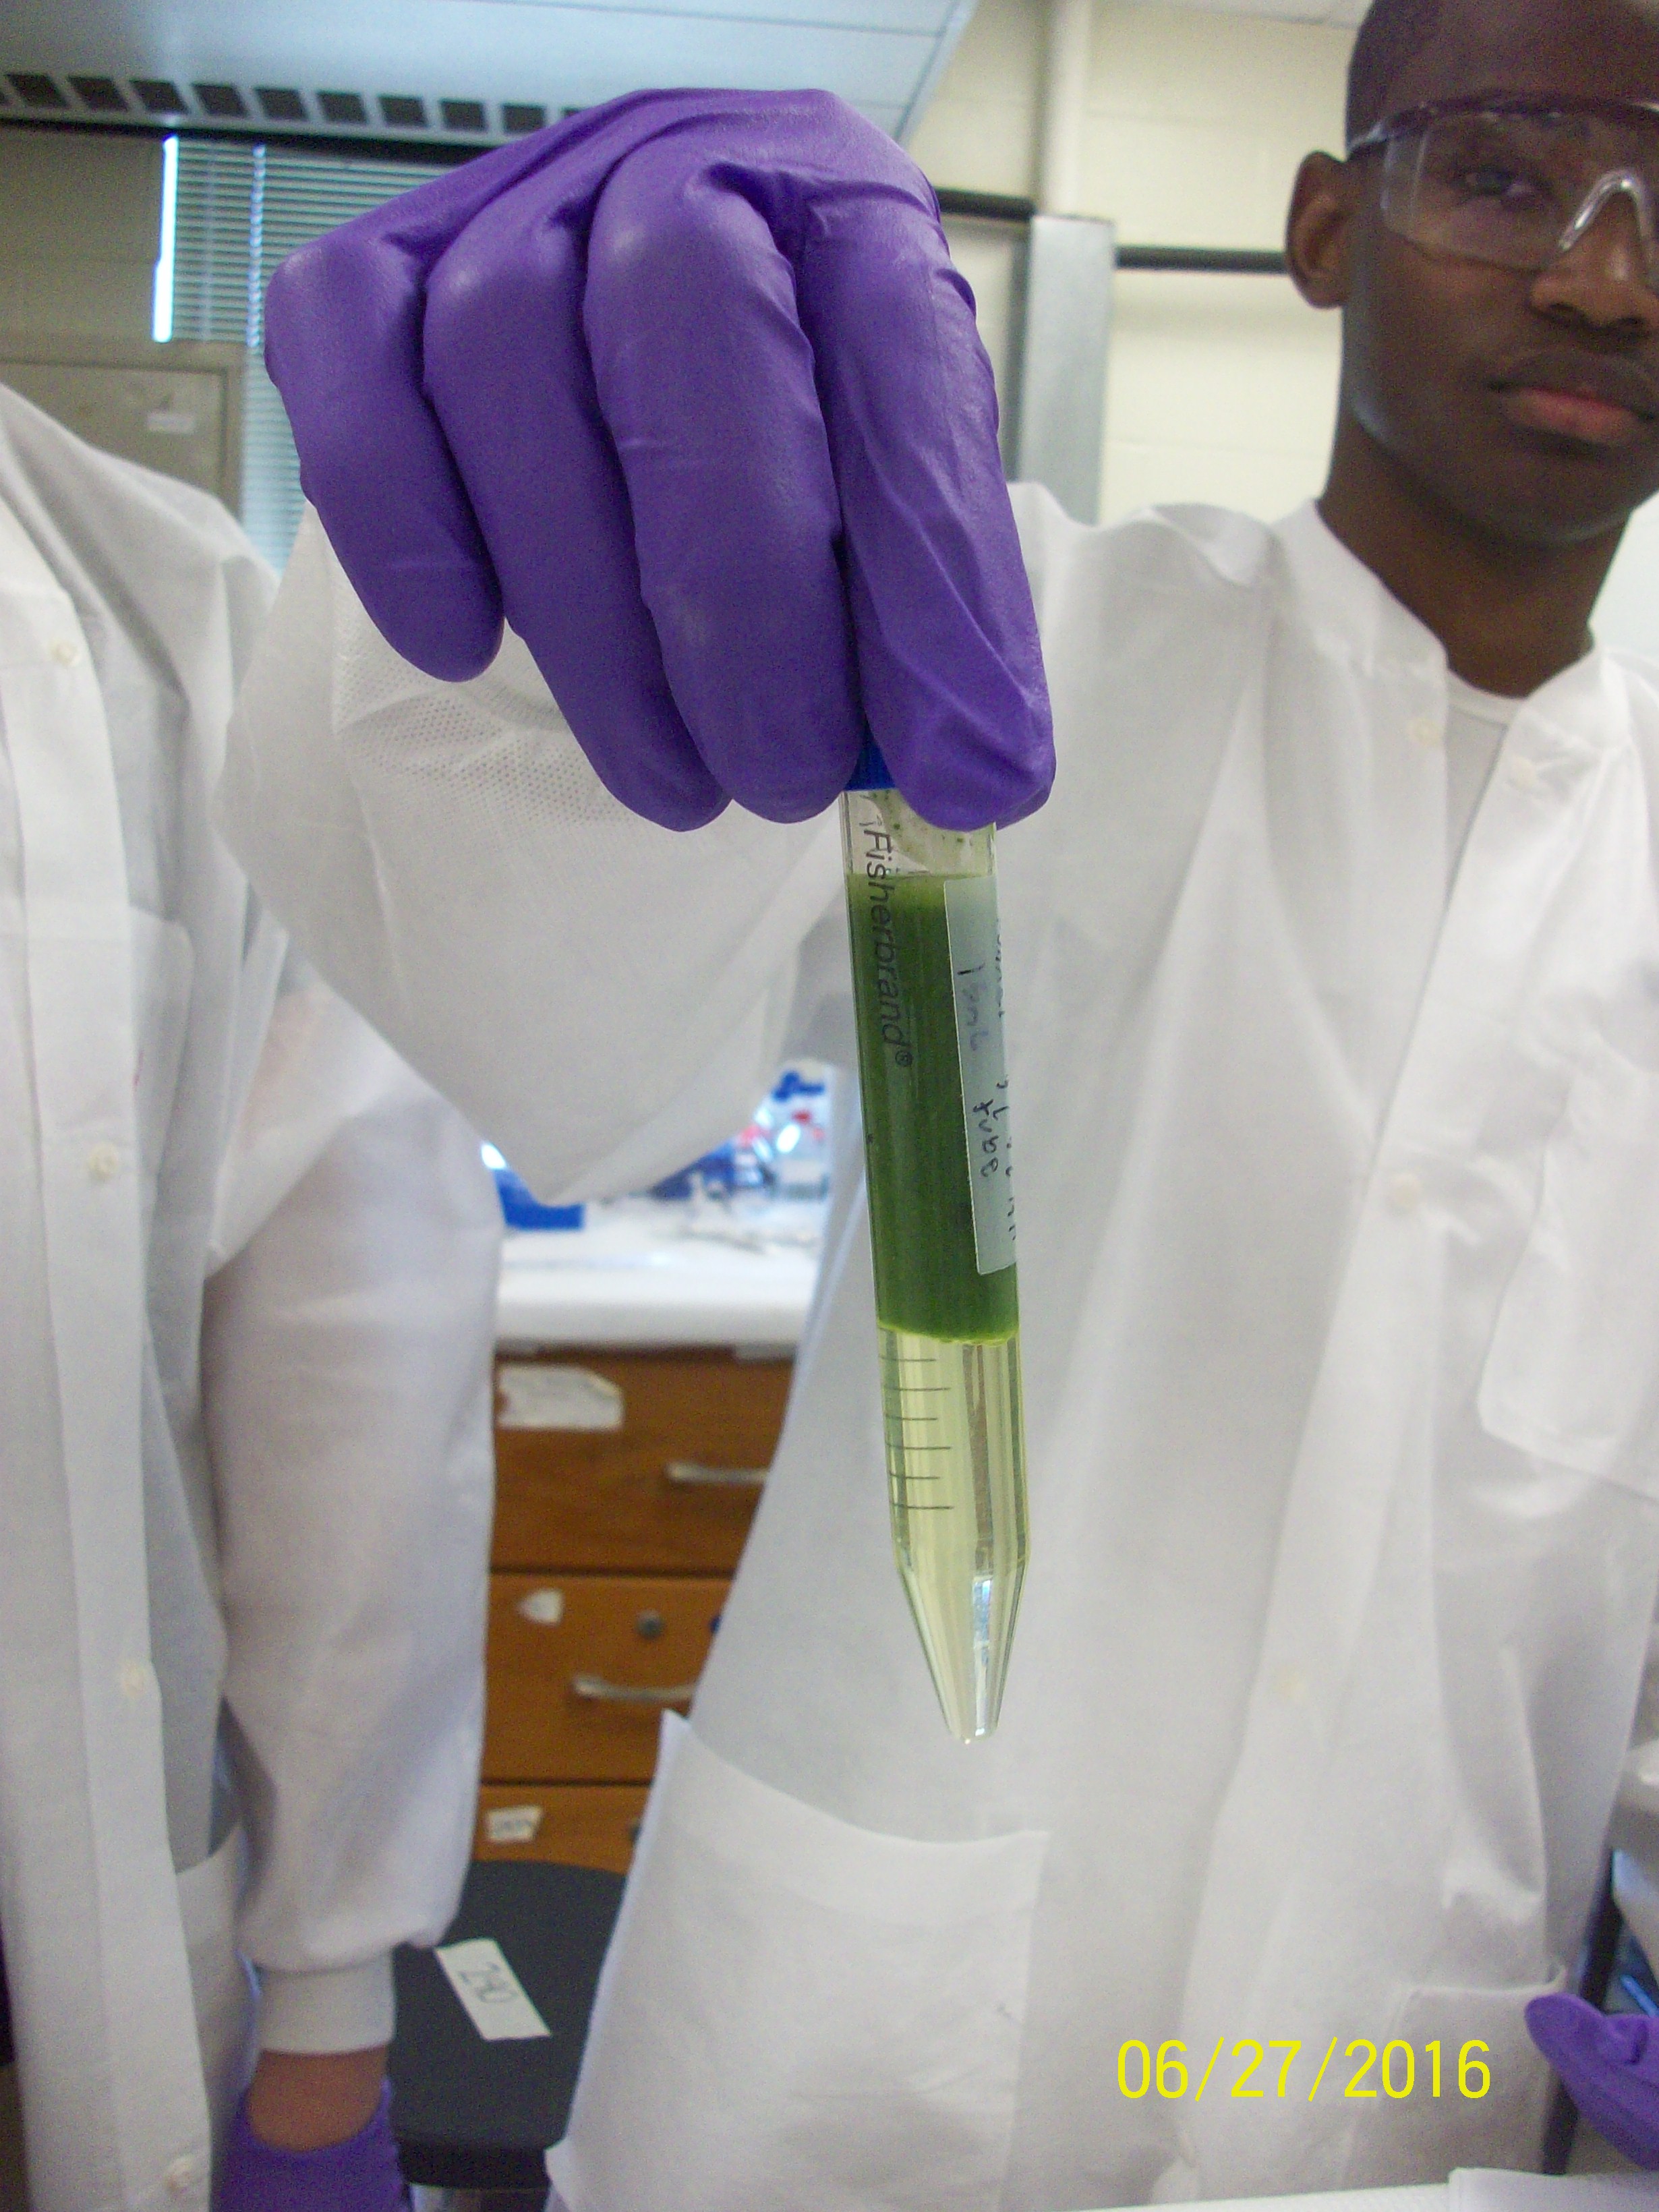
Chlroform is added in equal volume - at first the two layers are separate (chlorofom is denser so it is the bottom layer), then the mixture is vortexed and centrifuged- now when the layers separate the chloroform is green with extracted chlorophyll, there is
a white intermediate layer of white carbohydrate and protein, and the aqueous layer on top has the nucleic acids.
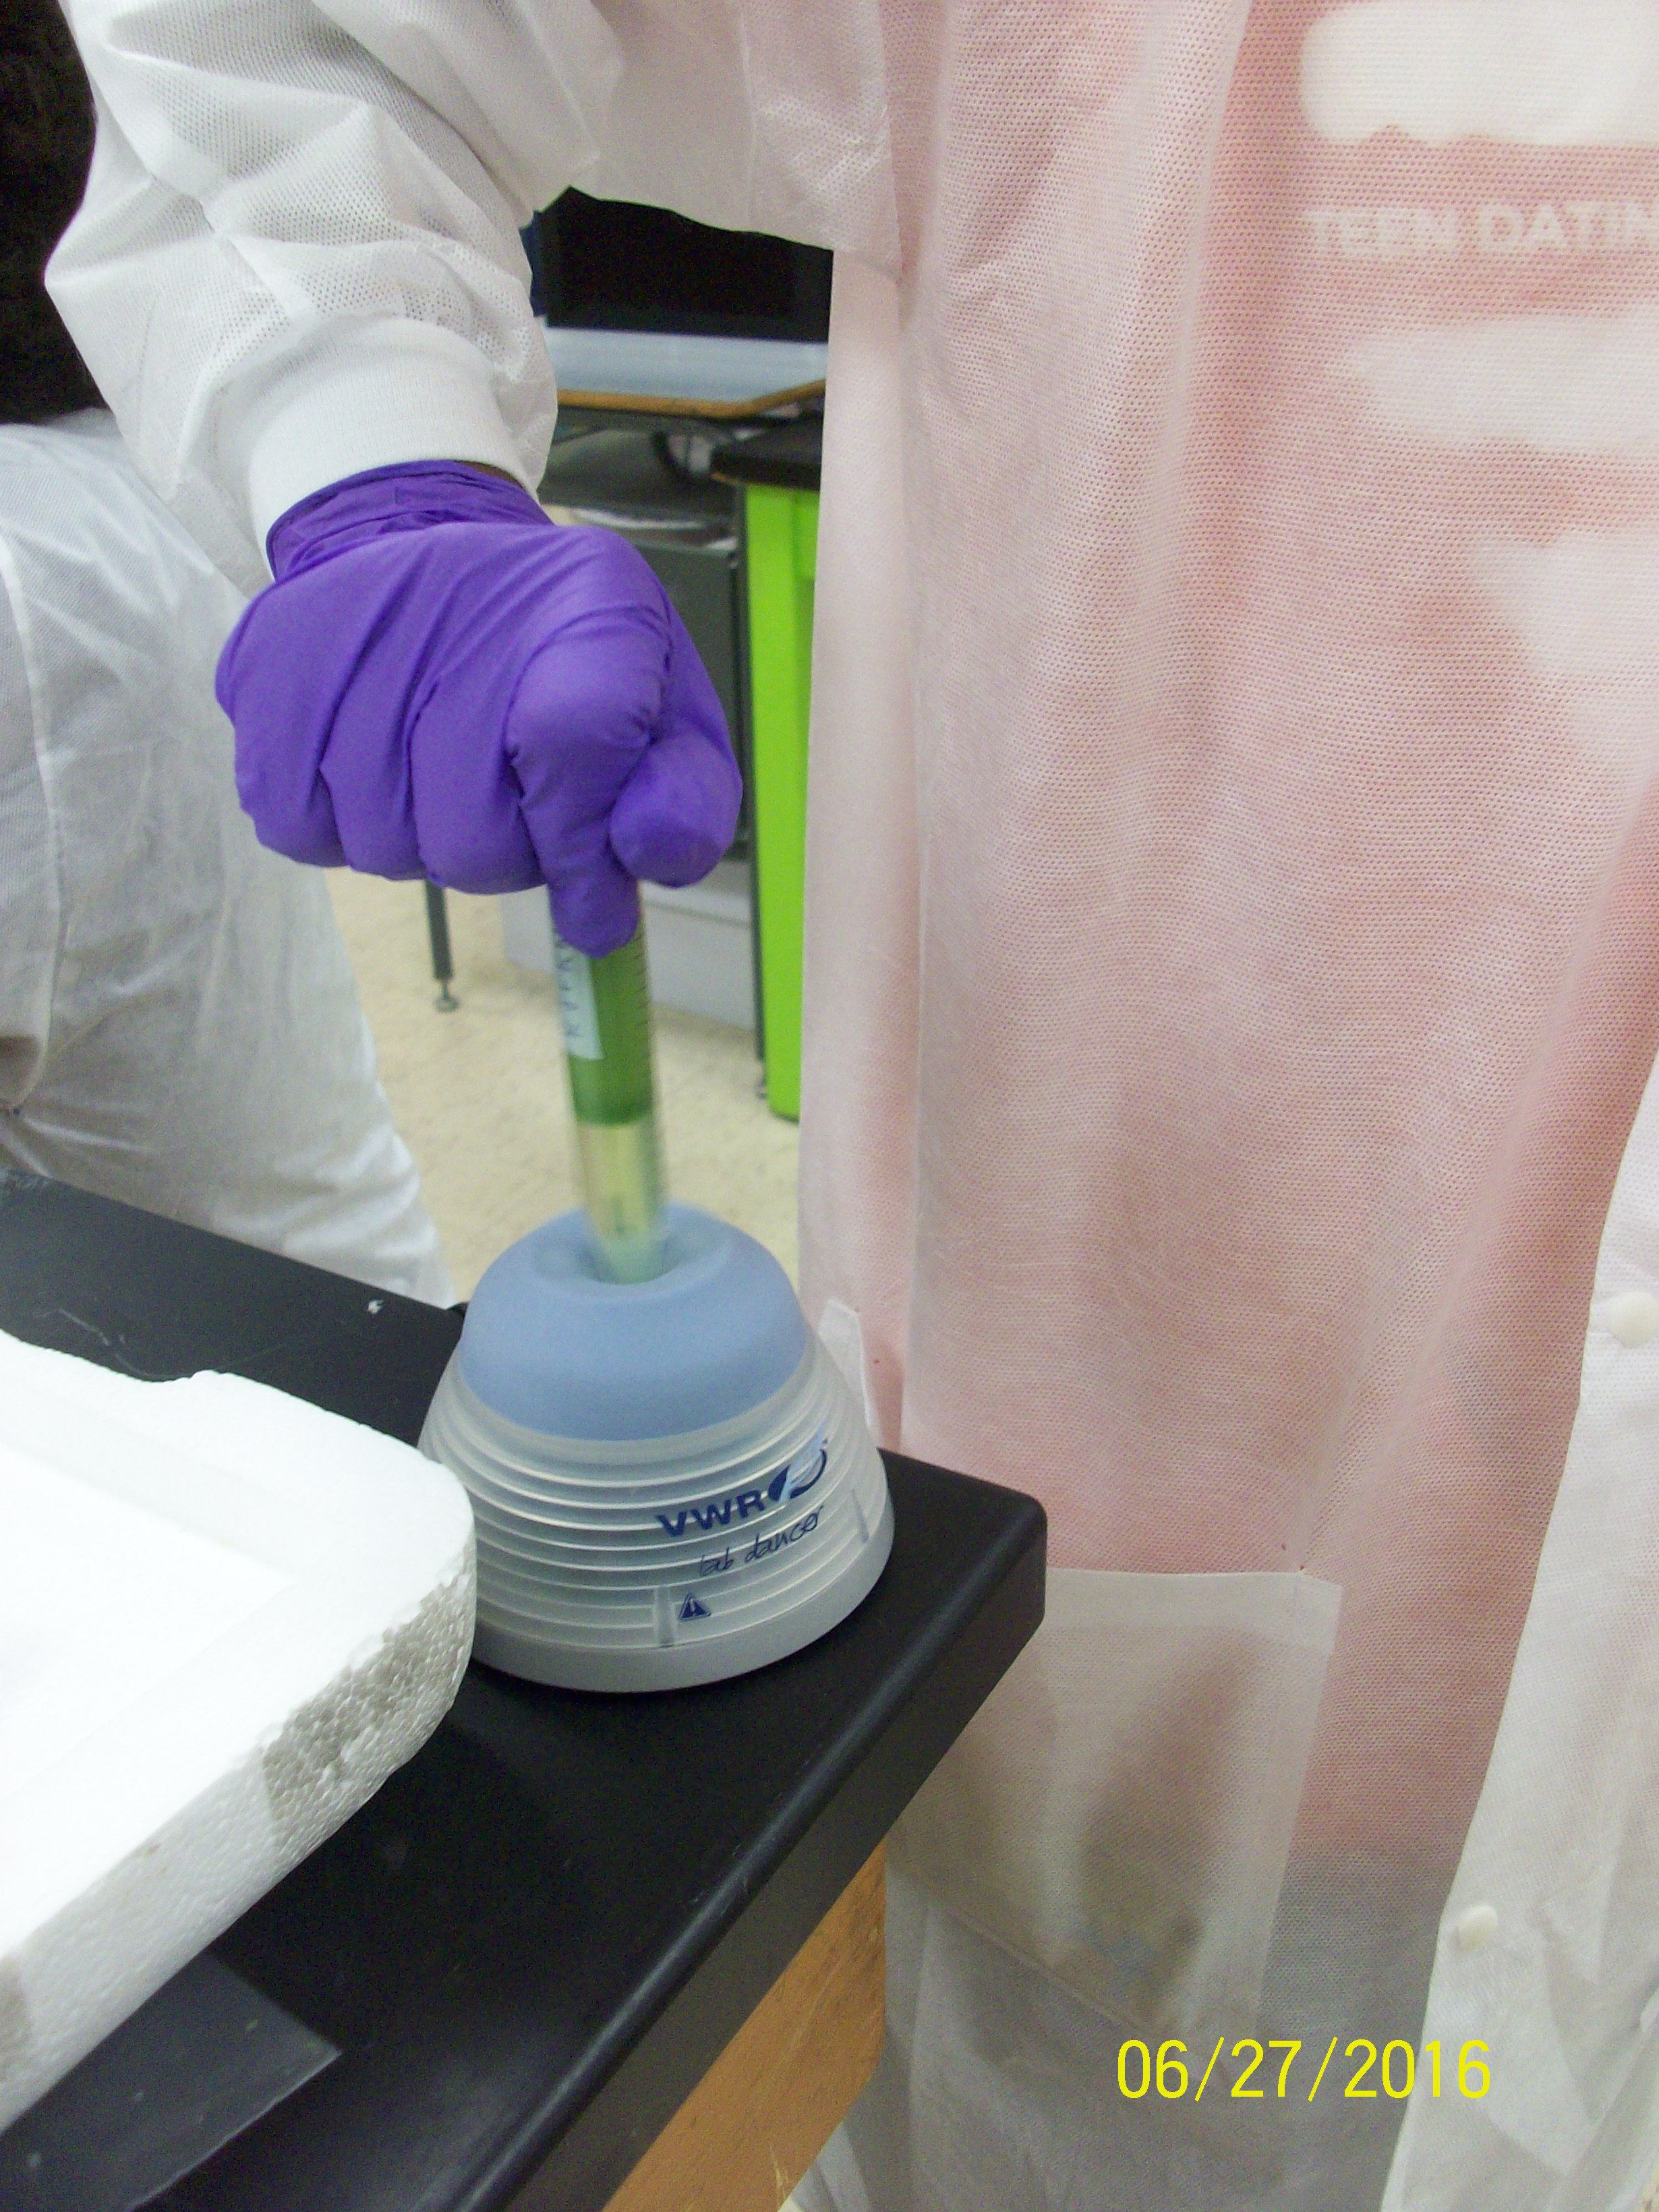
Removing the top layer to a fresh tube we add 0.7X the volume of isopropanol - nucleic acid cannot remain in solution in 40% isopropanol, and we can see it starting to appear as white blobs in the tubes. This ia the lab stopping point for today.
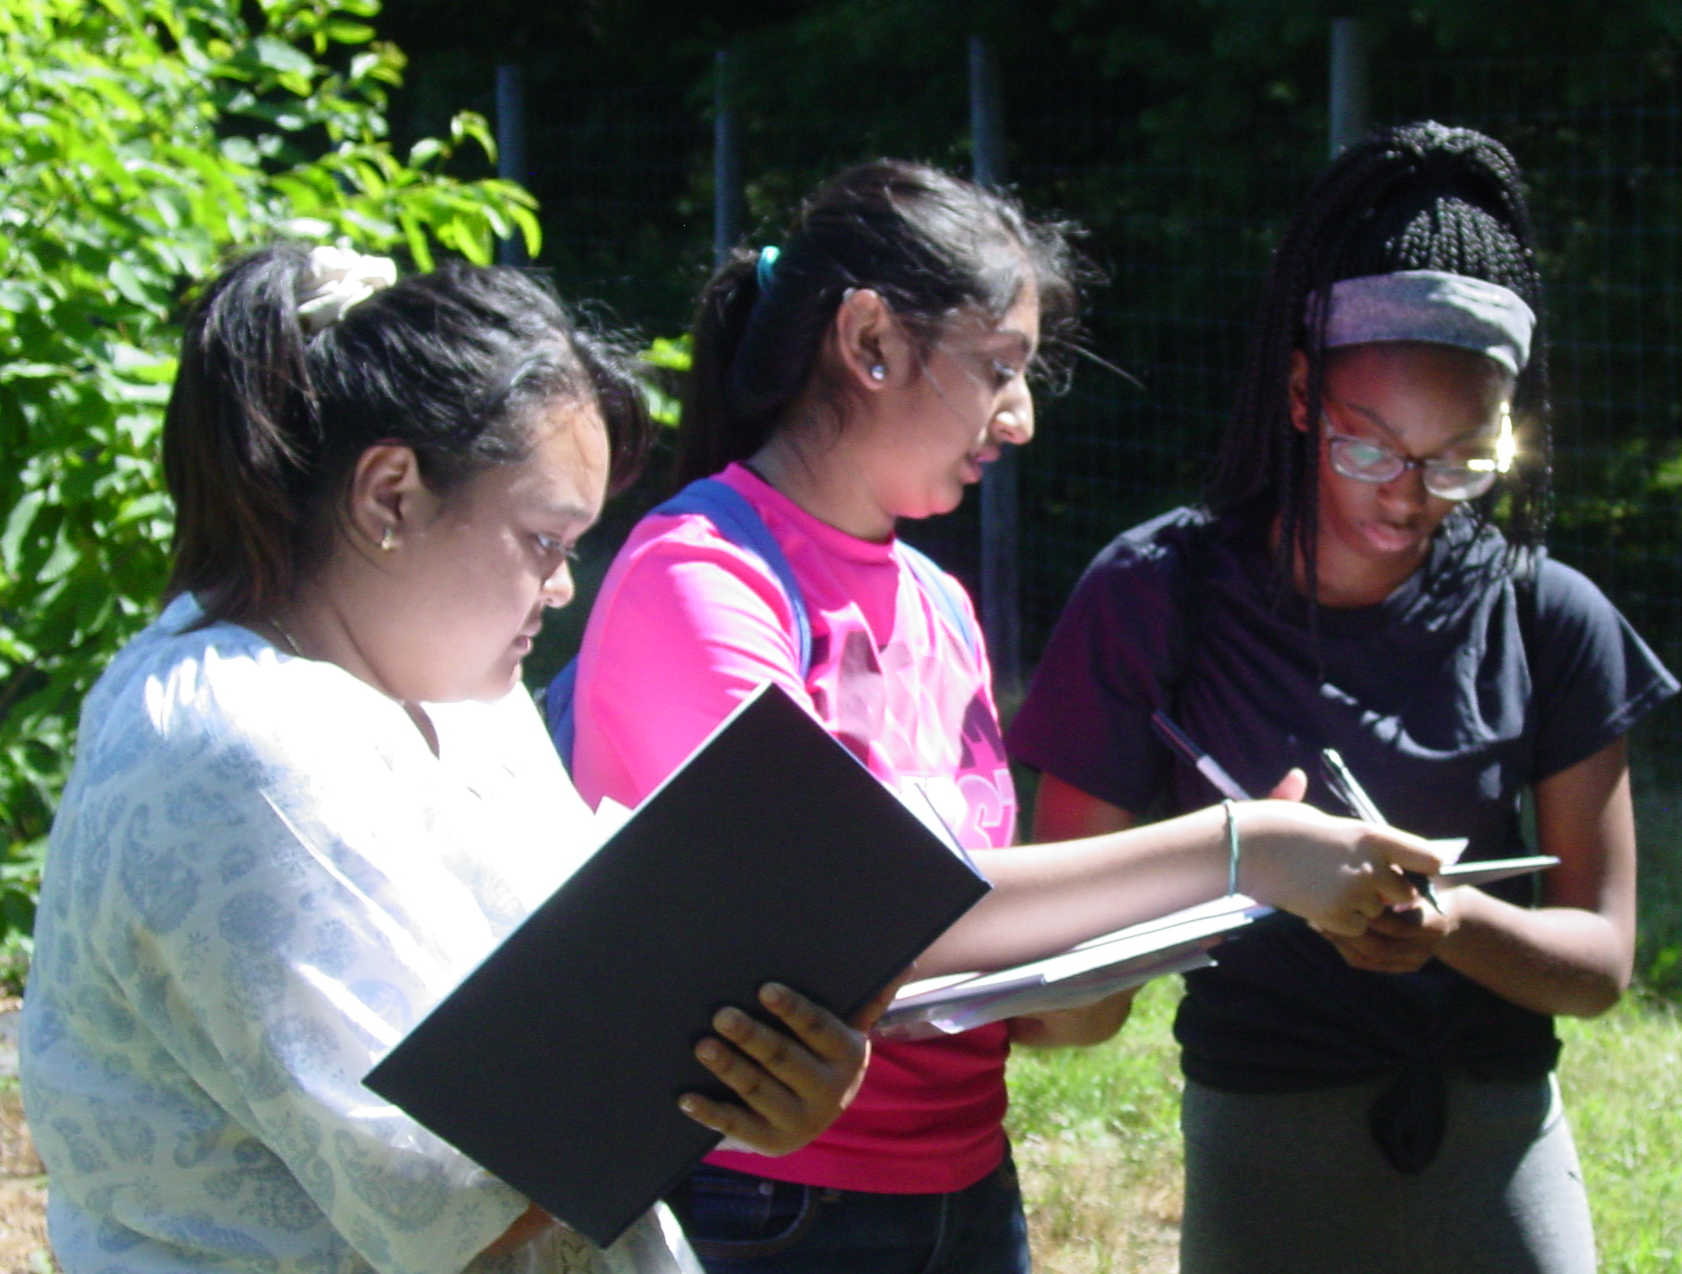
We have generated a lot of data that we need to share, and students need to get caught up with notenooks, so we spent the last part of the day putting all of our information together on the board, discussion how to interpret it, and then catching up with the notebooks.
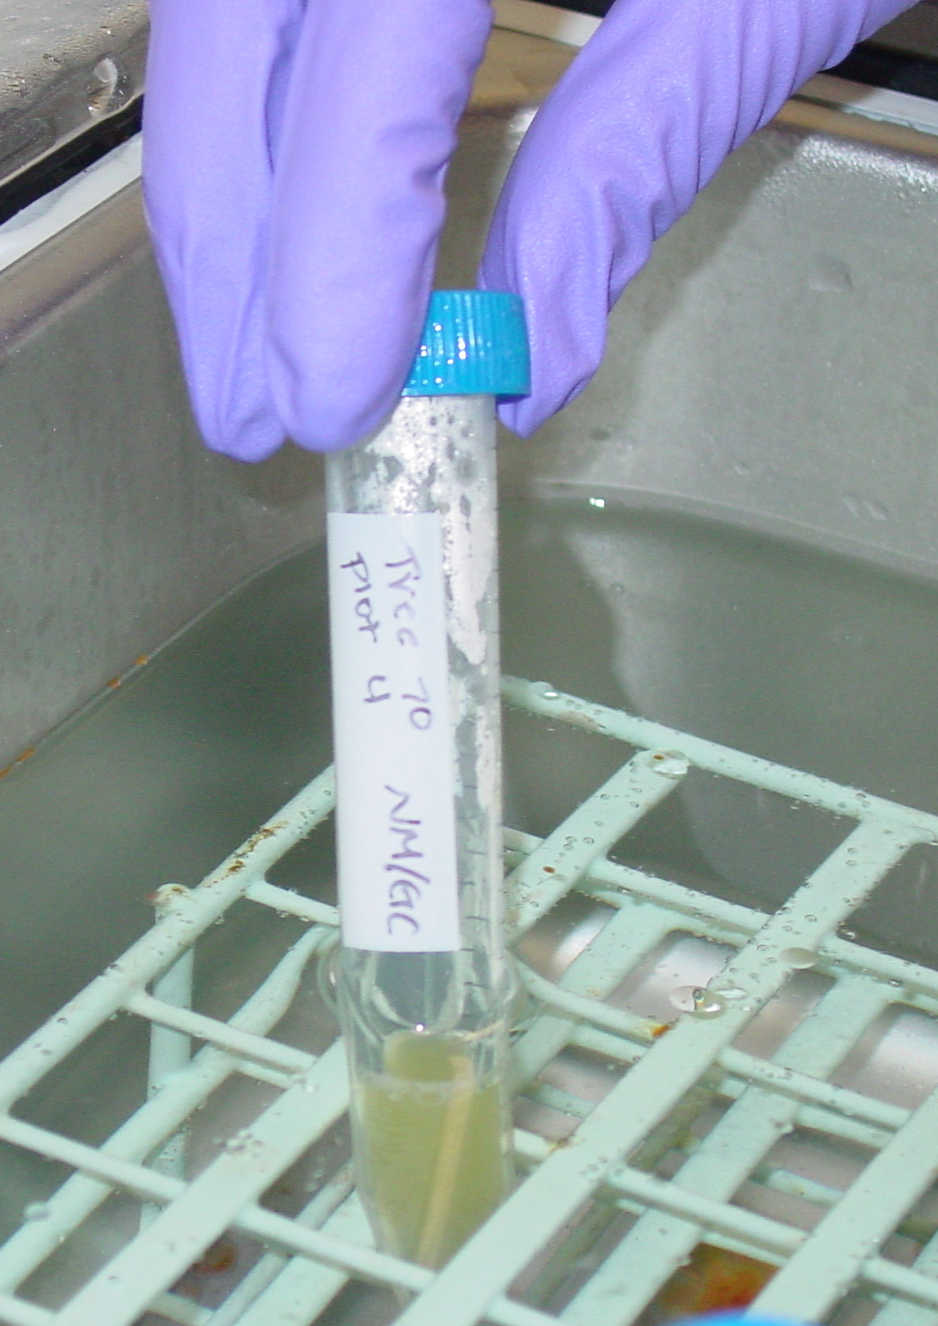
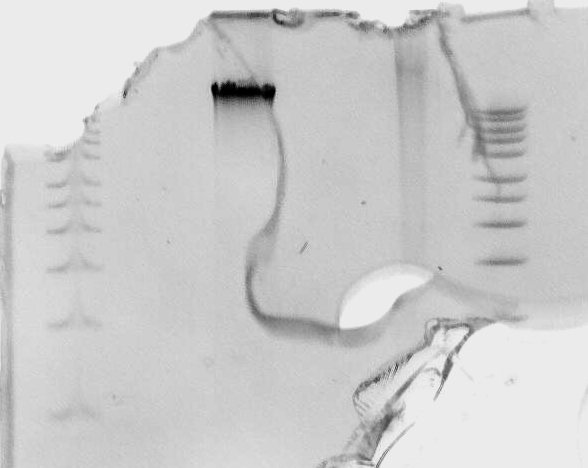
The data here is represented by three 0.8% gels run with samples E (tree 43), H (tree 70) and L (tree 50) {note to see the first White board image for more information ), with a 10kbp ladder in Lane 1, the 12 long-amplicon primers in order
(see the spreadsheet above), and 2lanes of experimental conditions on sample B (tree4) fdone by Dr Weller and another ladder.